crwdns2942213:0crwdne2942213:0
-
-
Lay the computer down on its side as shown.
-
Remove the two 14mm screws shown. The screws are loose enough to unscrew with your hands.
-
-
-
Gently slide the side panel straight back and remove from the computer.
-
-
-
-
Using the Phillips #00 Precision screwdriver, unscrew the four 12mm screws that hold the fan in place.
-
-
-
Unplug the fan from the motherboard by gently pulling out the single plug. Then lift the fan up and out of the computer.
-
-
-
Loosen the four screws that hold the heat sink in place using a Phillips #2 screwdriver.
-
Pull the heat sink straight up to remove it.
-
-
-
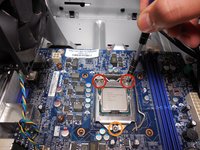
Remove the 2 8mm screws holding the CPU cover using a Torx #20 screwdriver.
-
Remove the 11 mm screw using a Torx #20 screwdriver.
-
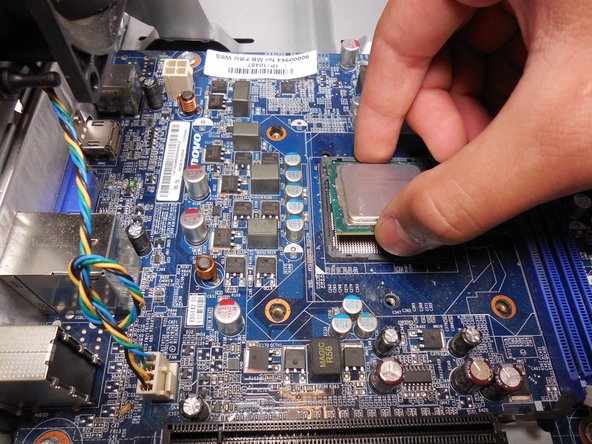
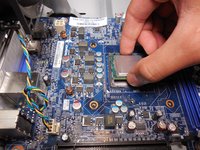
Remove the cover and remove the CPU by gently pulling upward.
-


To reassemble your device, follow these instructions in reverse order.
crwdns2935221:0crwdne2935221:0
crwdns2935229:015crwdne2935229:0
crwdns2935287:0crwdne2935287:0

Cal Poly, Team 10-39, Amido Fall 2014 crwdns2935289:0Cal Poly, Team 10-39, Amido Fall 2014crwdne2935289:0
CPSU-AMIDO-F14S10G39
crwdns2931471:04crwdne2931471:0
crwdns2935297:018crwdne2935297:0
crwdns2947410:01crwdne2947410:0
Why would you remove the fan and the CPU fixation bracket when you could just remove the heatsink by unscrewing it and then lift up the bracket lever...