crwdns2915892:0crwdne2915892:0
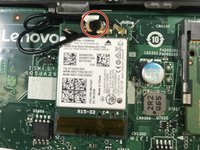
Be careful when lifting the WiFi card out of its slot not to damage the slot. Similarly, make sure that once it has been replaced that the two wires are securely connected to the card.
crwdns2942213:0crwdne2942213:0
-
-
Turn off the computer, unplug all cables, and let it cool down. Lay the computer flat on its screen.
-
-
-
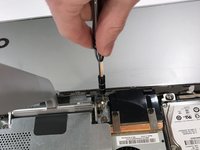
Remove the monitor stand screw in the bottom of the stand, and remove the stand completely.
-
-
-
Remove the two screws on the bottom of the computer, one on each side.
-
-
-
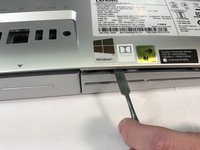
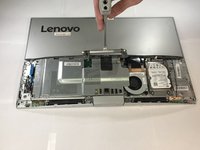
Locate the slot on the right side of the computer next to the screw hole. Use a plastic opening tool or spudger to pry off the rear cover. (Don’t be afraid to use a little force.)
-
-
-
-
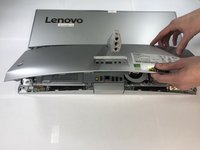
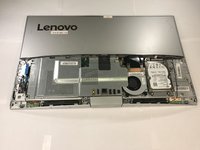
Once it has been separated, lift to remove.
-
-
-
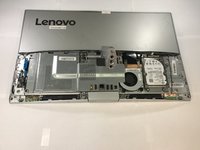
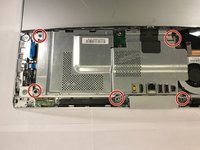
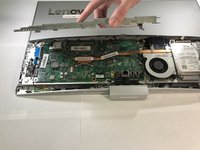
Remove the four screws that secure the arm stand.
-
-
-
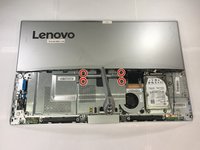
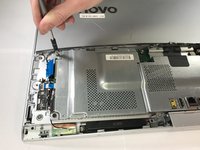
Remove the 5 screws that secure the EMI cover.
-
Remove the cover.
-
-
-
Remove any tape that secures the WiFi antenna cables.
-
-
-
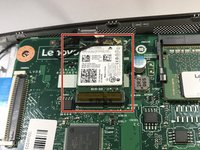
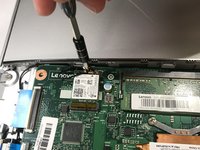
Remove the single screw that secures that WiFi card to the motherboard.
-
-
-
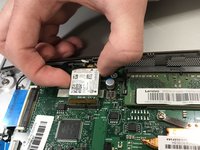
Lift the wifi card and then pull out the card.
-
-
-
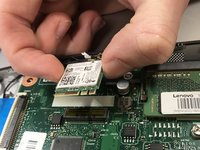
Locate the two small cables connected to the wifi card and pull gently to disconnect them.
-


To reassemble your device, follow these instructions in reverse order.
To reassemble your device, follow these instructions in reverse order.
crwdns2935221:0crwdne2935221:0
crwdns2935229:02crwdne2935229:0
crwdns2915084:0crwdne2915084:0

Cal Poly, Team S16-G3, Banghart Winter 2018 crwdns2935289:0Cal Poly, Team S16-G3, Banghart Winter 2018crwdne2935289:0
CPSU-BANGHART-W18S16G3
crwdns2931471:04crwdne2931471:0
crwdns2935297:09crwdne2935297:0