crwdns2942213:0crwdne2942213:0
-
-
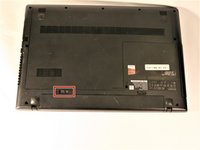
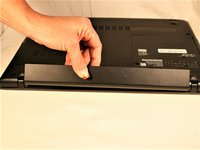
Place the laptop on a flat surface with the back cover facing up and the hinges facing you.
-
-
-
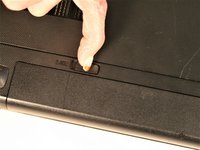
Slide the tab positioned on the right side to the right.
-
-
-
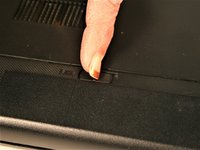
Move the left tab to the left to release the battery.
-
You will hear an audible 'click' and see the battery separate from the rest of the laptop.
-
-
-
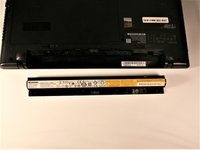
Hold the battery at the top seam between it and the laptop.
-
Roll the battery towards yourself.
-
Lift the battery out of the laptop.
-
-
-
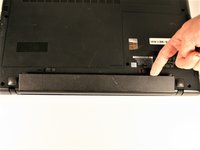
Remove the three screws securing the outer cover of the laptop using a Phillips #0 screwdriver.
-
-
-
Slide the cover away from the hinges and lift the panel off.
-
-
-
Locate the 3 screws on the bottom securing the keyboard in place.
-
One Screw will be located under a Lenovo security sticker. Break sticker to gain access to screw.
-
-
-
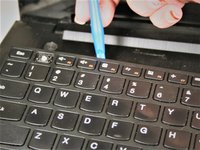
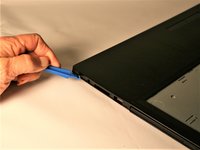
Starting on the side, gently pry up using spudge.
-
-
-
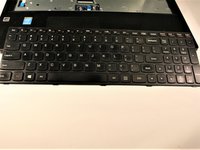
Continue prying around the top of the keyboard
-
-
-
-
Once the top of keyboard is loose, gently lift up
-
-
-
lift up bottom of keyboard slightly, to access keyboard ribbon
-
-
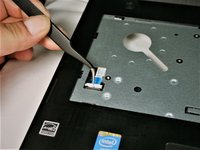
crwdns2935267:0crwdne2935267:0Tweezers$4.99
-
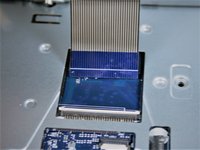
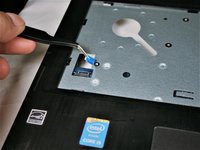
Using tweezers, lift up clip to remove keyboard ribbon cable.
-
-
-
Keyboard ribbon cable removed
-
Once ribbon is removed, keyboard can be lifted out
-
-
-
Remove wifi wires by lifting up
-
-
-
locate power and monitor cable on bottom side next to fan
-
-
crwdns2935267:0crwdne2935267:0Tweezers$4.99
-
remove power cable with tweezers by gently pullying
-
-
-
remove monitor cable by gently pulling on tab straight up
-
-
-
Monitor and power cable disconnected
-
-
-
Disconnect the fan wires from the motherboard by lifting upwards
-
-
-
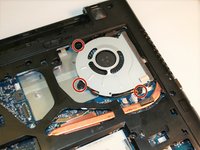
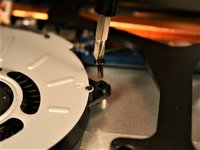
Locate the 3 screws holding fan in place
-
Remove 3 screws
-
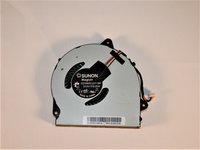
fan should lift out of place
-
-
-
lift clip to remove ribbon cable for think pad.
-
-
-
lift clip to remove power button ribbon cable.
-
-
-
Begin by locating screws on bottom panel
-
-
-
Remove screws using a 001 phillips screw driver.
-
-
-
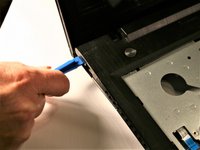
Once screws are removed, begin by gently prying up in one corner using a spudge
-
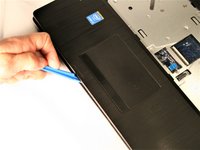
Continue to center and then around to opposite side.
-
once all sides have been pried open, lift top half off
-


To reassemble your device, follow these instructions in reverse order.
To reassemble your device, follow these instructions in reverse order.
crwdns2935221:0crwdne2935221:0
crwdns2935229:012crwdne2935229:0
crwdns2915084:0crwdne2915084:0

UMass Dartmouth, Team S1-G6, Simcock Fall 2017 crwdns2935289:0UMass Dartmouth, Team S1-G6, Simcock Fall 2017crwdne2935289:0
UMASSD-SIMCOCK-F17S1G6
crwdns2931471:04crwdne2931471:0
crwdns2935297:010crwdne2935297:0