crwdns2915892:0crwdne2915892:0
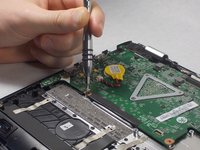
This guide will show you how to remove the motherboard. Removal of the motherboard is necessary in order to replace the thermal compound on the processor. Prerequisite only.
crwdns2942213:0crwdne2942213:0
-
-
Lay the computer down with the bottom panel facing up.
-
-
-
Locate the ten 6mm Phillips screws along the edges and in the center of the back panel.
-
Remove all ten 6mm Phillips screws with a size 0 Phillips screwdriver.
-
-
-
Wedge the plastic opening tool into the small space under the back panel.
-
Use the plastic opening tool as a lever to separate the bottom panel from the computer.
-
Slide the tool along the edges of the computer until the bottom panel is completely separated.
-
-
-
Lift the bottom panel off of the computer.
-
-
-
Locate the black battery on the bottom right of the computer.
-
-
-
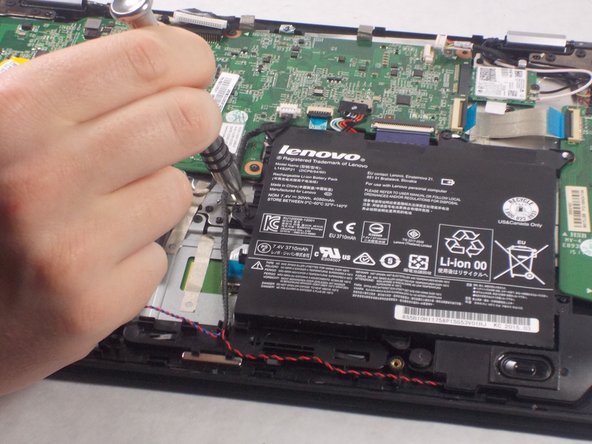
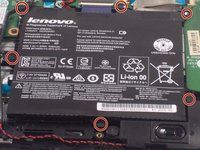
Locate the six 3.5mm Phillips head screws along the edges of the battery.
-
Remove all six of the screws using a size 0 Phillips screwdriver.
-
-
-
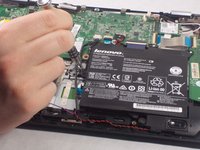
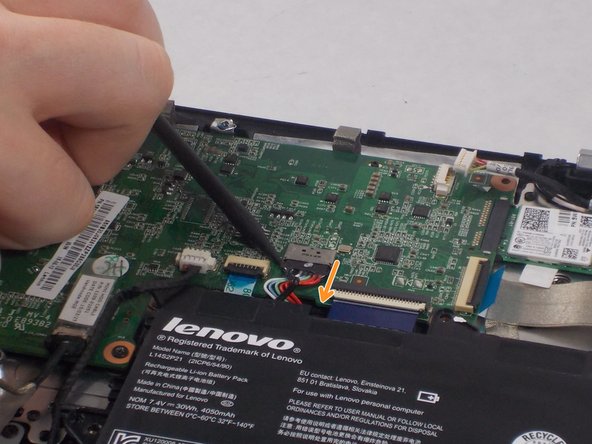
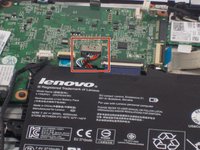
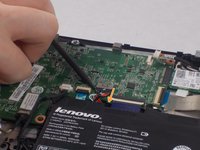
Locate the multicolored power cables coming directly from the top of the battery and into the motherboard.
-
Use a spudger to slide the power cables down and away from its port on the motherboard.
-
-
-
Lift the battery out from the computer.
-
-
-
-
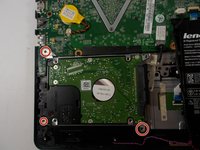
Locate the hard drive in the bottom left of your computer.
-
-
-
Locate the three 3.5mm Phillips screws on the corners of the hard drive.
-
Remove the three screws with a size 0 Phillips screwdriver.
-
-
-
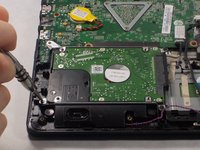
Follow the wire out from the right side of the hard drive to locate where the hard drive connects to the motherboard.
-
-
-
Lift off the strip of tape securing the wire down to the computer.
-
-
-
Pull the connector out of its port on the motherboard.
-
-
-
Lift the hard drive out from the computer.
-
-
-
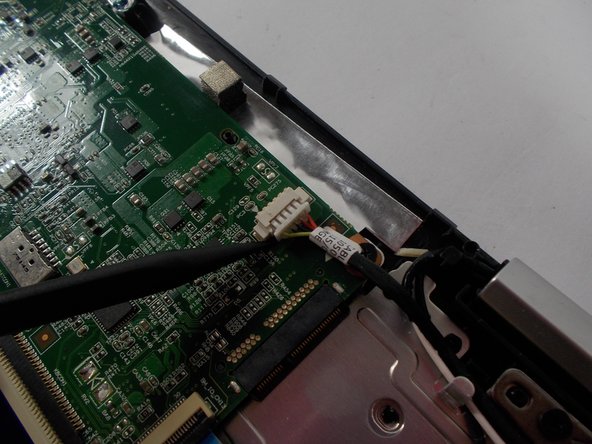
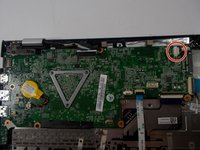
Locate the power input cable on the top right corner of the motherboard.
-
Remove the power input cable by gently sliding each side of the cable out of its port. Alternate between the left and right sides of the cable until it disconnects.
-
-
-
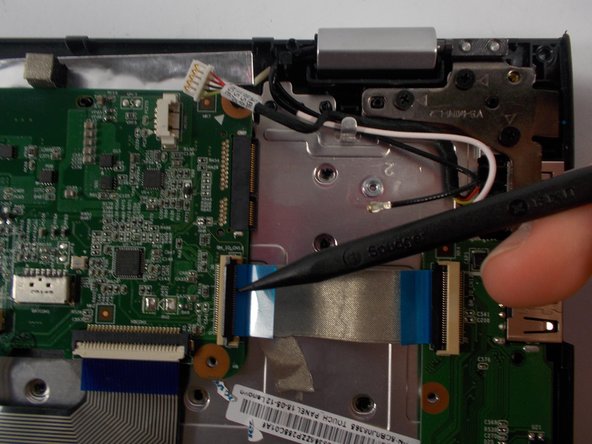
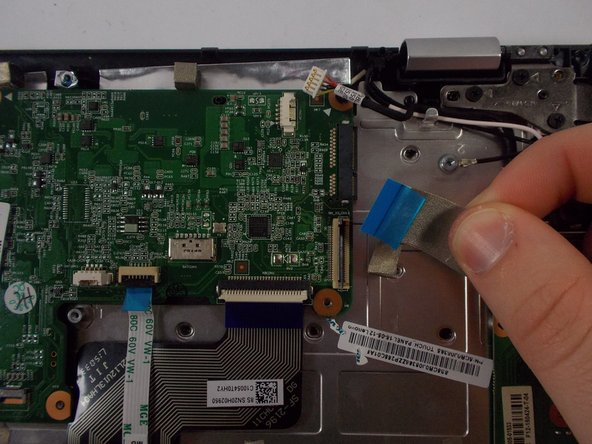
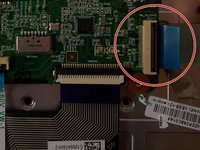
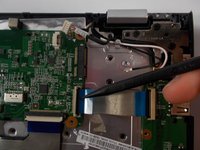
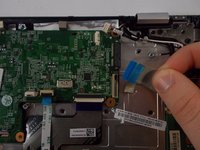
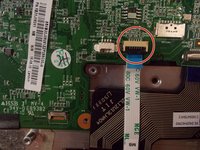
Locate the ribbon cable with a blue tab on it. The cable is connected to the right edge of the motherboard.
-
Lift up the black latch with the spudger.
-
Pull on the blue tab to the left to remove the cable.
-
-
-
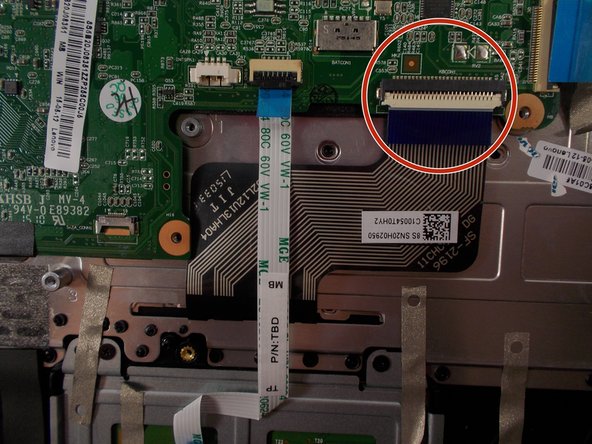
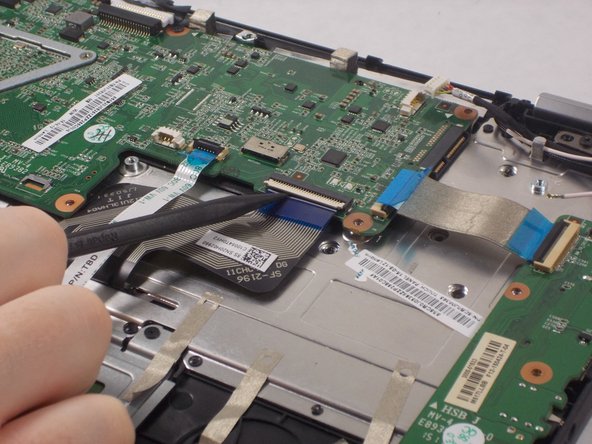
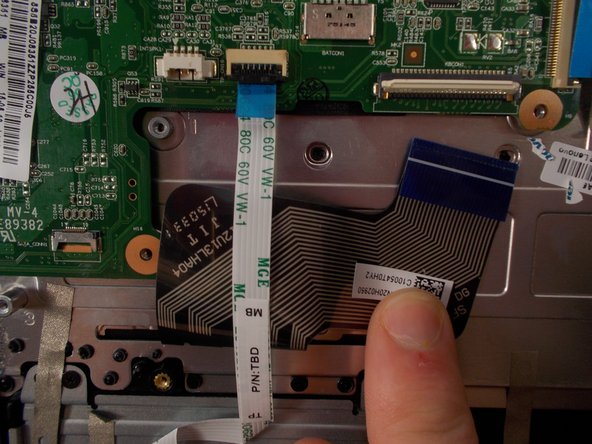
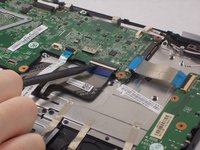
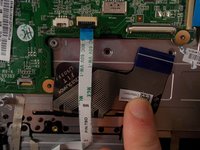
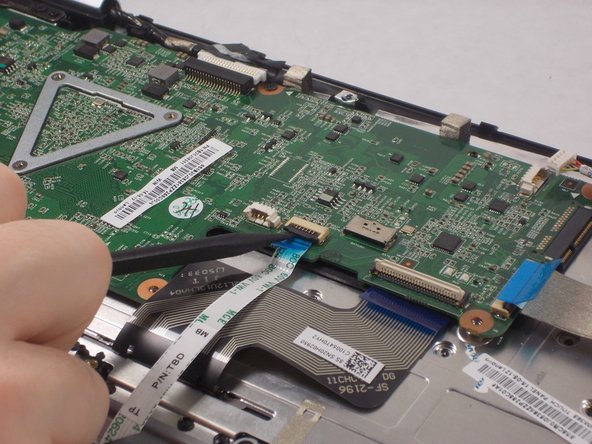
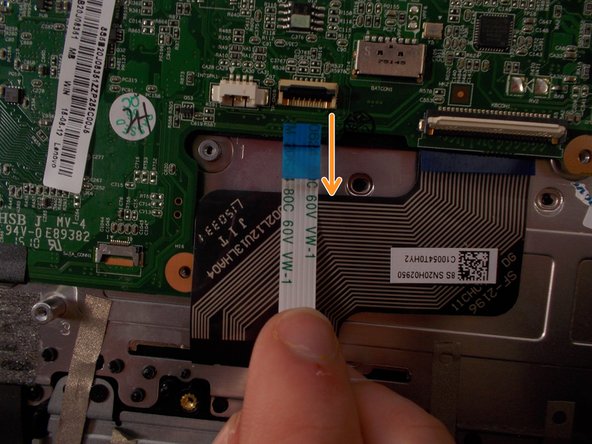
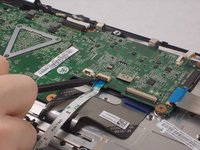
Locate the black ribbon cable on the bottom right of the motherboard.
-
Lift the white door on the end of the cable that connects to the motherboard.
-
Slide the cable down to disconnect it from the motherboard.
-
-
-
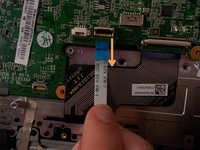
Locate the white ribbon cable with a blue tab to the left of the black ribbon cable.
-
Lift up the black latch holding the cable in to the motherboard.
-
Pull the cable out of its port on the motherboard.
-
-
-
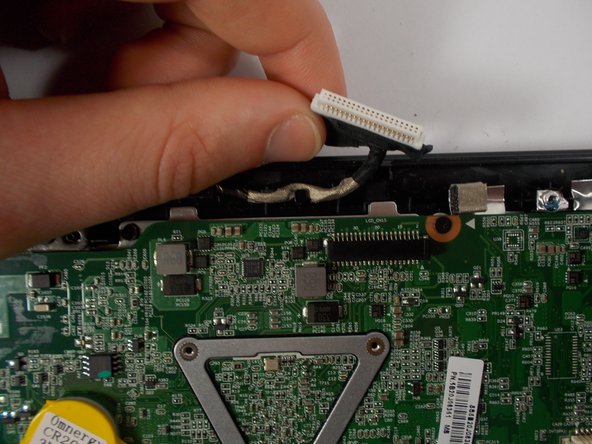
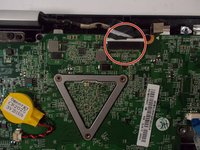
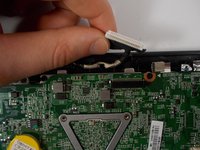
Locate the white connector on the top edge of the motherboard.
-
Simply pull the wire away from the motherboard by hand to disconnect it.
-
-
-
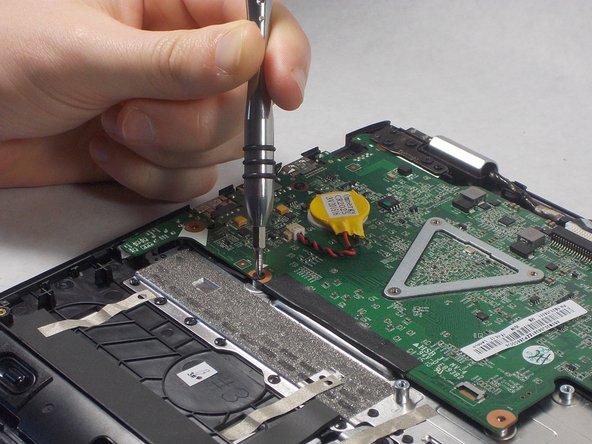
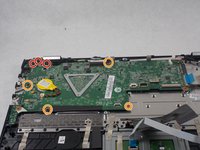
Locate the three 4.5mm screws that are securing the bracket in the top left corner of the motherboard.
-
Locate the four 3.5mm screws holding the motherboard in place.
-
Remove all of the screws with a size 0 Phillips screwdriver.
-
-
-
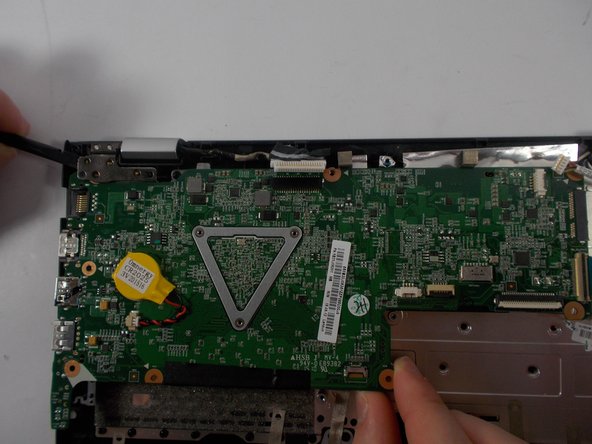
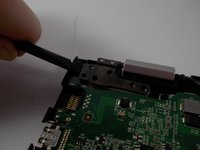
Locate the metal bracket attaching the motherboard to the top-left of the computer.
-
Raise the metal bracket by prying it up and away from the motherboard.
-
Pull the motherboard away from the bracket to separate them.
-
-
-
Lift the motherboard out from the computer.
-
To reassemble your device, follow these instructions in reverse order.
To reassemble your device, follow these instructions in reverse order.
crwdns2935221:0crwdne2935221:0
crwdns2935229:03crwdne2935229:0
crwdns2947410:01crwdne2947410:0
One important thing that is not noted is to remove the NIC before removing the MOBO. The NIC is attached to the Top Plate with a single screw and needs to be removed before attempting to remove the MOBO.


