crwdns2915892:0crwdne2915892:0
This guide will show you how to replace the motherboard in the Lenovo 500e 2nd Gen Chromebook, model number: 81MC005AUS. The motherboard is essentially the brains of the laptop. It has many key components that make the device work properly. If the device is having trouble starting, then refer to our troubleshooting page.
crwdns2942213:0crwdne2942213:0
-
-
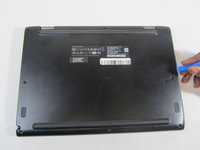
Remove nine 6 mm screws from the bottom cover of the laptop using a Phillips #0 screwdriver.
-
-
-
Remove stylus from the lower left corner of the back panel.
-
-
-
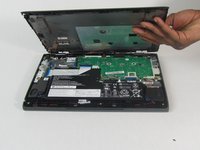
Go along the edge of the back panel with an iFixit opening tool until it pops loose.
-
Remove the back panel from the laptop.
-
-
-
Remove the four 4 mm Phillips #00 screws holding the battery in.
-
-
-
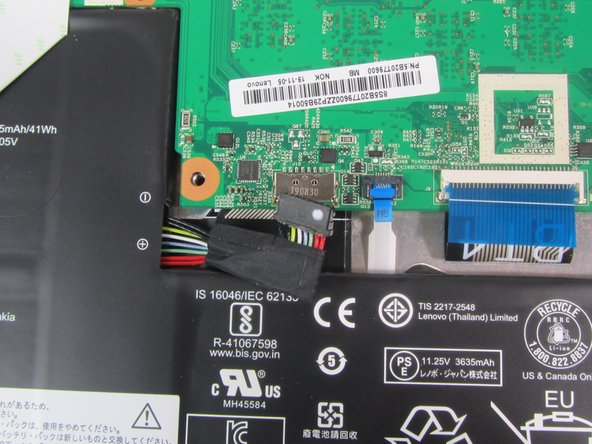
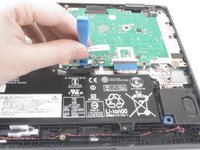
Use the iFixit opening tool to unplug the battery from the motherboard.
-
-
-
-
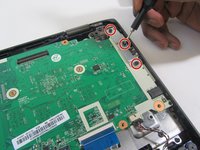
Remove the three 4 mm screws (six total) from the left and right side brackets using a Phillips #00 screwdriver.
-
Gently remove the metal brackets from the motherboard.
-
-
-
Remove the nine 4 mm screws from the motherboard using a Phillips #00 screwdriver.
-
-
-
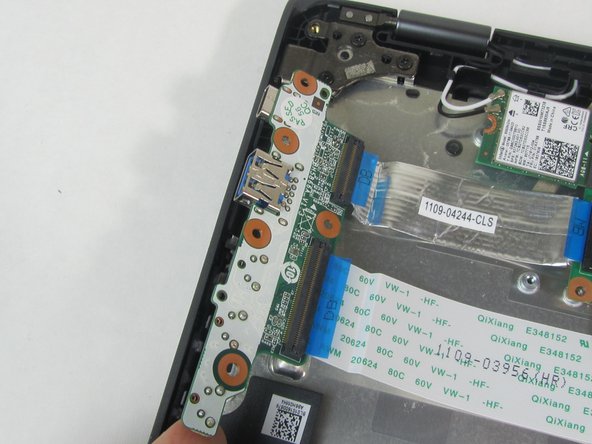
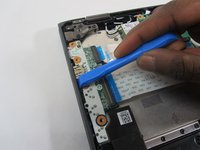
Gently remove the USB port from the side housing using an iFixit opening tool.
-
-
-
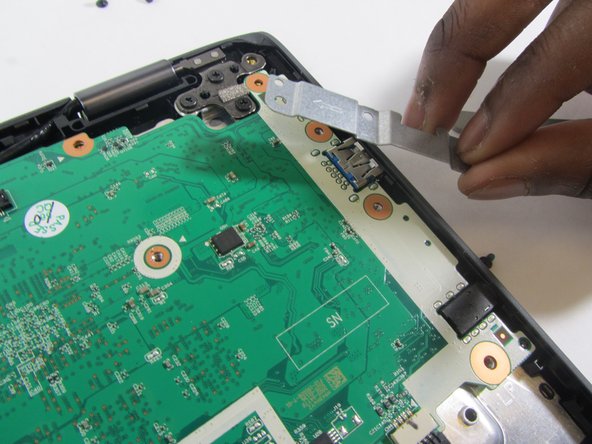
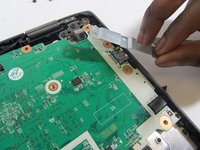
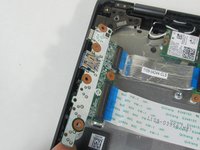
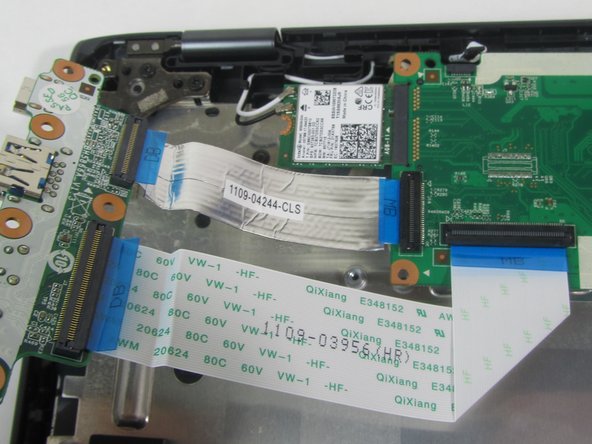
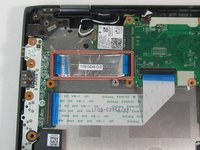
Gently peel the metal strip away from the metal backing.
-
-
-
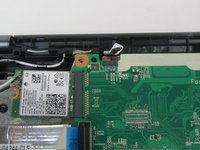
Remove the single 3 mm screw that holds the Wi-Fi card in place using a Phillips #00 screwdriver.
-
-
-
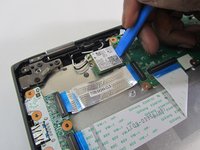
Disconnect the Wi-Fi card from the motherboard using an iFixit opening tool.
-
-
-
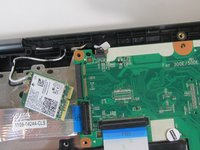
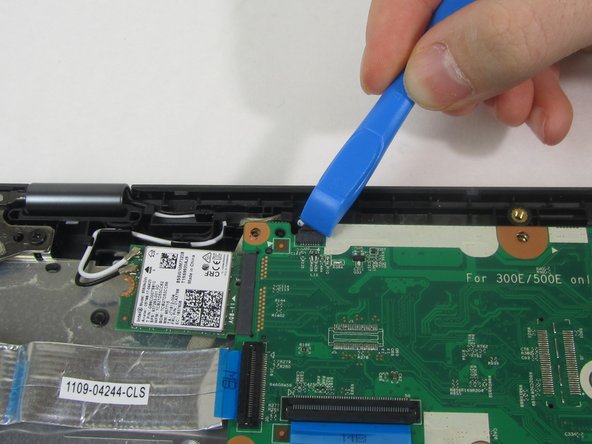
Using an iFixit opening tool, disconnect the camera cable.
-
-
-
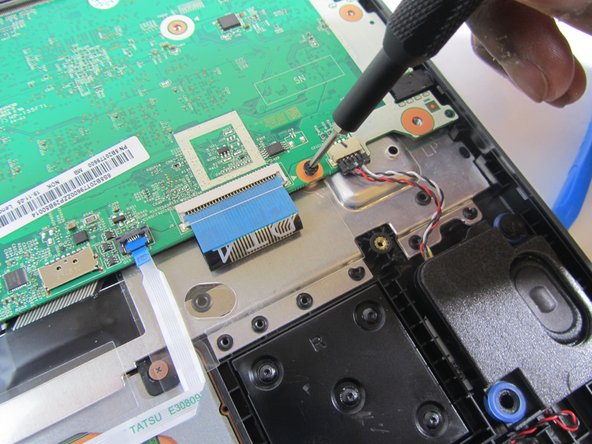
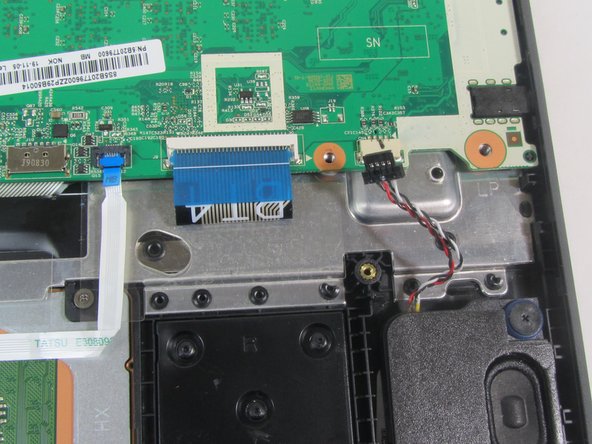
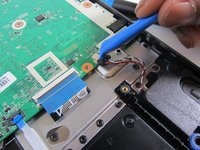
Using an iFixit opening tool, detach the speaker wiring from the motherboard.
-
Set speakers aside for reinstallation.
-
-
-
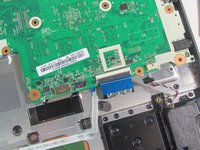
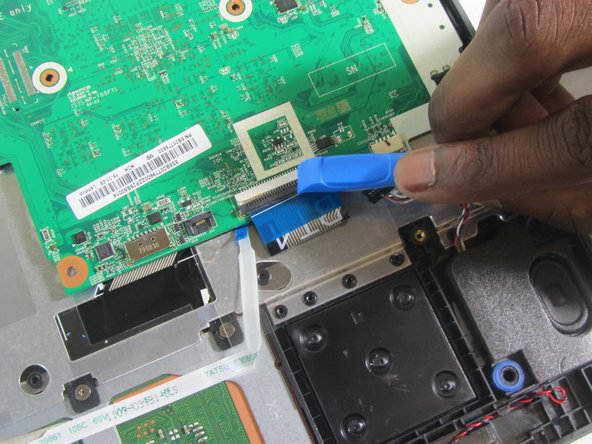
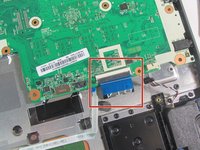
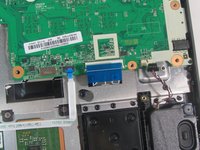
Using an iFixit opening tool, detach the track pad connector from the motherboard.
-
-
-
Using an iFixit opening tool, detach the keyboard cable from the motherboard.
-
-
crwdns2935267:0crwdne2935267:0Tweezers$4.99
-
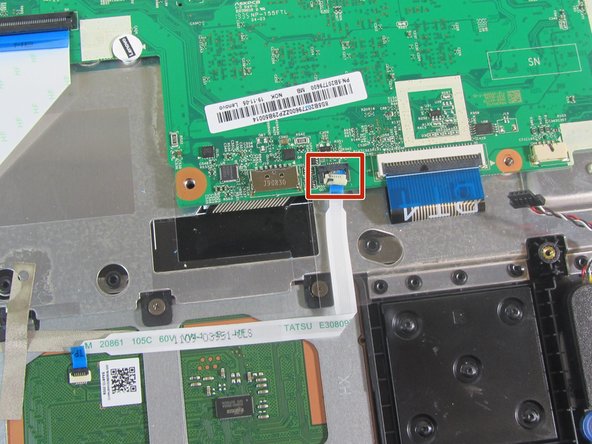
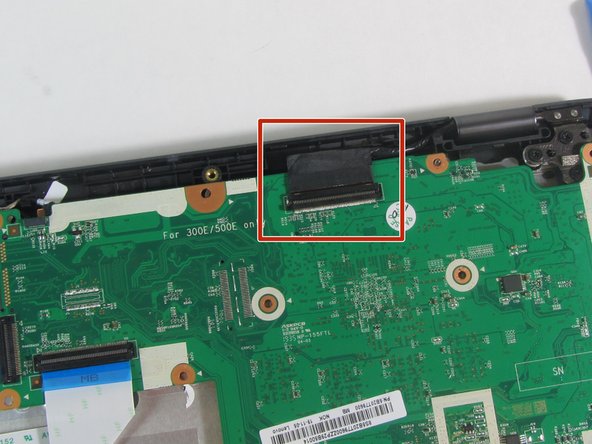
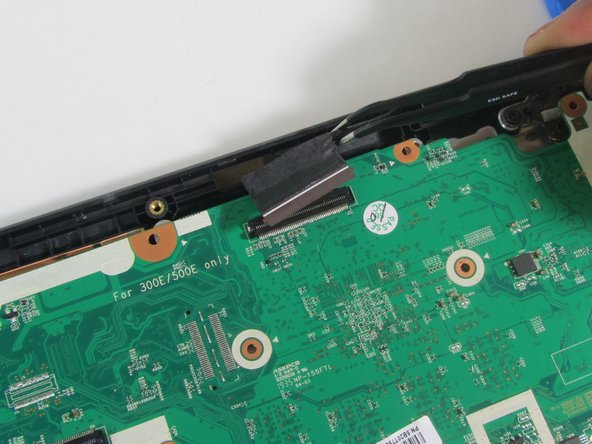
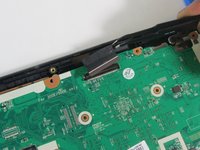
Using tweezers, disconnect the black cable from the motherboard.
-
-
-
Gently remove the motherboard from the laptop.
-


To reassemble your device, follow these instructions in reverse order.
To reassemble your device, follow these instructions in reverse order.
crwdns2935221:0crwdne2935221:0
crwdns2935227:0crwdne2935227:0

crwdns2915084:0crwdne2915084:0

Illinois Wesleyan University, Team 1-3, Bullock Spring 2022 crwdns2935289:0Illinois Wesleyan University, Team 1-3, Bullock Spring 2022crwdne2935289:0
IWU-BULLOCK-S22S1G3
crwdns2931471:03crwdne2931471:0
crwdns2935297:05crwdne2935297:0