crwdns2915892:0crwdne2915892:0
This guide will show you how to replace the keyboard for the Lenovo 500e 2nd Gen Chromebook, model number: 81MC005AUS. The keyboard allows the user to type and use the trackpad. If your keyboard is malfunctioning, refer to our troubleshooting page.
crwdns2942213:0crwdne2942213:0
-
-
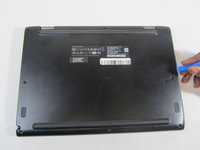
Remove nine 6 mm screws from the bottom cover of the laptop using a Phillips #0 screwdriver.
-
-
-
Remove stylus from the lower left corner of the back panel.
-
-
-
Go along the edge of the back panel with an iFixit opening tool until it pops loose.
-
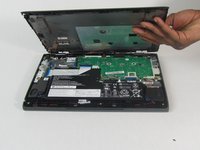
Remove the back panel from the laptop.
-
-
-
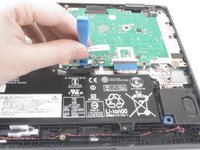
Remove the four 4 mm Phillips #00 screws holding the battery in.
-
-
-
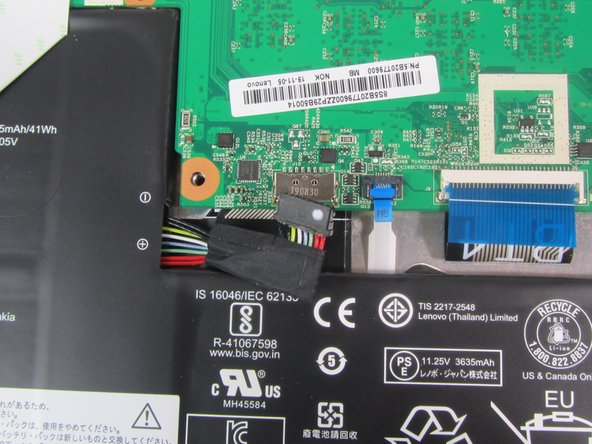
Use the iFixit opening tool to unplug the battery from the motherboard.
-
-
-
Remove the three 4 mm screws (six total) from the left and right side brackets using a Phillips #00 screwdriver.
-
Gently remove the metal brackets from the motherboard.
-
-
-
-
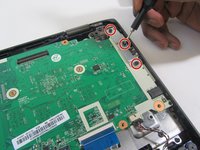
Remove the nine 4 mm screws from the motherboard using a Phillips #00 screwdriver.
-
-
-
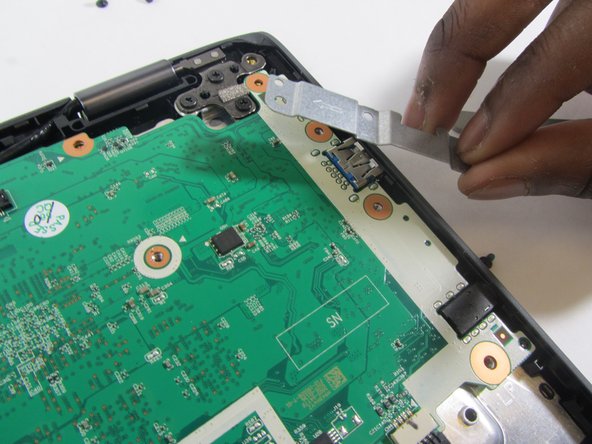
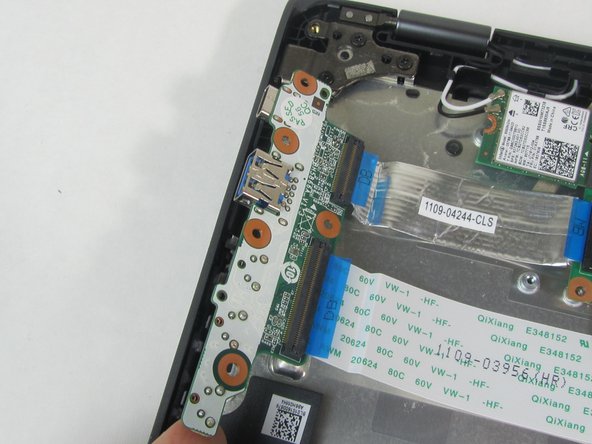
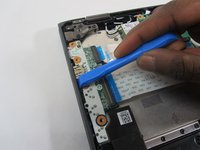
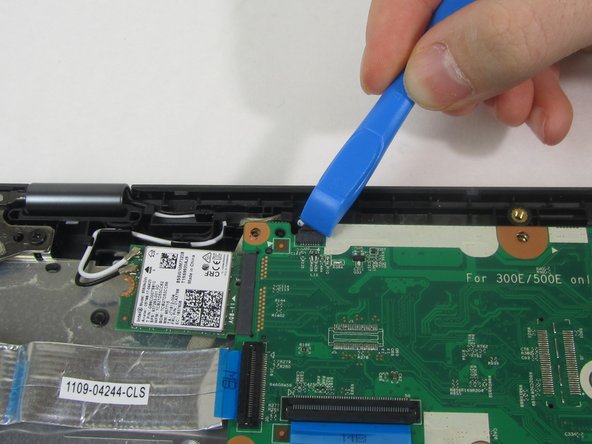
Gently remove the USB port from the side housing using an iFixit opening tool.
-
-
-
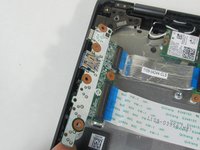
Gently peel the metal strip away from the metal backing.
-
-
-
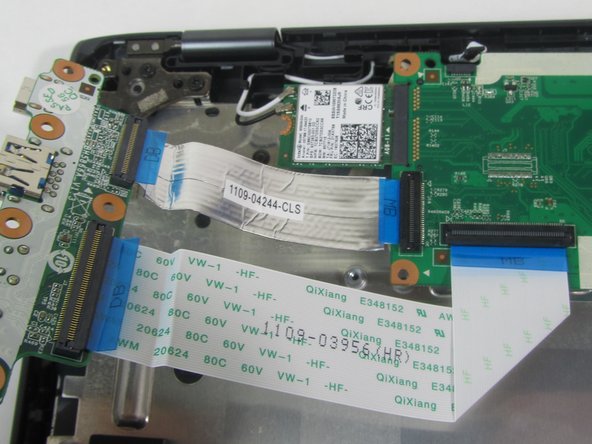
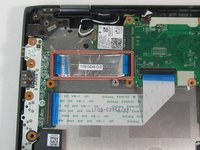
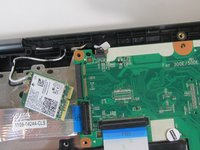
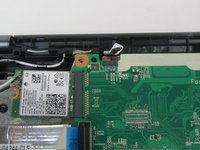
Remove the single 3 mm screw that holds the Wi-Fi card in place using a Phillips #00 screwdriver.
-
-
-
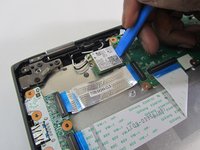
Disconnect the Wi-Fi card from the motherboard using an iFixit opening tool.
-
-
-
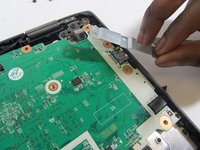
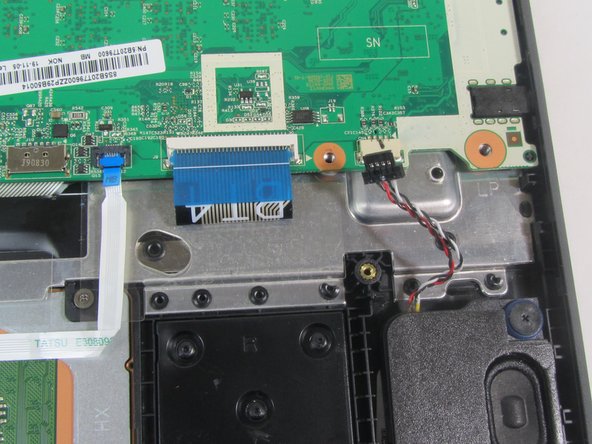
Using an iFixit opening tool, disconnect the camera cable.
-
-
-
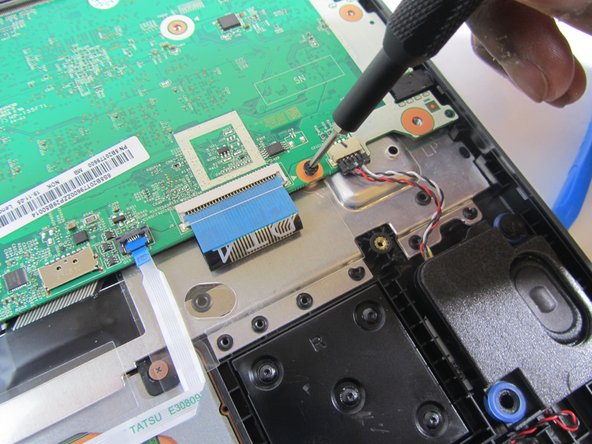
Using an iFixit opening tool, detach the speaker wiring from the motherboard.
-
Set speakers aside for reinstallation.
-
-
-
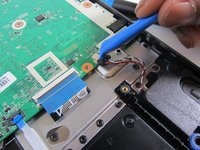
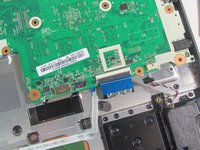
Using an iFixit opening tool, detach the track pad connector from the motherboard.
-
-
-
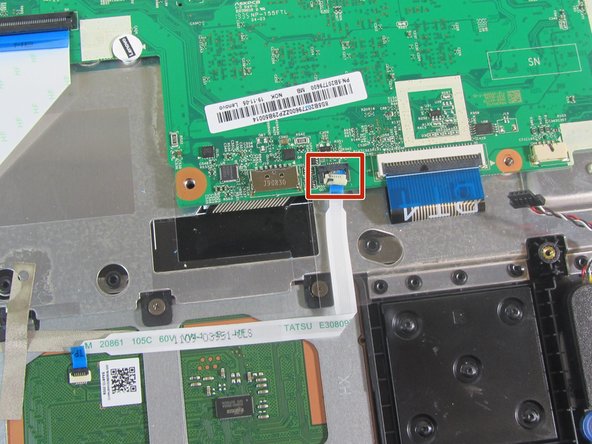
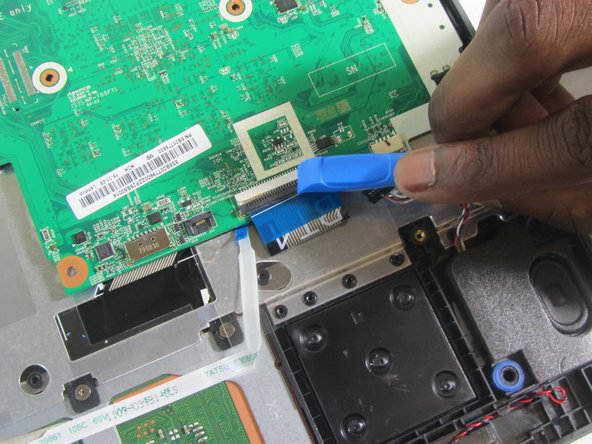
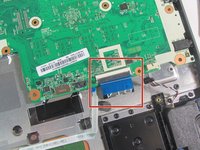
Using an iFixit opening tool, detach the keyboard cable from the motherboard.
-
-
crwdns2935267:0crwdne2935267:0Tweezers$4.99
-
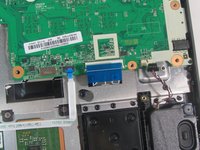
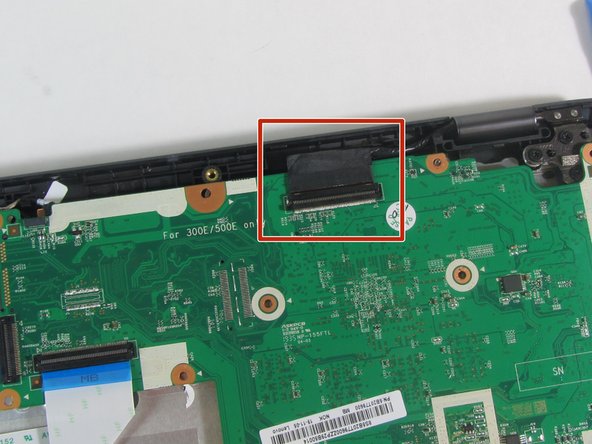
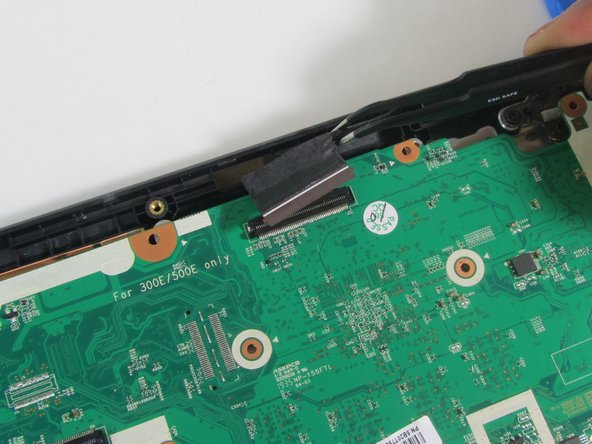
Using tweezers, disconnect the black cable from the motherboard.
-
-
-
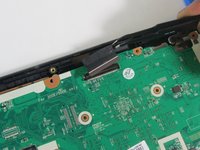
Gently remove the motherboard from the laptop.
-
-
-
Remove the three 5 mm screws (six total) from each hinge using a Phillips #0 screwdriver.
-
-
-
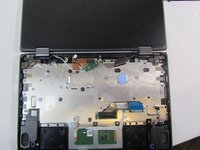
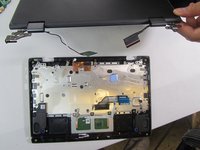
Gently open the laptop screen and it will separate from the keyboard.
-


To reassemble your device, follow these instructions in reverse order.
To reassemble your device, follow these instructions in reverse order.

crwdns2915084:0crwdne2915084:0

Illinois Wesleyan University, Team 1-3, Bullock Spring 2022 crwdns2935289:0Illinois Wesleyan University, Team 1-3, Bullock Spring 2022crwdne2935289:0
IWU-BULLOCK-S22S1G3
crwdns2931471:03crwdne2931471:0
crwdns2935297:05crwdne2935297:0