crwdns2942213:0crwdne2942213:0
-
-
Carefully unscrew the four Phillips #0 screws on the bottom of the camera.
-
-
-
Open the back door on the camera by pushing down on the door latch.
-
-
-
Apply pressure to the bottom plate and it will pop off.
-
From here, you can replace the bottom plate, or continue on to further steps.
-
-
-
Having opened the camera and removed the bottom plate, unscrew the five screws marked in the picture.
-
-
-
Apply pressure until the piece you unscrewed in the last step pops off.
-
-
-
Unscrew the four screws on the back of this piece to the lower-left corner of the lens.
-
-
-
-
Removing the lens motor cover, you should be left with these four pieces.
-
-
-
Located underneath these four pieces is the lens motor.
-
-
-
Now that you've removed the bottom plate, you can pull apart the front and back covers.
-
Start with the front cover and, by applying pressure (perhaps a lot of pressure), snap off the front cover.
-
-
-
Next, the back cover.
-
Apply pressure to remove the back plate.
-
The best way to remove the back is to stick your thumbs on either side of the battery socket and separate from there.
-
-
-
You should now have removed the front and back plates.
-
-
-
Remove the four screws holding on the front panel surrounding the lens.
-
-
-
Remove the three gears under the panel you removed in the last step and the lens motor should be able to be removed.
-
-
-
Now that the lens motor has been removed, you can apply pressure to the back of the lens and push it out.
-
From here, locate the three screws near the front of the lens.
-
Unscrew these three screws.
-
-
-
From here, you can pull out the small disk containing the lens cover.
-
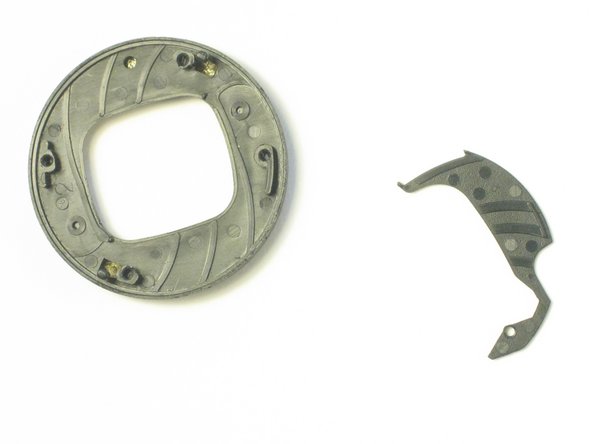
Unscrew the four screws on the back and pull the two pieces of the disk apart.
-
-
-
From here, you can replace any broken parts in the lens cover.
-


To reassemble your device, follow these instructions in reverse order.
crwdns2935221:0crwdne2935221:0
crwdns2935227:0crwdne2935227:0
crwdns2935287:0crwdne2935287:0

Cal Poly, Team 18-19, Garner Spring 2011 crwdns2935289:0Cal Poly, Team 18-19, Garner Spring 2011crwdne2935289:0
CPSU-GARNER-S11S18G19
crwdns2931471:04crwdne2931471:0
crwdns2935297:013crwdne2935297:0