crwdns2915892:0crwdne2915892:0
This guide is rather lengthy as many components must be removed to access the rear facing camera. However, few tools are required and is over all an easy fix.
crwdns2942213:0crwdne2942213:0
-
crwdns2935267:0crwdne2935267:0Anti-Static Wrist Strap$7.95
-
Before taking apart your device, ensure that it is turned off and that your anti-static wrist strap is secured to a ground.
-
Remove the six 10.0 mm Phillips #0 screws from the outer case and remove the cover with your hands.
-
-
-
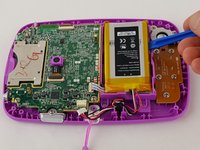
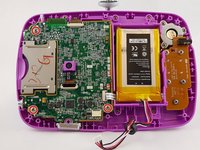
Unplug the battery from the motherboard with your hands.
-
-
-
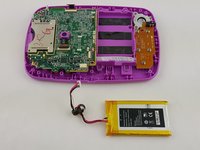
Pry the battery gently off of the plastic platform with an opening tool.
-
-
-
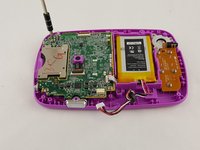
Disconnect the audio cord from the motherboard using a plastic opening tool.
-
-
-
-
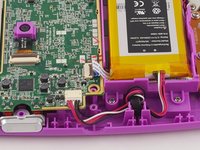
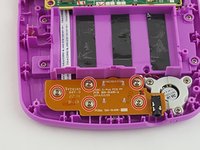
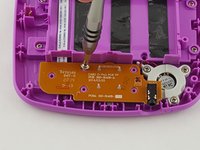
Unscrew the five 6.0 mm phillips head screws from the board containing the audio jack and directional pad.
-
-
-
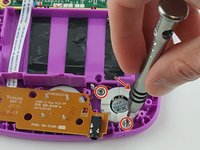
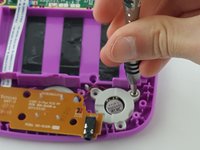
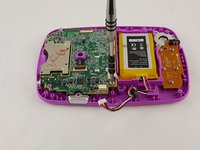
Unscrew the three 6.5 mm phillips head screws holding down the speaker to the right of the audio jack.
-
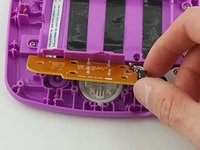
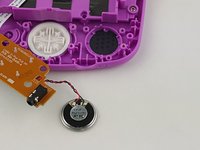
Remove the board and speaker from the device.
-
-
-
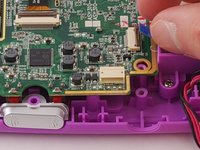
Unplug the front facing camera cord with an opening tool to free the top of the motherboard.
-
-
-
Remove the three 6 mm phillips head screws holding the motherboard to the display assembly.
-
-
-
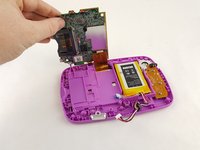
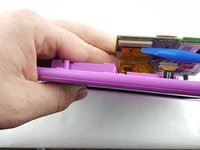
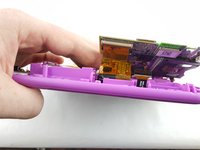
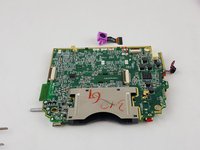
Carefully lift the motherboard out of the case, exposing the last remaining cord on the underside of the motherboard.
-
Disconnect the gold display assembly cord with an opening tool to fully disconnect the motherboard.
-
-
-
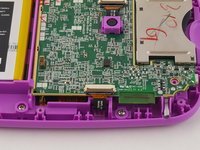
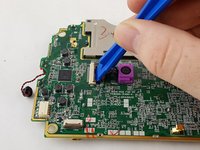
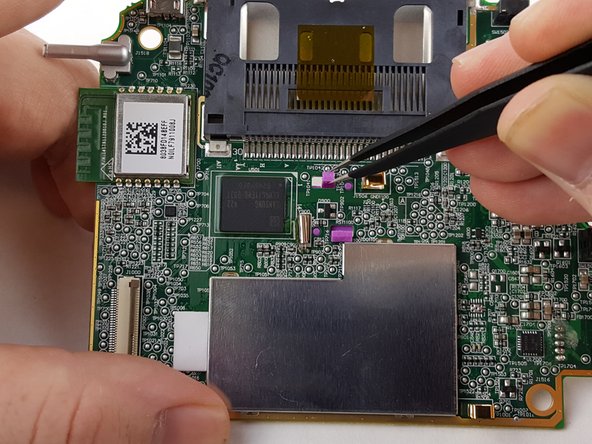
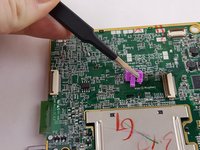
Unplug the rear facing camera located in the top center of the motherboard.
-
-
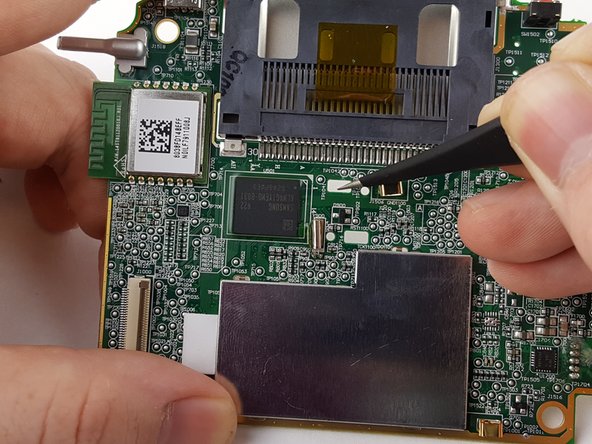
crwdns2935267:0crwdne2935267:0Tweezers$4.99
-
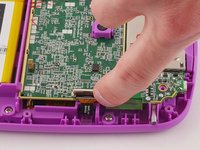
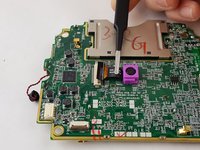
Unhook the small plastic tooth from the underside of the motherboard. This can be accomplished with tweezers.
-
-
-
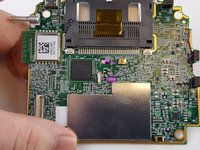
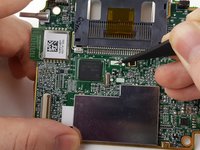
Pull the camera out of the top of the motherboard for replacement.
-


To reassemble your device, follow these instructions in reverse order.
To reassemble your device, follow these instructions in reverse order.
crwdns2935221:0crwdne2935221:0
crwdns2935229:02crwdne2935229:0
crwdns2915084:0crwdne2915084:0

USF Tampa, Team 16-2, Blackwell Winter 2016 crwdns2935289:0USF Tampa, Team 16-2, Blackwell Winter 2016crwdne2935289:0
USFT-BLACKWELL-W16S16G2
crwdns2931471:03crwdne2931471:0
crwdns2935297:012crwdne2935297:0