crwdns2933423:0crwdne2933423:0
crwdns2947577:0crwdnd2947577:0crwdne2947577:0

Lasko CD08200 Control Panel Replacement

crwdns2869540:0crwdne2869540:0: 1.3K

crwdns2959988:0crwdne2959988:0

crwdns2959990:0crwdne2959990:0
4
crwdns2959992:0crwdne2959992:0
14
crwdns2959994:0crwdne2959994:0
68
crwdns2959996:0crwdne2959996:0
1,267
crwdns2955950:0crwdne2955950:0: 0

crwdns2959998:0crwdne2959998:0

crwdns2960000:0crwdne2960000:0
crwdns2959984:0crwdne2959984:0: 1

crwdns2959972:01crwdne2959972:0

crwdns2959986:0crwdne2959986:0: 0

crwdns2959958:0crwdne2959958:0

crwdns2955944:0crwdne2955944:0: 15 - 20 crwdns2931279:0crwdne2931279:0
crwdns2955970:0crwdne2955970:0: crwdns2937801:0crwdne2937801:0
Lasko CD08200 Control Panel Replacement

crwdns2915892:0crwdne2915892:0

crwdns2959928:0crwdne2959928:0 ↓

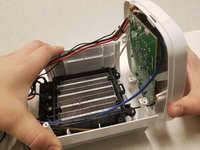
The panel is a curved component that is part of the outer covering of a device. A faulty panel can cause your Lasko CD08200 heater to be exposed to outside sources such as water which can lead to unfortunate incidents. In some cases, your heater may not work at all if it has a faulty panel.

 Before using this guide, make sure to review the troubleshooting page to be sure if replacing the control panel is the correct action to fix your device.

crwdns2959930:0crwdne2959930:0

crwdns2943215:0crwdne2943215:0

    1. Lasko CD08200 Control Panel Replacement, Lasko CD08200 Disassembly: crwdns2935265:01crwdnd2935265:01crwdnd2935265:02crwdne2935265:0 Lasko CD08200 Control Panel Replacement, Lasko CD08200 Disassembly: crwdns2935265:01crwdnd2935265:02crwdnd2935265:02crwdne2935265:0
      • Turn over the device and place it on its head.

      • Remove the four 14mm screws holding the bottom using a TR15 screwdriver.

      crwdns2952109:0crwdne2952109:0

      crwdns2917038:0crwdne2917038:0

    2. Lasko CD08200 Control Panel Replacement: crwdns2935265:02crwdnd2935265:01crwdnd2935265:01crwdne2935265:0
      • Remove both 14mm screws from the power cord casing using a Phillips #2 screwdriver.

      • Remove the power cord casing from the device case.

      crwdns2952109:0crwdne2952109:0

      crwdns2917038:0crwdne2917038:0

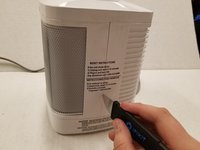
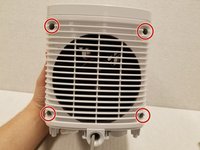
    3. Lasko CD08200 Control Panel Replacement: crwdns2935265:03crwdnd2935265:01crwdnd2935265:03crwdne2935265:0 Lasko CD08200 Control Panel Replacement: crwdns2935265:03crwdnd2935265:02crwdnd2935265:03crwdne2935265:0 Lasko CD08200 Control Panel Replacement: crwdns2935265:03crwdnd2935265:03crwdnd2935265:03crwdne2935265:0
      • Cut the sticker on the right side of the device using a Jimmy.

      • Unscrew the four 14mm screws with a Phillips #2 bit on the back of the device.

      • If your screwdriver cannot reach the screw, you can use the metal spudger.

      • Remove the back casing from the device.

      crwdns2952109:0crwdne2952109:0

      crwdns2917038:0crwdne2917038:0

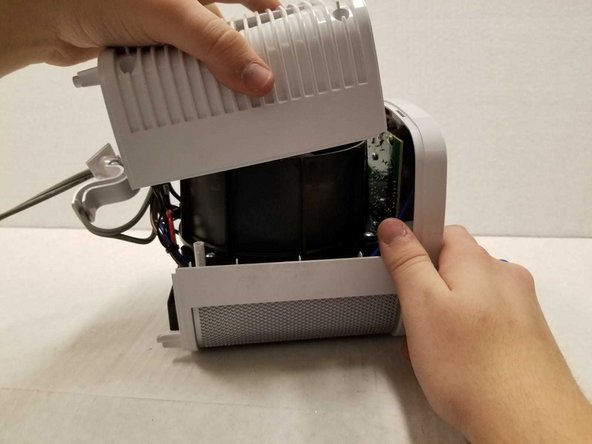
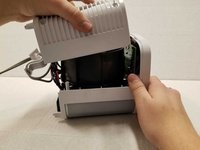
    4. Lasko CD08200 Control Panel Replacement: crwdns2935265:04crwdnd2935265:01crwdnd2935265:03crwdne2935265:0 Lasko CD08200 Control Panel Replacement: crwdns2935265:04crwdnd2935265:02crwdnd2935265:03crwdne2935265:0 Lasko CD08200 Control Panel Replacement: crwdns2935265:04crwdnd2935265:03crwdnd2935265:03crwdne2935265:0
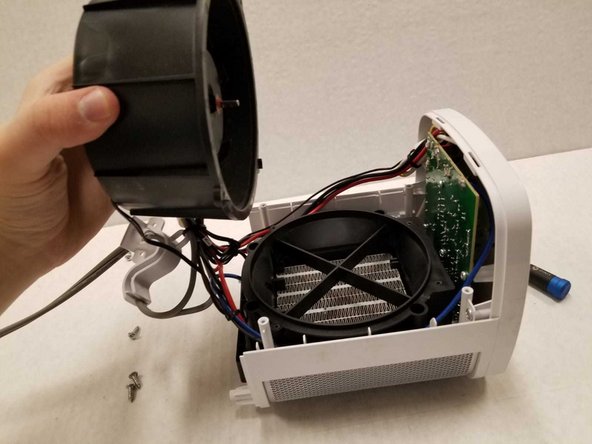
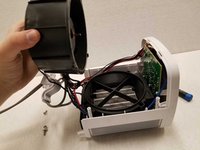
      • Remove the four 14mm screws housing the fan using the Phillips #2 screwdriver.

      • Remove the top of the fan housing with the fan attached and place it on the table.

      crwdns2952109:0crwdne2952109:0

      crwdns2917038:0crwdne2917038:0

    1. Lasko CD08200 Control Panel Replacement, Control Panel: crwdns2935265:05crwdnd2935265:01crwdnd2935265:02crwdne2935265:0 Lasko CD08200 Control Panel Replacement, Control Panel: crwdns2935265:05crwdnd2935265:02crwdnd2935265:02crwdne2935265:0
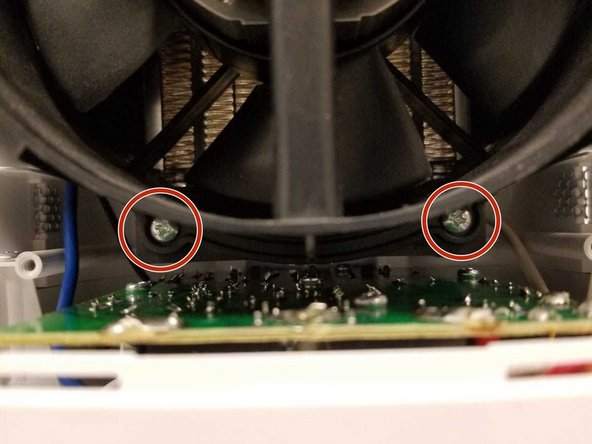
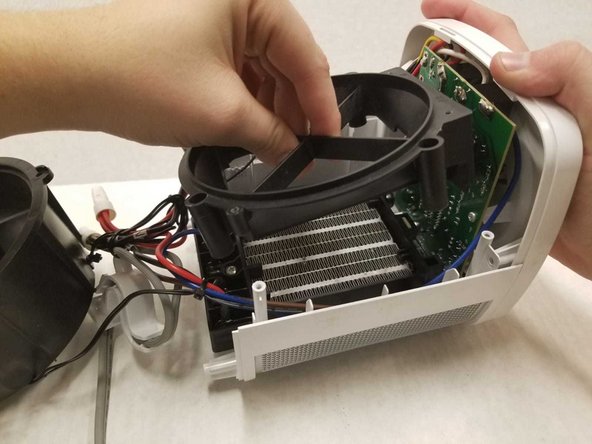
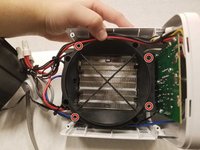
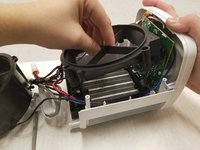
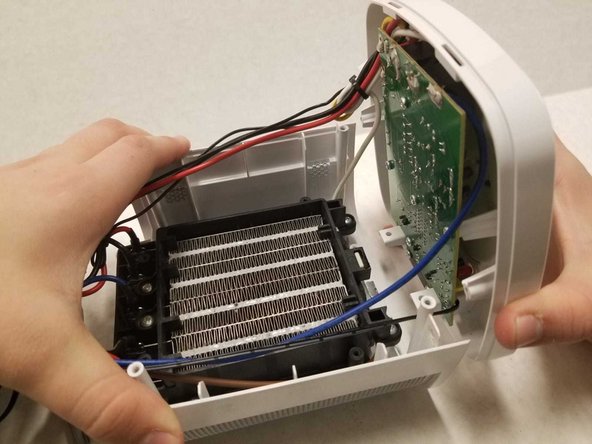
      • Unscrew the four rings using the Phillips #2.

      • Gently remove the fan base from the device.

      crwdns2952109:0crwdne2952109:0

      crwdns2917038:0crwdne2917038:0

    2. Lasko CD08200 Control Panel Replacement: crwdns2935265:06crwdnd2935265:01crwdnd2935265:03crwdne2935265:0 Lasko CD08200 Control Panel Replacement: crwdns2935265:06crwdnd2935265:02crwdnd2935265:03crwdne2935265:0 Lasko CD08200 Control Panel Replacement: crwdns2935265:06crwdnd2935265:03crwdnd2935265:03crwdne2935265:0
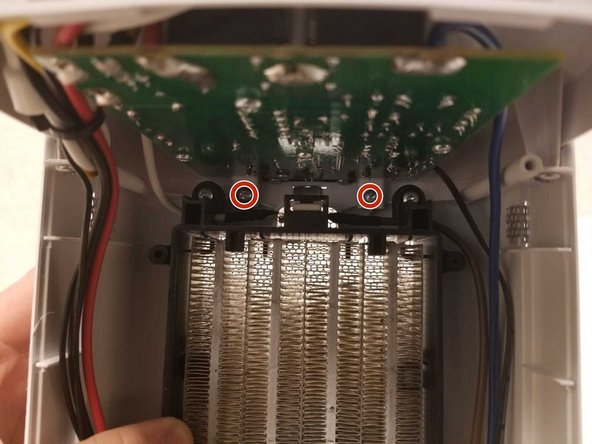
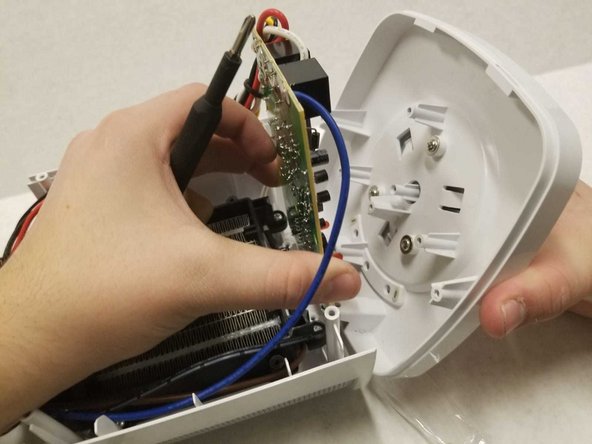
      • Remove the four 14mm screws using the Phillips #2 screwdriver.

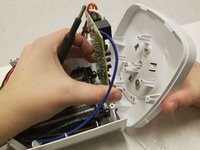
      • Gently detach the control panel from the device.

      crwdns2952109:0crwdne2952109:0

      crwdns2917038:0crwdne2917038:0

    3. Lasko CD08200 Control Panel Replacement: crwdns2935265:07crwdnd2935265:01crwdnd2935265:02crwdne2935265:0 Lasko CD08200 Control Panel Replacement: crwdns2935265:07crwdnd2935265:02crwdnd2935265:02crwdne2935265:0
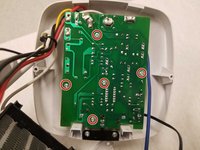
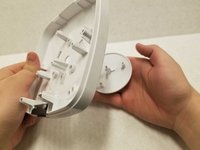
      • Remove the five 14mm screws using the Phillips #2 screwdriver.

      • Pull apart the motherboard from the panel.

      crwdns2952109:0crwdne2952109:0

      crwdns2917038:0crwdne2917038:0

    4. Lasko CD08200 Control Panel Replacement: crwdns2935265:08crwdnd2935265:01crwdnd2935265:03crwdne2935265:0 Lasko CD08200 Control Panel Replacement: crwdns2935265:08crwdnd2935265:02crwdnd2935265:03crwdne2935265:0 Lasko CD08200 Control Panel Replacement: crwdns2935265:08crwdnd2935265:03crwdnd2935265:03crwdne2935265:0
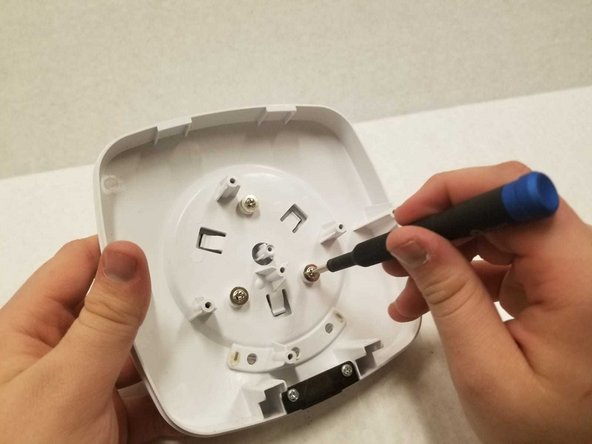
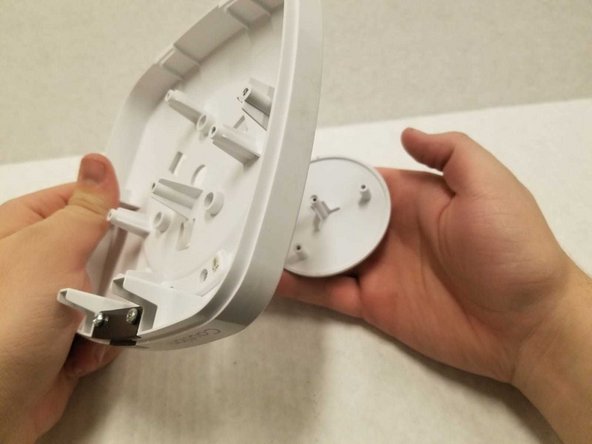
      • Remove the three 10mm screws using the Phillips #2 screwdriver.

      • Pull the button from the panel’s top.

      • During reassembly of the top panel, you must align the LED light with the three windows of the top panel and back panel.

      crwdns2952109:0crwdne2952109:0

      crwdns2917038:0crwdne2917038:0

crwdns2915888:0crwdne2915888:0

To reassemble your device, follow these instructions in reverse order.

crwdns2935221:0crwdne2935221:0

crwdns2935227:0crwdne2935227:0

Najiib Ahmed

crwdns2935283:001/14/20crwdne2935283:0

161 crwdns2915208:0crwdne2915208:0

crwdns2935295:0crwdne2935295:0

crwdns2935287:0crwdne2935287:0

York University, Team S1-G1, Woodhouse Winter 2020 crwdns2935289:0York University, Team S1-G1, Woodhouse Winter 2020crwdne2935289:0

YORK-WOODHOUSE-W20S1G1

crwdns2931471:03crwdne2931471:0

crwdns2935297:060crwdne2935297:0

crwdns2947412:00crwdne2947412:0

crwdns2917038:0crwdne2917038:0

crwdns2936625:0crwdne2936625:0:

crwdns2936751:024crwdne2936751:0 4

crwdns2936753:07crwdne2936753:0 14

crwdns2936753:030crwdne2936753:0 68

crwdns2959996:0crwdne2959996:0 1,267