crwdns2915892:0crwdne2915892:0
Replacing the swing plate fuser drive (aka swing plate assembly) can resolve paper jams, stop ink blotting, and increase the longevity of your printer.
crwdns2942213:0crwdne2942213:0
-
-
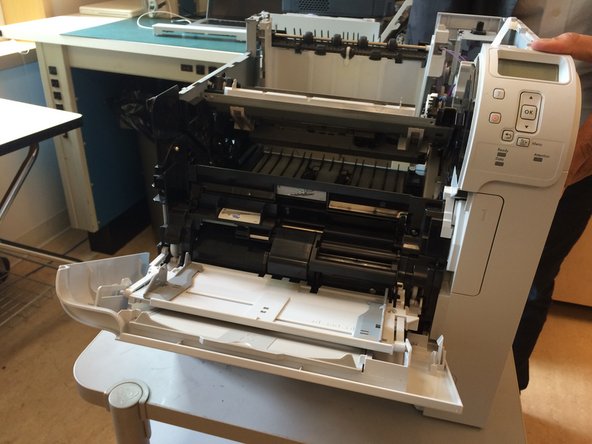
Move your printer to a decent workspace.
-
Make sure your workspace is clean and you have plenty of room to rest pieces of the printer on as you remove them. You may want to consider having a magnetic board to keep screws on as well.
-
-
-
Remove the lower paper tray (tray 2).
-
-
-
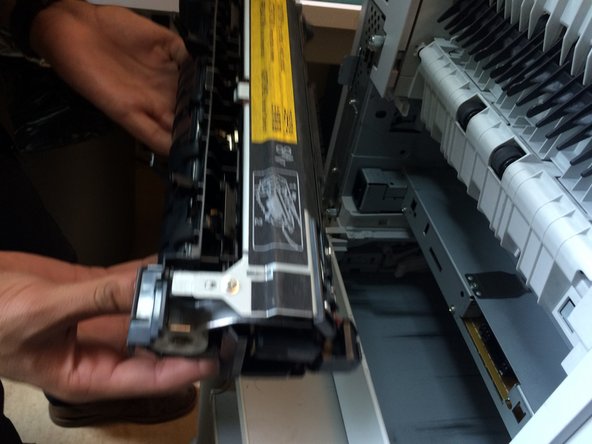
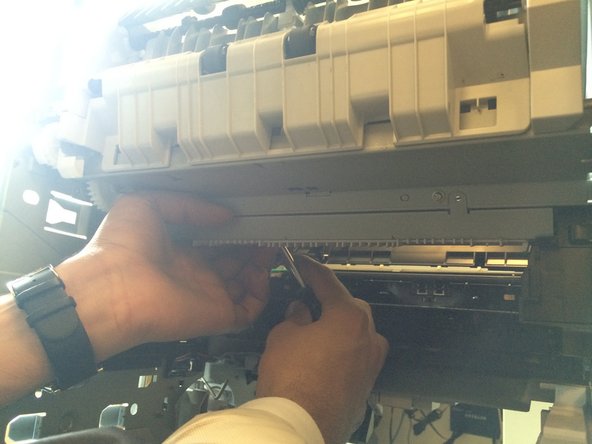
Remove the fuser unit.
-
Pinch blue tab on each side of fuser. Pull away fuser.
-
-
-
Remove the four screws from the top cover.
-
-
-
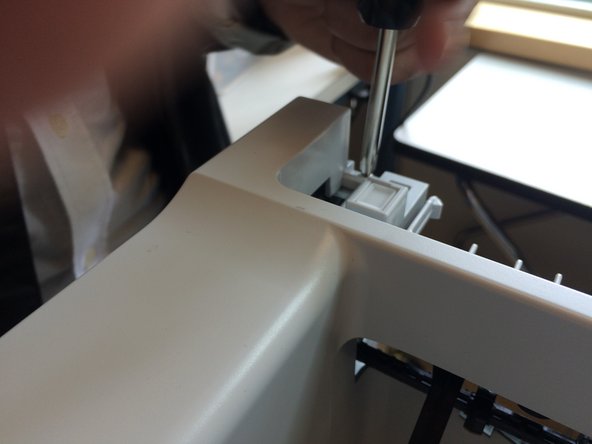
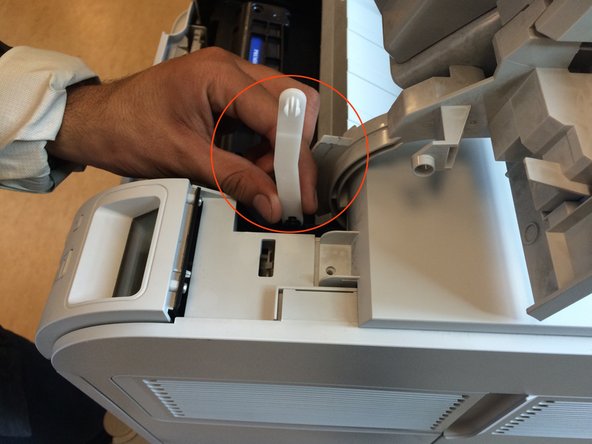
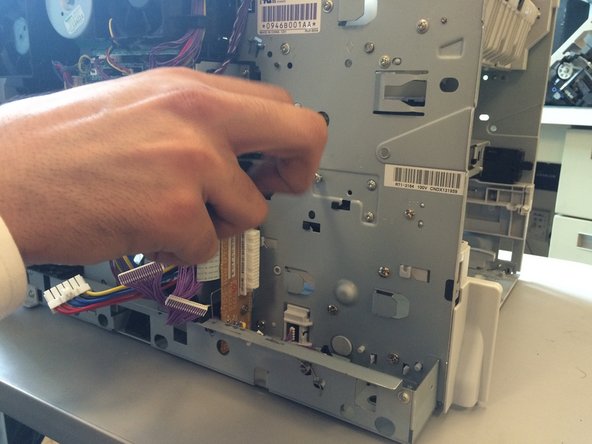
Open the top cover and unlatch the catch.
-
The catch is circled in red. Be careful with it, as it is fragile. Push it in with a screwdriver to ease it loose from its place. Do not remove top cover until the catch is released.
-
-
-
-
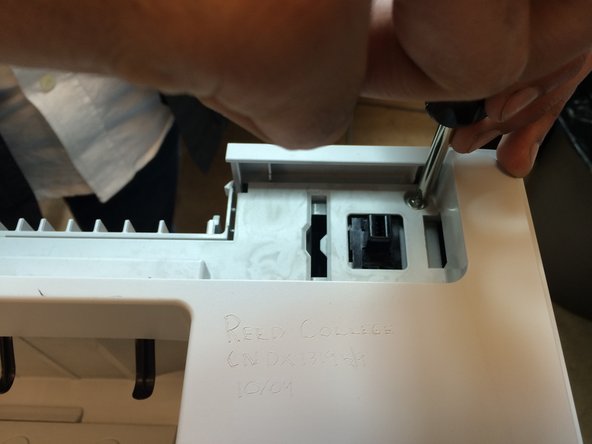
Remove the top cover.
-
Should straight up with ease. If not, go back and check your work. Ensure that all four screws have been removed and that the catch has been released on the door hinge.
-
-
-
Remove the left side panel.
-
Start by loosening back side from clips, working your way to the front. Be careful when removing the panel clip near the front printer door (slide panel carefully past door).
-
-
-
Remove the two screws from the formatter and slide it free.
-
-
-
Remove the small back left side plate cover.
-
-
-
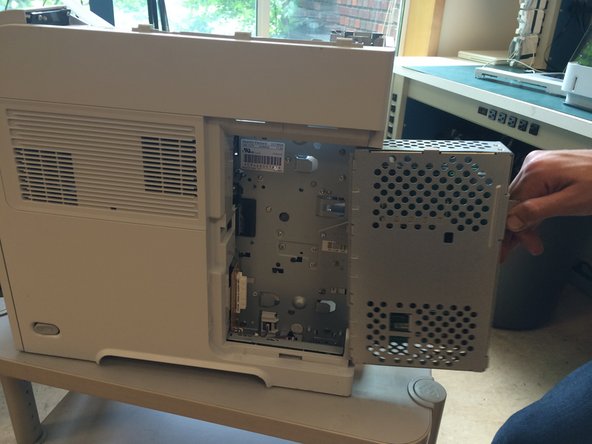
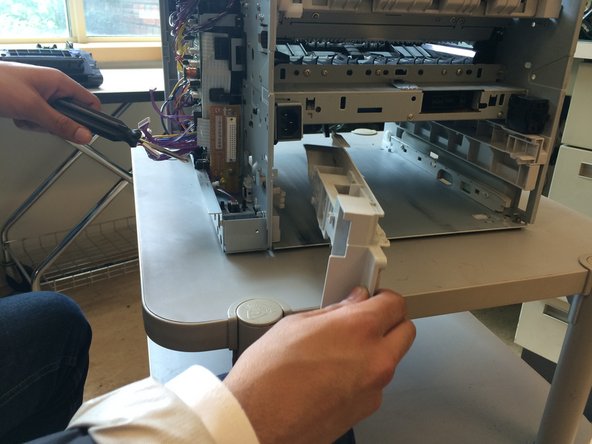
Remove the right side cover.
-
When removing the right side cover, notice plastic clip that attached to the power button assembly. Remember that this clip has to be reattached when you put the printer back together.
-
-
-
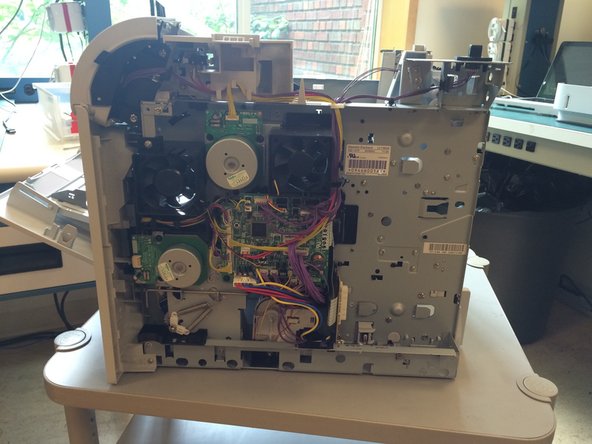
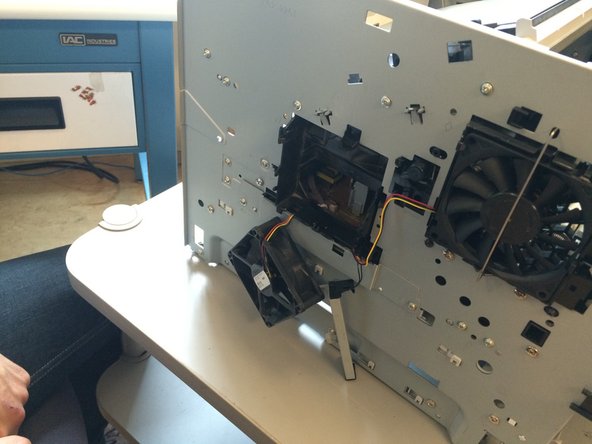
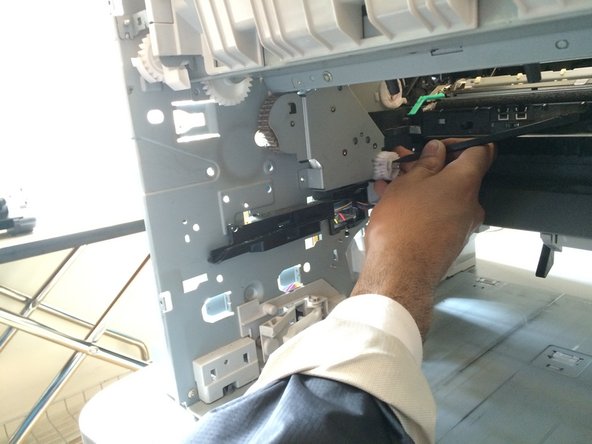
Take stock and organize your removed printer pieces.
-
-
-
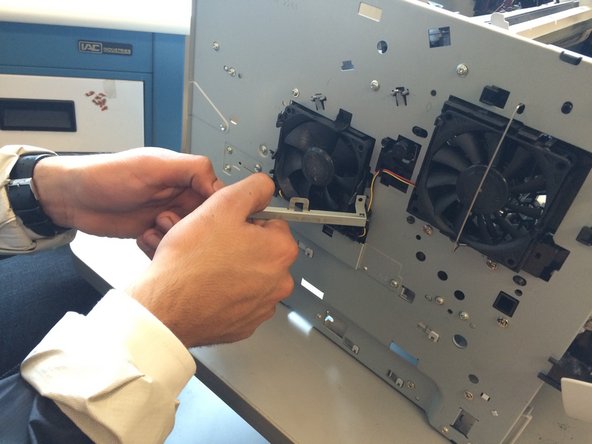
Remove the two screws from left fan cover on right side of printer, pull fan free, disconnect fan cable.
-
Screws are circled in red.
-
-
-
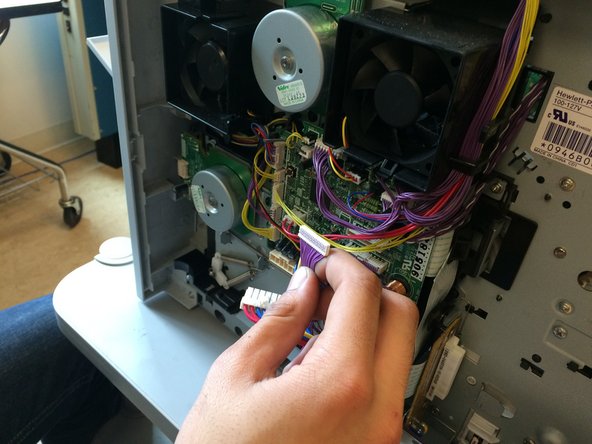
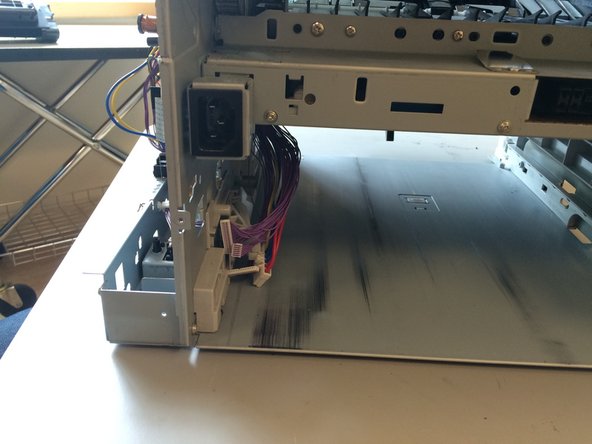
Disconnect the five power cables.
-
Cables are circled in red.
-
Proceed with caution; some of the cables need to have tabs pushed in before they will disconnect. Removing the cables will require some force, but avoid pulling out other tangled cables when removing the necessary ones.
-
-
-
Remove the six screws.
-
Keep these screws well-labeled. Drawing yourself a map on a magnetized board or piece of paper can be helpful.
-
-
-
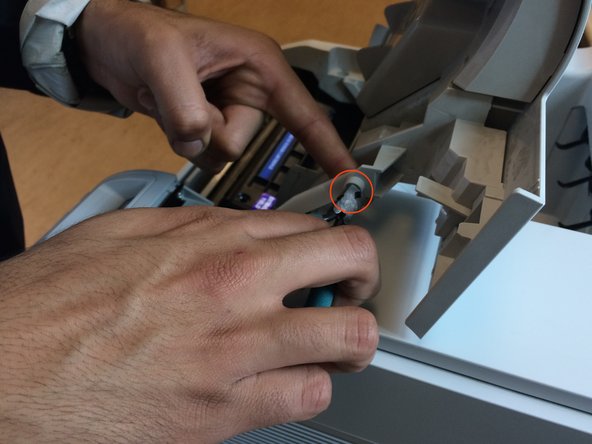
Remove the grey power assembly slide.
-
Use a screwdriver to press circular grey tab. After the tab is released, pull out the grey power assembly.
-
-
-
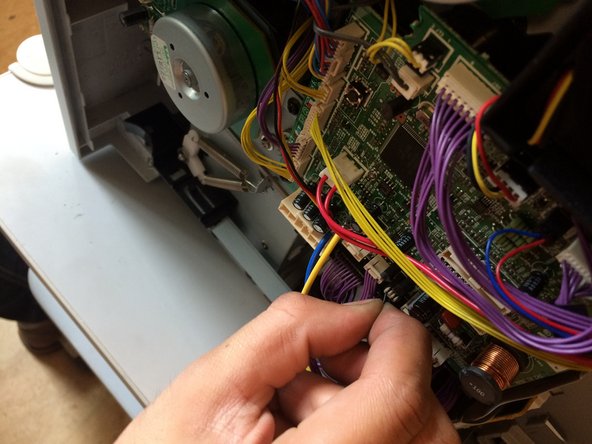
Guide all five disconnected cables through the black plastic cable guide.
-
Try one cable at a time.
-
All five cables should end up on the inside of the printer.
-
-
-
On the other side of the printer, remove six screws and the second fan plate. Disconnect the fan cable.
-
Fan cable (red and yellow) is attached underneath black plastic fan frame.
-
-
-
Remove the power supply.
-
You should now be able to freely slide the power supply out horizontally. Make sure the power cables are tucked safely beneath the power tray.
-
-
-
Remove the four screws from underside
-
Two of the screws are much easier to access than the others. You'll need to reach beneath to feel for the final two. Try to angle the end of your screwdriver away from you.
-
Only the visible screws are circled in red.
-
-
-
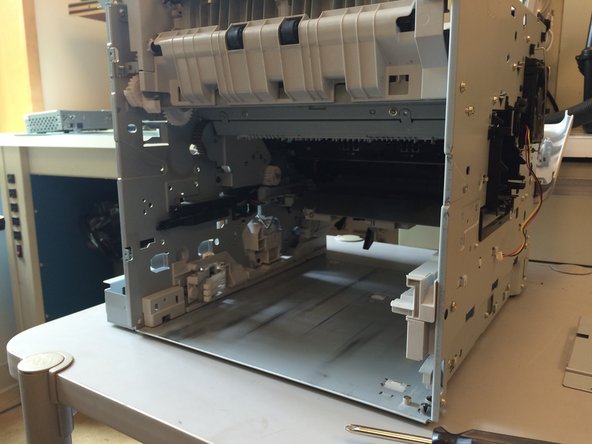
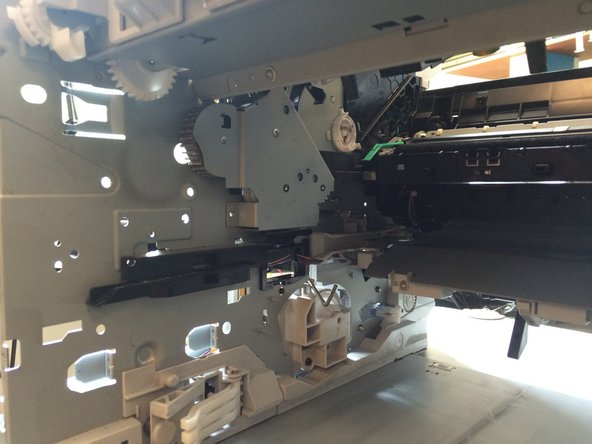
Congratulations! You've made it to the swing plate!
-
-
-
Remove the four screws holding the swing plate assembly in place.
-
Screws are circled in red.
-
Note that one screw is behind the white gear, which needs to be carefully removed by pushing down on the tab holding it in and easing it free.
-
-
-
Carefully extract the swing plate assembly.
-
Congratulations!
-
-
-
Install your replacement swing plate assembly with its four screws.
-
-
-
Follow these steps in reverse order and enjoy your replacement swing assembly.
-


To reassemble your device, follow these instructions in reverse order.
To reassemble your device, follow these instructions in reverse order.
crwdns2935221:0crwdne2935221:0
crwdns2935227:0crwdne2935227:0