crwdns2933423:0crwdne2933423:0
crwdns2947577:0crwdnd2947577:0crwdne2947577:0

LG Vu CU920 Microphone Replacement

crwdns2942213:0crwdne2942213:0

  1. LG Vu CU920 Microphone Replacement, Battery: crwdns2935265:01crwdnd2935265:01crwdnd2935265:03crwdne2935265:0 LG Vu CU920 Microphone Replacement, Battery: crwdns2935265:01crwdnd2935265:02crwdnd2935265:03crwdne2935265:0 LG Vu CU920 Microphone Replacement, Battery: crwdns2935265:01crwdnd2935265:03crwdnd2935265:03crwdne2935265:0
    • Remove the back cover by firmly pressing against the indent on the back panel. Slide the cover downward and off the phone.

    crwdns2952109:0crwdne2952109:0

    crwdns2917038:0crwdne2917038:0

  2. LG Vu CU920 Microphone Replacement: crwdns2935265:02crwdnd2935265:01crwdnd2935265:02crwdne2935265:0 LG Vu CU920 Microphone Replacement: crwdns2935265:02crwdnd2935265:02crwdnd2935265:02crwdne2935265:0
    • Remove the battery by placing your fingernail or an opening tool at the bottom edge of the battery and lift it out.

    crwdns2952109:0crwdne2952109:0

    crwdns2917038:0crwdne2917038:0

  3. LG Vu CU920 Microphone Replacement, Motherboard: crwdns2935265:03crwdnd2935265:01crwdnd2935265:01crwdne2935265:0
    • Remove the two 3.5 mm screws above the battery port with a Phillips #00 screwdriver.

    crwdns2952109:0crwdne2952109:0

    crwdns2917038:0crwdne2917038:0

  4. LG Vu CU920 Microphone Replacement: crwdns2935265:04crwdnd2935265:01crwdnd2935265:02crwdne2935265:0 LG Vu CU920 Microphone Replacement: crwdns2935265:04crwdnd2935265:02crwdnd2935265:02crwdne2935265:0
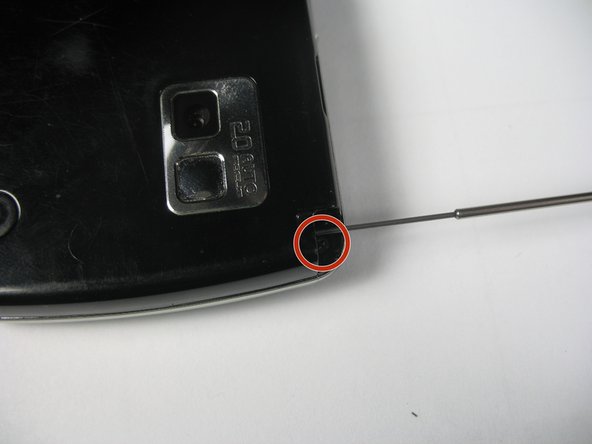
    • Pull out the antenna to reveal a third screw.

    • Remove the 3.5 mm screw with a Phillips #00 screwdriver.

    crwdns2952109:0crwdne2952109:0

    crwdns2917038:0crwdne2917038:0

  5. LG Vu CU920 Microphone Replacement: crwdns2935265:05crwdnd2935265:01crwdnd2935265:03crwdne2935265:0 LG Vu CU920 Microphone Replacement: crwdns2935265:05crwdnd2935265:02crwdnd2935265:03crwdne2935265:0 LG Vu CU920 Microphone Replacement: crwdns2935265:05crwdnd2935265:03crwdnd2935265:03crwdne2935265:0
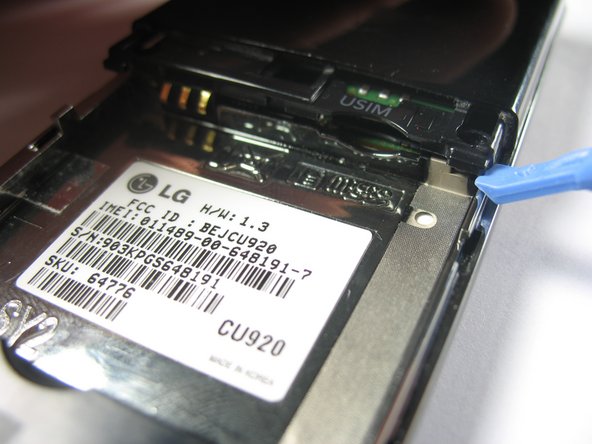
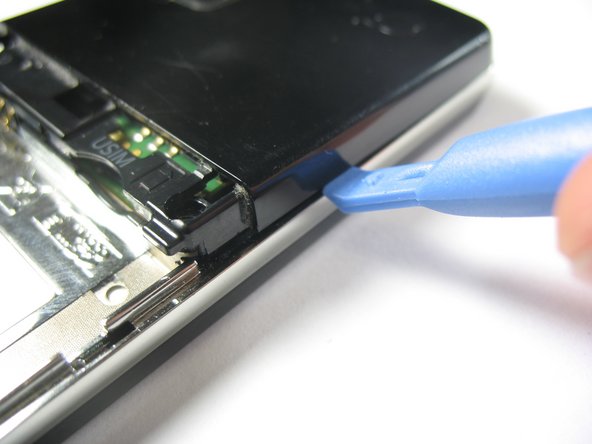
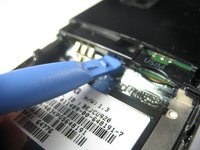
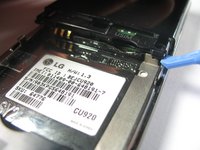
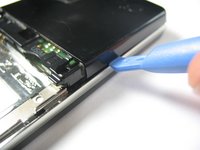
    • Using a plastic opening tool, gently pop up the plastic tab.

    • Use the plastic opening tool to pry up the edges of the plastic casing. You will then be able to slide it around the edge to dislodge it.

    crwdns2952109:0crwdne2952109:0

    crwdns2917038:0crwdne2917038:0

  6. LG Vu CU920 Microphone Replacement: crwdns2935265:06crwdnd2935265:01crwdnd2935265:02crwdne2935265:0 LG Vu CU920 Microphone Replacement: crwdns2935265:06crwdnd2935265:02crwdnd2935265:02crwdne2935265:0
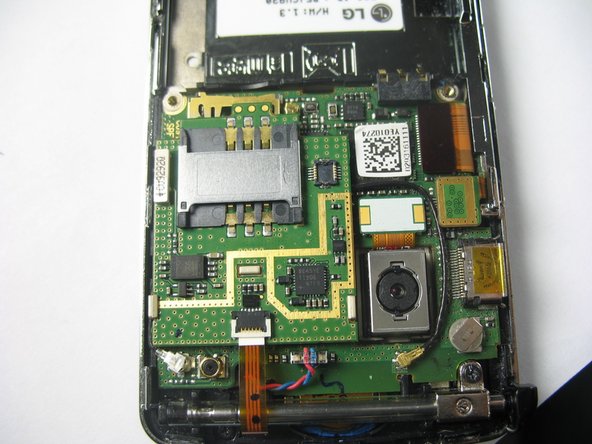
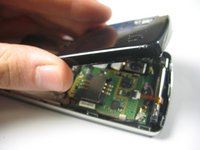
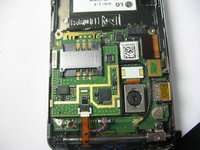
    • Remove the plastic case to reveal the motherboard.

    crwdns2952109:0crwdne2952109:0

    crwdns2917038:0crwdne2917038:0

  7. LG Vu CU920 Microphone Replacement: crwdns2935265:07crwdnd2935265:01crwdnd2935265:01crwdne2935265:0
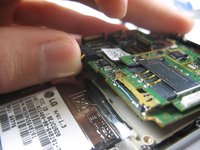
    • Use a spudger to disconnect the cables from the motherboard.

    • The following steps will detail how to detach the cables from the connectors.

    crwdns2952109:0crwdne2952109:0

    crwdns2917038:0crwdne2917038:0

  8. LG Vu CU920 Microphone Replacement: crwdns2935265:08crwdnd2935265:01crwdnd2935265:03crwdne2935265:0 LG Vu CU920 Microphone Replacement: crwdns2935265:08crwdnd2935265:02crwdnd2935265:03crwdne2935265:0 LG Vu CU920 Microphone Replacement: crwdns2935265:08crwdnd2935265:03crwdnd2935265:03crwdne2935265:0
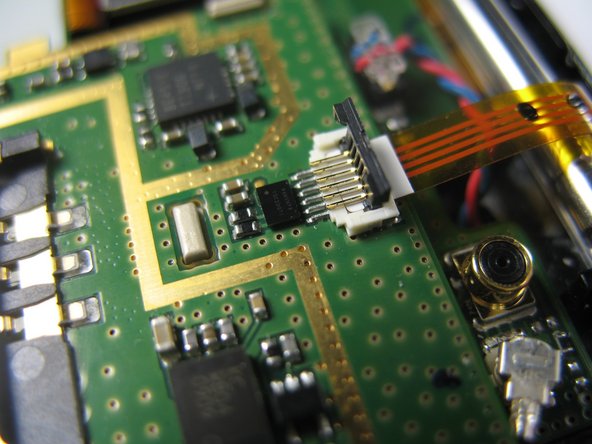
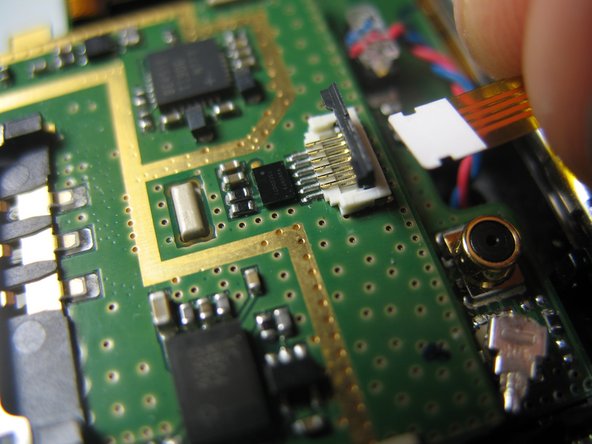
    • Gently lift the ZIF connector (black tab) holding the ribbon cable in place. When it is in the upright position, remove the cable from the back side.

    crwdns2952109:0crwdne2952109:0

    crwdns2917038:0crwdne2917038:0

  9. LG Vu CU920 Microphone Replacement: crwdns2935265:09crwdnd2935265:01crwdnd2935265:01crwdne2935265:0
    • Remove the jack attached to the red and blue wires by carefully pulling it upward from the motherboard.

    crwdns2952109:0crwdne2952109:0

    crwdns2917038:0crwdne2917038:0

  10. LG Vu CU920 Microphone Replacement: crwdns2935265:010crwdnd2935265:01crwdnd2935265:01crwdne2935265:0
    • Remove the round jack connected to the black cabel by carefully prying it up from beneath with a spudger or plastic opening tool.

    • This jack snaps on, so there will be more resistance than there was with the previous jack.

    crwdns2952109:0crwdne2952109:0

    crwdns2917038:0crwdne2917038:0

  11. LG Vu CU920 Microphone Replacement: crwdns2935265:011crwdnd2935265:01crwdnd2935265:02crwdne2935265:0 LG Vu CU920 Microphone Replacement: crwdns2935265:011crwdnd2935265:02crwdnd2935265:02crwdne2935265:0
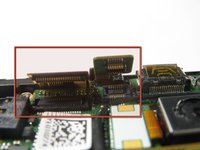
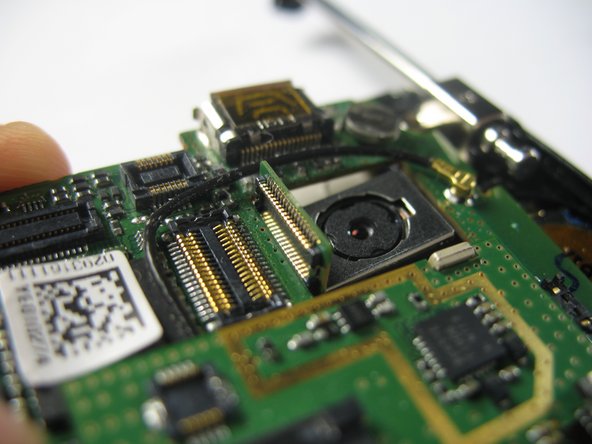
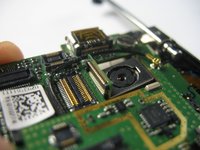
    • Remove the remaining three ribbon cables by gently lifting them by the ends, opposite of the cables, with a plastic opening tool or spudger until they pop out.

    crwdns2952109:0crwdne2952109:0

    crwdns2917038:0crwdne2917038:0

  12. LG Vu CU920 Microphone Replacement: crwdns2935265:012crwdnd2935265:01crwdnd2935265:03crwdne2935265:0 LG Vu CU920 Microphone Replacement: crwdns2935265:012crwdnd2935265:02crwdnd2935265:03crwdne2935265:0 LG Vu CU920 Microphone Replacement: crwdns2935265:012crwdnd2935265:03crwdnd2935265:03crwdne2935265:0
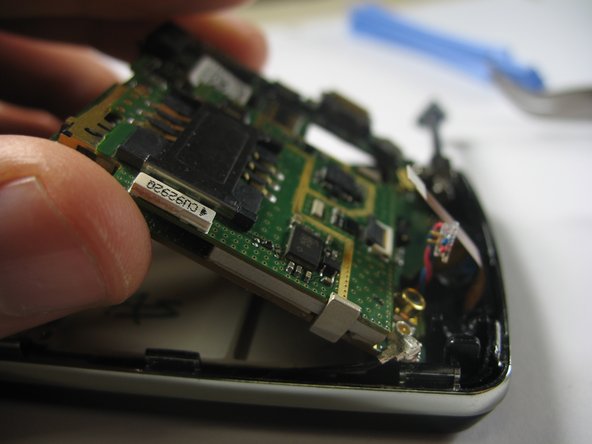
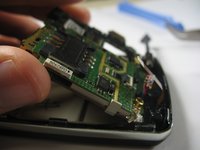
    • Remove the motherboard by gently prying it up with a spudger from the charging port.

    • Be careful not to yank the camera's ribbon cable as you lift the board. Make sure that it is in line with its hole in the motherboard.

    • Once the board has been lifted, remove it by pulling it away from the connected edge.

    crwdns2952109:0crwdne2952109:0

    crwdns2917038:0crwdne2917038:0

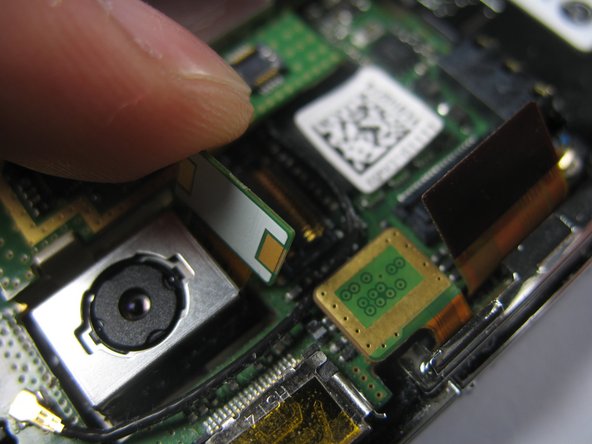
  13. LG Vu CU920 Microphone Replacement, Microphone: crwdns2935265:013crwdnd2935265:01crwdnd2935265:01crwdne2935265:0
    • Unsolder the microphone located at the top right corner of the motherboard near the silver jack.

    • Solder in a replacement microphone.

    crwdns2952109:0crwdne2952109:0

    crwdns2917038:0crwdne2917038:0

crwdns2915888:0crwdne2915888:0

To reassemble your device, follow these instructions in reverse order.

crwdns2935221:0crwdne2935221:0

Gregory Davis

crwdns2935283:004/17/13crwdne2935283:0

51 crwdns2915208:0crwdne2915208:0

crwdns2935297:05crwdne2935297:0

crwdns2935287:0crwdne2935287:0

Cal Poly, Team 8-57, Johann Spring 2013 crwdns2935289:0Cal Poly, Team 8-57, Johann Spring 2013crwdne2935289:0

CPSU-JOHANN-S13S8G57

crwdns2931471:04crwdne2931471:0

crwdns2935297:07crwdne2935297:0

crwdns2947410:01crwdne2947410:0

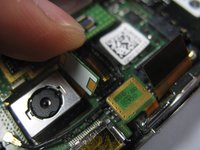
The microphone is located on a flex cable with the lower and side keys. The component shown is the external antenna connector, hence the location next to the internal antenna connector. Source: I work in cell phone repairs, soldering, and electrical circuitry.

Michael Benesch - crwdns2934203:0crwdne2934203:0 crwdns2950251:0crwdne2950251:0
crwdns2917038:0crwdne2917038:0

crwdns2936625:0crwdne2936625:0:

crwdns2936751:024crwdne2936751:0 0

crwdns2936753:07crwdne2936753:0 1

crwdns2936753:030crwdne2936753:0 12

crwdns2942667:0crwdne2942667:0 616