crwdns2915892:0crwdne2915892:0
Follow the initial LG Vortex Disassembly guide before you begin camera replacement. This guide takes you step-by-step through the replacement of the LG Vortex camera.
crwdns2942213:0crwdne2942213:0
-
-
Power the phone off
-
-
-
Find the two thumbnail ridges on the side and top of the phone. One is next to the micro SD slot and the other at the top of the phone
-
Once the ridges are located, use the blue plastic opening tool to pry the back cover away from the rest of the phone.
-
Remove the back cover and set it to the side.
-
-
-
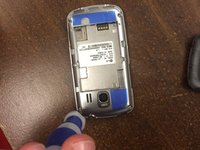
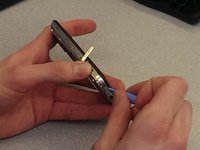
Remove the battery using the blue plastic opening tool.
-
There is a small thumbnail ridge at the top left corner of the battery for ease of removal.
-
Put the battery aside.
-
-
-
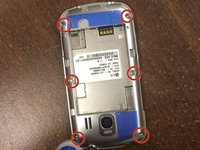
Use the precision screwdriver to remove the 6 screws along the edges of the phone.
-
There are 2 screws at the top in each corner, 2 in the middle on the sides, and 2 in the bottom corners.
Can you tell me who I or how to get the part that I need?
Hey it's the guy who has the V22 Vortex.That needs the chargring housing. I asked if anyone could possibly steer me in the right direction,as to where and how to get the part.But I know Just thought you AhFuck you.
-
-
-
-
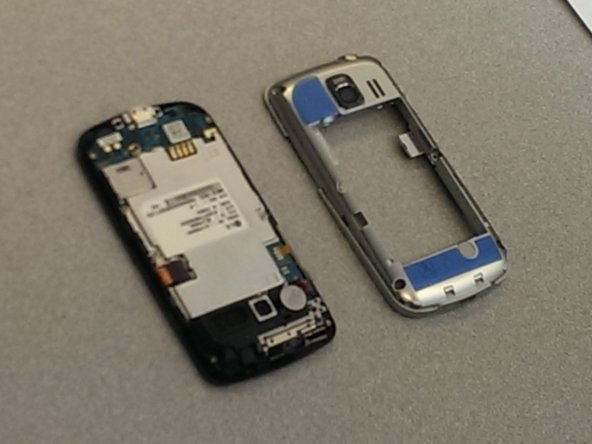
Use the blue plastic opening tool to remove the back frame from the rest of the phone.
-
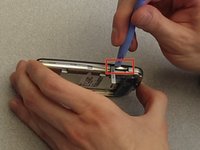
Pry at the micro SD slot. Push the cover for the SD slot away from the front of the phone and pry the back frame away from the rest of the phone.
-
Pry your way around the entire phone to separate the face from the frame.
ModelV22 Vortex. I need the charging port hole assembly.
Ok I have aV22 Vortex.Or should I say.I need the charging plug in assembly.C charger port.I'm sure I didn't say that right.But if needed I will send a picture of it.
-
-
-
NOTE: This is the most difficult step.
-
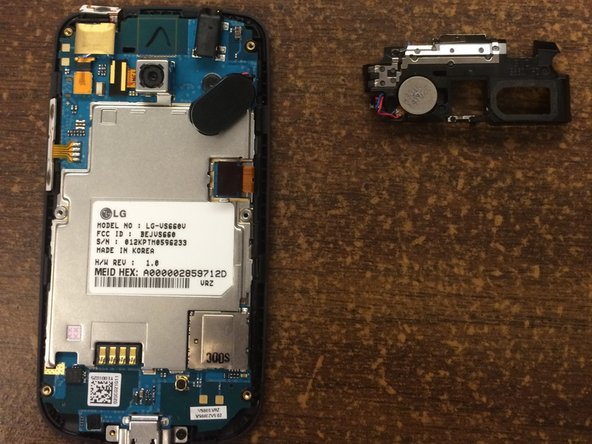
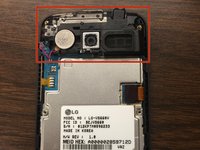
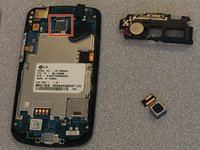
Locate system board (silicone board with all of the circuitry on it). Notice that there is a black piece at the top of the system board (with the camera in it).
-
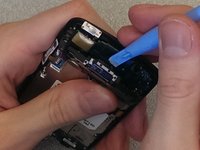
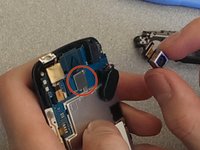
Use the pry bar to push the 2 black tabs away from the system board (located on the sides of the board). These tabs may snap back onto the board, so attempt to hold them off of the board.
-
Use the pry bar to pry the black piece at the top of the phone (looks to be attached to the system board, but is not).
-
-
-
NOTE: Do not damage the thin wires attaching the motherboard to the speakers
-
-
-
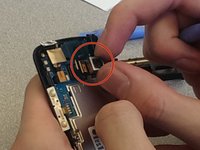
NOTE: Remove with caution.
-
(It looks like a thin piece of plastic)
-
-
-
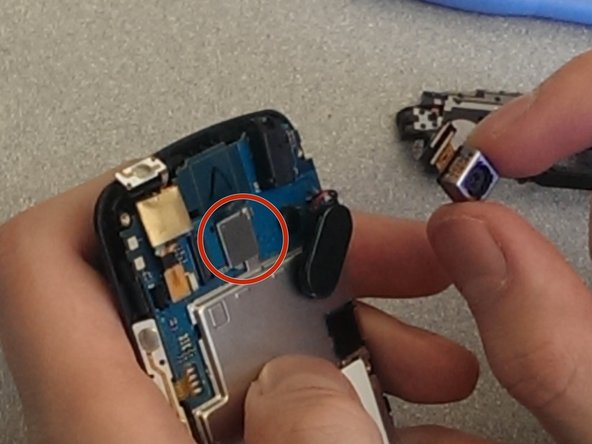
The camera is held on by 1 sticker on the top of the camera.
-
Remove this sticker using your fingernail.
-
-
-
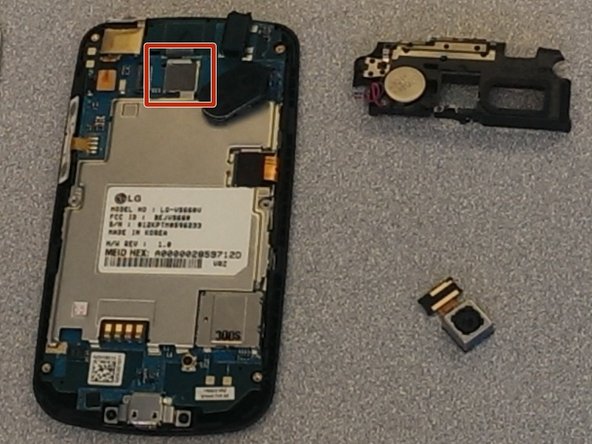
Place new camera in the same location, and place the sticker back on its side.
-
-
-
Reverse the steps to reassemble the phone.
-


To reassemble your device, follow these instructions in reverse order.
To reassemble your device, follow these instructions in reverse order.
crwdns2915084:0crwdne2915084:0

Ohio State, Team 1-3, Buehl Spring 2014 crwdns2935289:0Ohio State, Team 1-3, Buehl Spring 2014crwdne2935289:0
OSU-BUEHL-S14S1G3
crwdns2931471:04crwdne2931471:0
crwdns2935297:06crwdne2935297:0
crwdns2947412:04crwdne2947412:0
First, clean the cookware with water and a mild kitchen soap to remove anything that might be on the surface. Rinse with hot water. I do uk.bestessays.com and Then coat the entire bottom of the pan in vegetable oil in this case, canola oil and turn it over onto a paper towel for 10 minutes.
Offer massages in my sanctuary or in the comfort of your own home
<a href="https://thecarriagehousesanctuary.square...">Top Massage Therapist in Westchester County NY</a>
Offer massages in my sanctuary or in the comfort of your own home
Offer massages in my sanctuary or in the comfort of your own home <a href="https://thecarriagehousesanctuary.square...">Best Massage Therapist in Westchester County NY</a>