crwdns2933423:0crwdne2933423:0
crwdns2947577:0crwdnd2947577:0crwdne2947577:0

LG Volt Charger Port Replacement

crwdns2942213:0crwdne2942213:0

    1. LG Volt Charger Port Replacement, Charger Port: crwdns2935265:01crwdnd2935265:01crwdnd2935265:03crwdne2935265:0 LG Volt Charger Port Replacement, Charger Port: crwdns2935265:01crwdnd2935265:02crwdnd2935265:03crwdne2935265:0 LG Volt Charger Port Replacement, Charger Port: crwdns2935265:01crwdnd2935265:03crwdnd2935265:03crwdne2935265:0
      • Pry back cover with finger in the crease.

      • Remove back casing.

      crwdns2952109:0crwdne2952109:0

      crwdns2917038:0crwdne2917038:0

    2. LG Volt Charger Port Replacement: crwdns2935265:02crwdnd2935265:01crwdnd2935265:03crwdne2935265:0 LG Volt Charger Port Replacement: crwdns2935265:02crwdnd2935265:02crwdnd2935265:03crwdne2935265:0 LG Volt Charger Port Replacement: crwdns2935265:02crwdnd2935265:03crwdnd2935265:03crwdne2935265:0
      • With your finger, pry the battery out through the crease made for removal.

      crwdns2952109:0crwdne2952109:0

      crwdns2917038:0crwdne2917038:0

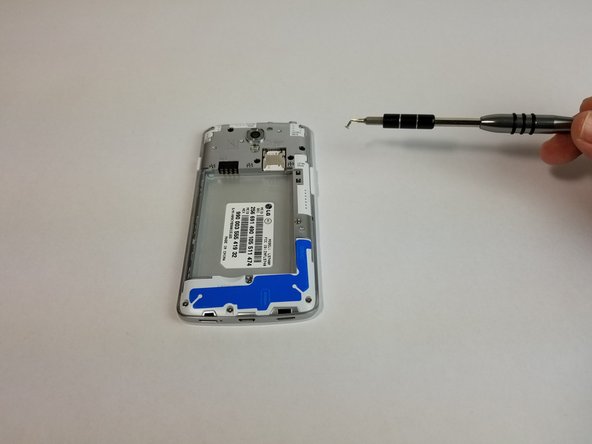
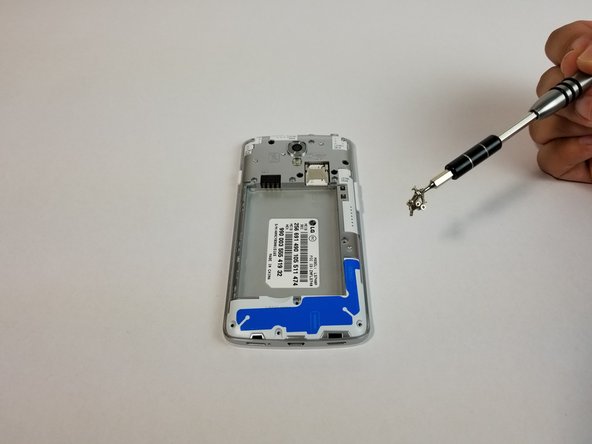
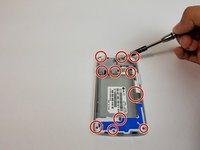
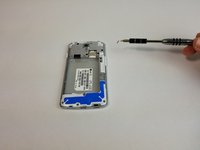
    3. LG Volt Charger Port Replacement: crwdns2935265:03crwdnd2935265:01crwdnd2935265:03crwdne2935265:0 LG Volt Charger Port Replacement: crwdns2935265:03crwdnd2935265:02crwdnd2935265:03crwdne2935265:0 LG Volt Charger Port Replacement: crwdns2935265:03crwdnd2935265:03crwdnd2935265:03crwdne2935265:0
      • Remove all 11 (4mm) screws with the JIS #000 screwdriver

      • There are three screws on top, three above the battery, one next to the battery, one under the battery and three at the bottom of the phone.

      crwdns2952109:0crwdne2952109:0

      crwdns2917038:0crwdne2917038:0

    4. LG Volt Charger Port Replacement: crwdns2935265:04crwdnd2935265:01crwdnd2935265:03crwdne2935265:0 LG Volt Charger Port Replacement: crwdns2935265:04crwdnd2935265:02crwdnd2935265:03crwdne2935265:0 LG Volt Charger Port Replacement: crwdns2935265:04crwdnd2935265:03crwdnd2935265:03crwdne2935265:0
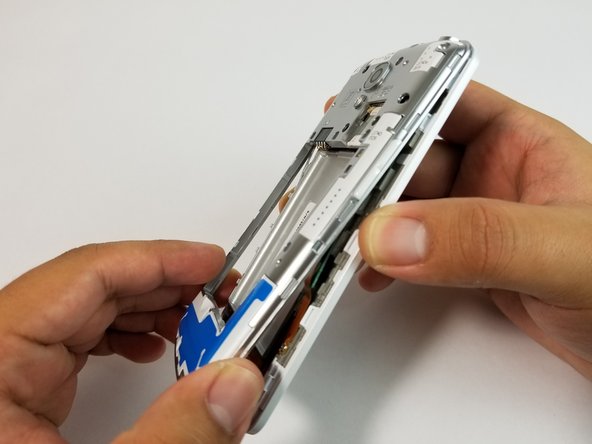
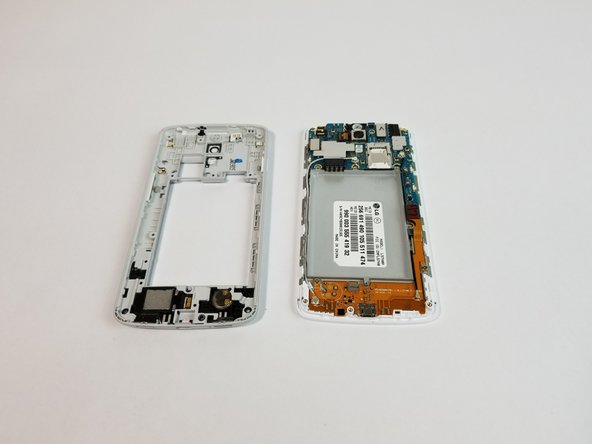
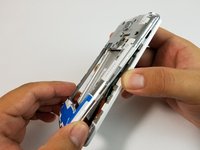
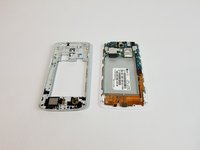
      • Use the plastic opening tool to remove the back housing from the frame of the phone.

      crwdns2952109:0crwdne2952109:0

      crwdns2917038:0crwdne2917038:0

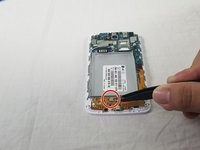
    5. LG Volt Charger Port Replacement: crwdns2935265:05crwdnd2935265:01crwdnd2935265:01crwdne2935265:0
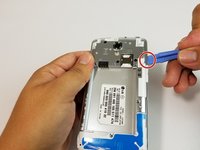
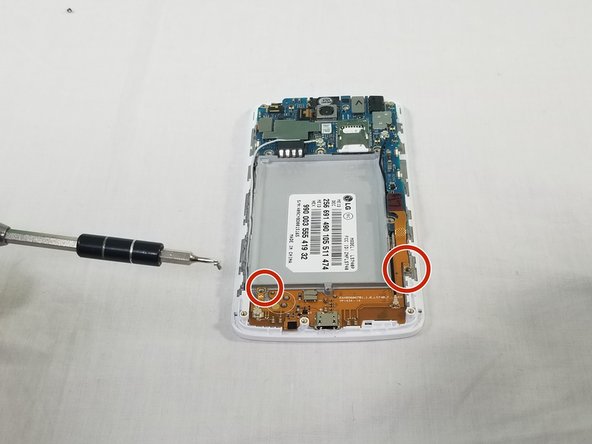
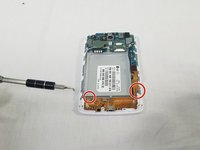
      • Lift copper tab located on the right side of the device.

      crwdns2952109:0crwdne2952109:0

      crwdns2917038:0crwdne2917038:0

    6. LG Volt Charger Port Replacement: crwdns2935265:06crwdnd2935265:01crwdnd2935265:02crwdne2935265:0 LG Volt Charger Port Replacement: crwdns2935265:06crwdnd2935265:02crwdnd2935265:02crwdne2935265:0
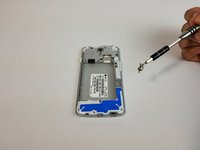
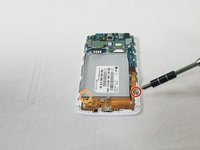
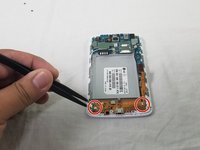
      • Use a JIS #000 screwdriver to remove the 1 screw (4mm) on right side under copper tab.

      • Use a JIS #000 screwdriver to remove the screw (4mm) on bottom left under battery tray.

      crwdns2952109:0crwdne2952109:0

      crwdns2917038:0crwdne2917038:0

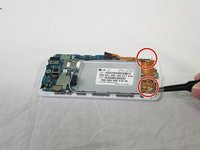
    7. LG Volt Charger Port Replacement: crwdns2935265:07crwdnd2935265:01crwdnd2935265:03crwdne2935265:0 LG Volt Charger Port Replacement: crwdns2935265:07crwdnd2935265:02crwdnd2935265:03crwdne2935265:0 LG Volt Charger Port Replacement: crwdns2935265:07crwdnd2935265:03crwdnd2935265:03crwdne2935265:0
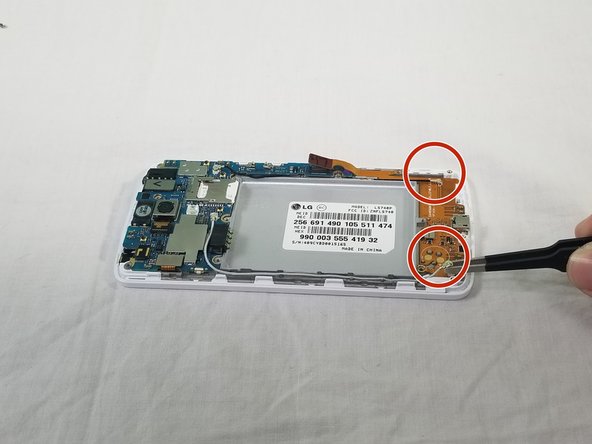
      • Disconnect the white and black cables as indicated.

      • Lift indicated flap as shown.

      crwdns2952109:0crwdne2952109:0

      crwdns2917038:0crwdne2917038:0

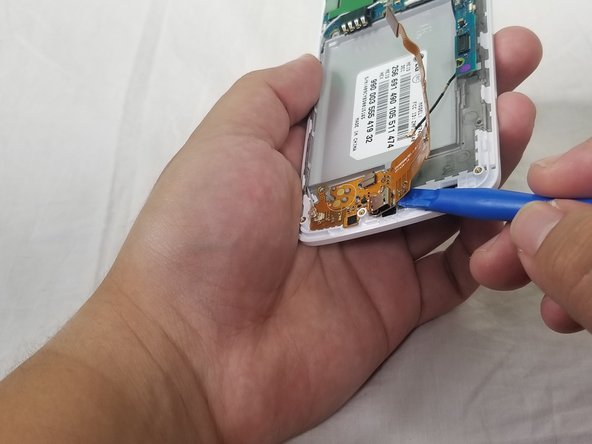
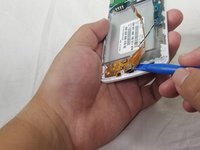
    8. LG Volt Charger Port Replacement: crwdns2935265:08crwdnd2935265:01crwdnd2935265:03crwdne2935265:0 LG Volt Charger Port Replacement: crwdns2935265:08crwdnd2935265:02crwdnd2935265:03crwdne2935265:0 LG Volt Charger Port Replacement: crwdns2935265:08crwdnd2935265:03crwdnd2935265:03crwdne2935265:0
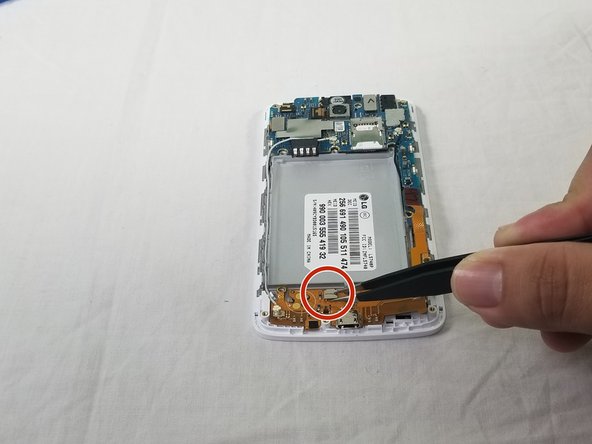
      • Use the plastic opening tool to carefully lift the charger assembly from the phone.

      • Start from the copper tab and continue in a clockwise direction.

      • Once it is loose remove the assembly from the phone.

      crwdns2952109:0crwdne2952109:0

      crwdns2917038:0crwdne2917038:0

    9. LG Volt Charger Port Replacement: crwdns2935265:09crwdnd2935265:01crwdnd2935265:01crwdne2935265:0
      • Put a new charging port in place of old charging port.

      • Follow steps 8 through 1 in that order for reassembly.

      crwdns2952109:0crwdne2952109:0

      crwdns2917038:0crwdne2917038:0

crwdns2915888:0crwdne2915888:0

To reassemble your device, follow these instructions in reverse order.

crwdns2935221:0crwdne2935221:0

crwdns2935227:0crwdne2935227:0

Adrian Soldan

crwdns2935283:009/25/17crwdne2935283:0

464 crwdns2915208:0crwdne2915208:0

crwdns2935297:04crwdne2935297:0

crwdns2935287:0crwdne2935287:0

USF Tampa, Team S3-G3, Cannon Fall 2017 crwdns2935289:0USF Tampa, Team S3-G3, Cannon Fall 2017crwdne2935289:0

USFT-CANNON-F17S3G3

crwdns2931471:03crwdne2931471:0

crwdns2935297:048crwdne2935297:0

crwdns2947412:02crwdne2947412:0

Great guide with excellent pictures

George Brooks - crwdns2934203:0crwdne2934203:0 crwdns2950251:0crwdne2950251:0
Hi, I replaced mine, but I don’t think it’s working - what voltages should be present on which pins (at the battery connection) when it’s plugged in?
scottlhertzoglion - crwdns2934203:0crwdne2934203:0 crwdns2950251:0crwdne2950251:0

crwdns2917038:0crwdne2917038:0

crwdns2936625:0crwdne2936625:0:

crwdns2936751:024crwdne2936751:0 0

crwdns2936753:07crwdne2936753:0 3

crwdns2936753:030crwdne2936753:0 33

crwdns2942667:0crwdne2942667:0 1,082