
LG VX8700 Keypad Replacement

crwdns2959932:0crwdnd2959932:0tnscholzcrwdnd2959932:0crwdnd2959932:0crwdnd2959932:09crwdnd2959932:0crwdne2959932:0
crwdns2959936:0N'w 15, 2022crwdne2959936:0
crwdns2869540:0crwdne2869540:0: 1284
crwdns2959988:0crwdne2959988:0
- crwdns2959990:0crwdne2959990:0
- 0
- crwdns2959992:0crwdne2959992:0
- 5
- crwdns2959994:0crwdne2959994:0
- 38
- crwdns2959996:0crwdne2959996:0
- 1,284
crwdns2955950:0crwdne2955950:0: 1
crwdns2960006:01crwdne2960006:0
crwdns2960000:0crwdne2960000:0crwdns2959984:0crwdne2959984:0: 0 1
crwdns2959956:0crwdne2959956:0
crwdns2959968:01crwdne2959968:0
crwdns2959986:0crwdne2959986:0: 0 1
crwdns2959958:0crwdne2959958:0
crwdns2959976:01crwdne2959976:0
crwdns2869444:0crwdne2869444:0
crwdns2869445:0crwdne2869445:0
crwdns2862611:0crwdne2862611:0
crwdns2862612:0crwdne2862612:0
crwdns2915892:0crwdne2915892:0
crwdns2959928:0crwdne2959928:0 ↓The guide outlines the steps necessary to replace the keypad on the LG VX8700. The keypad is used to to help direct actions on the phone.
crwdns2959930:0crwdne2959930:0
crwdns2943215:0crwdne2943215:0


-
-
-
Slide the back cover off using the release latch with your fingers to expose the battery.
 crwdns2952109:0crwdne2952109:0
-
-
-
Lift one side of the battery using a plastic opening tool or your fingers.
-
Carefully remove the battery and set it aside.
-
-
-
-
-
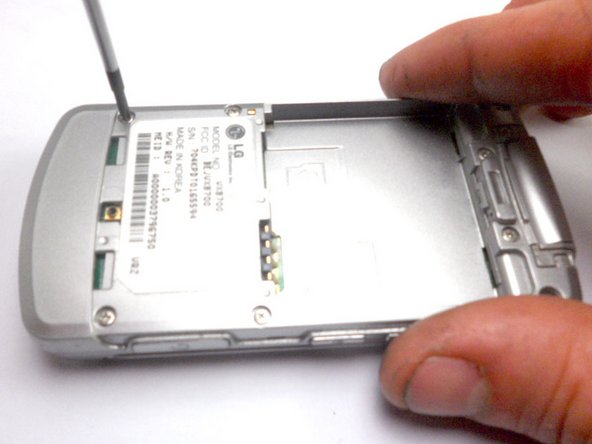
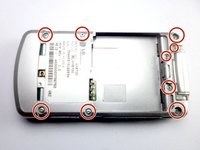
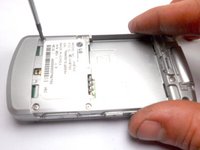
Remove the nine 4 mm screws from the back cover with a Phillips #0 screwdriver.
-
-
-
-
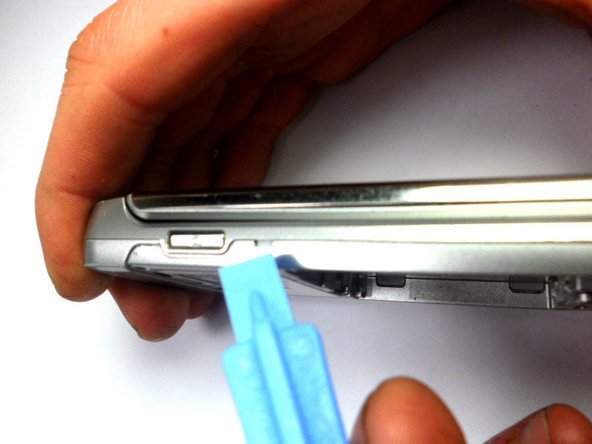
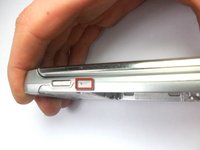
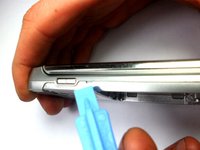
Insert the tip of the iFixit opening tool into the small notch on the side of the case.
-
Slide the opening tool along the seam and around the edge of the phone to separate the case.
-
-
-
Separate the two halves of the phone.
-
-
-
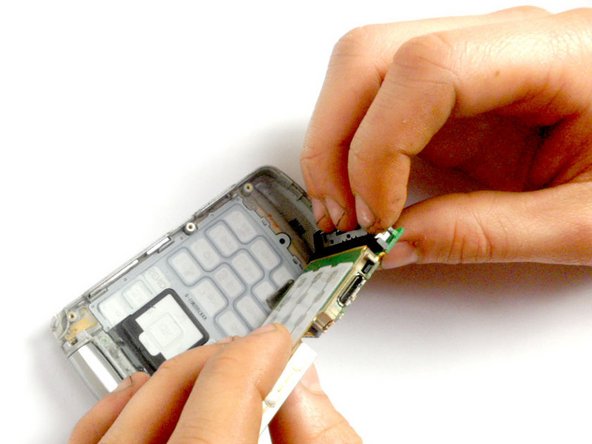
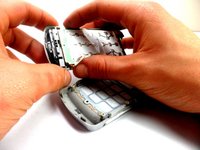
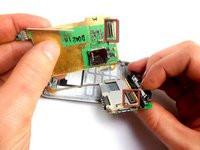
Hold the phone casing with one hand and the keypad assembly with the other.
-
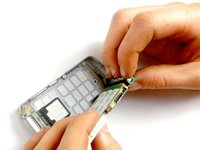
Separate the phone casing from the keypad/motherboard.
-
-
-
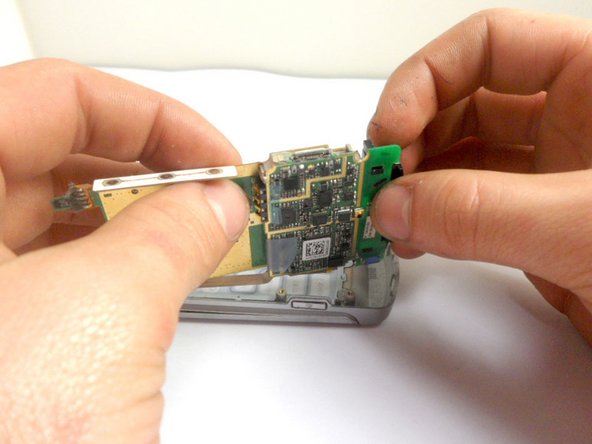
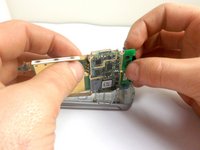
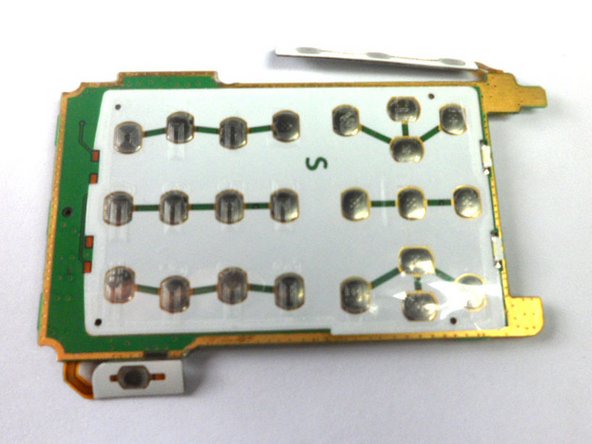
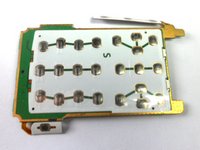
Pull the two boards apart to separate the keypad from the motherboard.
-
-






To reassemble your device, follow these instructions in reverse order.

crwdns2935287:0crwdne2935287:0

Cal Poly, Team 8-16, Maness Winter 2012 crwdns2935289:0Cal Poly, Team 8-16, Maness Winter 2012crwdne2935289:0
CPSU-MANESS-W12S8G16
crwdns2931471:04crwdne2931471:0
crwdns2935297:084crwdne2935297:0
crwdns2947410:01crwdne2947410:0
When I separated the two halves a small brass piece came out and your instructions do not show nor mention what this is or where it goes. Not even a caution about it coming out upon separation of the halves. It appears to belong on one of the screw posts and because it is brass I believe it is supposed to complete a circuit.
gfon - crwdns2934203:0crwdne2934203:0 crwdns2950251:0crwdne2950251:0
