crwdns2942213:0crwdne2942213:0
-
crwdns2935267:0crwdne2935267:0Tweezers$4.99
-
Remove the four grey plugs using either tweezers or a push pin.
-
-
-
Remove the four screws that are now exposed using a Phillips #00 screwdriver.
-
-
-
-
Once all the screws have been removed, use a plastic opener tool to pry the case from the rest of the phone.
-
Insert the opener tool into the seem between the case and the phone. Apply pressure to separate the two pieces.
-
Do this across the entire length of the seem until the case is no longer attached to the phone.
-
-
-
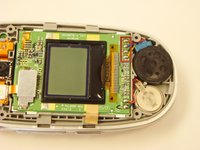
The case can now be removed and the interior of the front is accessible.
-
-
-
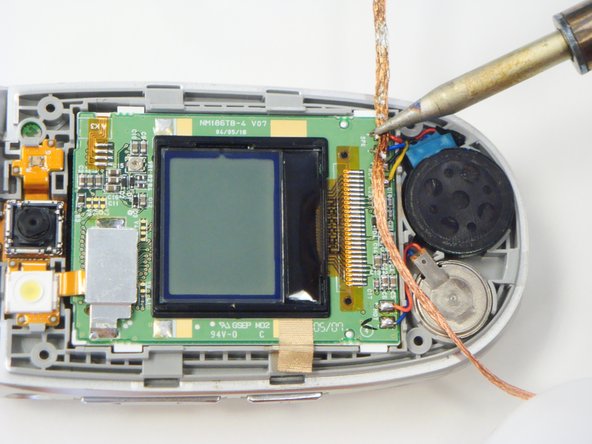
Locate the four solder joints (connected to the yellow, black, blue, and red wires) on the bottom part of the phone, connected to the speaker. It will appear as a black circular part with some holes in it.
-
Place a piece of solder wick on top of the solders.
-
Very carefully, place the tip of the soldering iron on top of the solder wick. Hold it steady until the solder is soaked up into the solder wick.
-
Cut off the used solder wick with pliers and repeat this step if any solder remains.
-
-
-
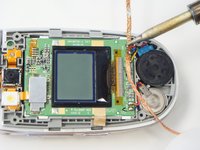
After the solder has been removed, pry out the speaker with the plastic opening tool.
-


To reassemble your device, follow these instructions in reverse order.
crwdns2935287:0crwdne2935287:0

Cal Poly, Team 12-39, Regan Spring 2012 crwdns2935289:0Cal Poly, Team 12-39, Regan Spring 2012crwdne2935289:0
CPSU-REGAN-S12S12G39
crwdns2931471:03crwdne2931471:0
crwdns2935297:016crwdne2935297:0