crwdns2915892:0crwdne2915892:0
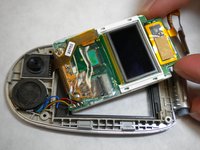
The following guide is to remove or replace the screen of the LG VX6000 cellphone.
crwdns2942213:0crwdne2942213:0
-
-
Locate the dark gray tab on the back of the phone.
-
Push the tab towards the top of the phone to release the battery.
-
-
-
Lift and rotate the battery away from the bottom edge.
-
Remove the battery.
-
-
crwdns2935267:0crwdne2935267:0Tweezers$4.99
-
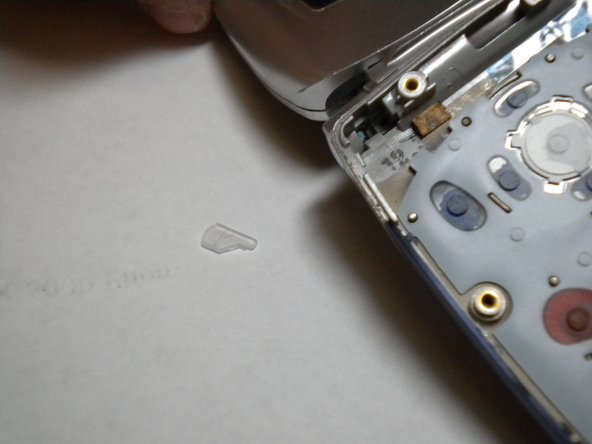
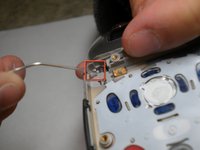
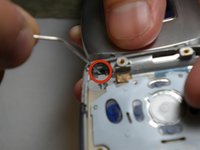
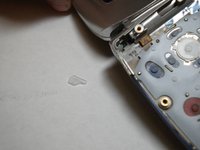
Carefully use tweezers to remove the two rubber cushions located at the top of the phone.
-
-
-
Use a Phillips #00 screwdriver to remove the six screws highlighted on the back of the phone.
-
-
-
Carefully remove the back of the phone with your fingernails or tweezers.
-
-
-
-
Carefully peel away the adhesive tab.
-
-
-
Locate the yellow connection towards the top of the phone. This is directly connected to the screen.
-
Carefully pry the connector away from the motherboard to remove it from the phone.
-
-
-
Gently lift the corner of the motherboard away from the casing.
-
-
crwdns2935267:0crwdne2935267:0Tweezers$4.99
-
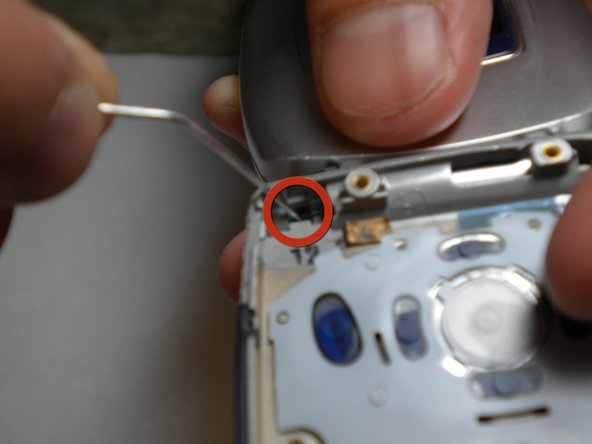
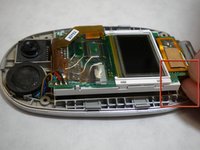
Using a paper clip or tweezers, pop out the screen by pressing the plastic tab in the top-left corner of the phone's bottom casing as indicated in the photo.
-
-
-
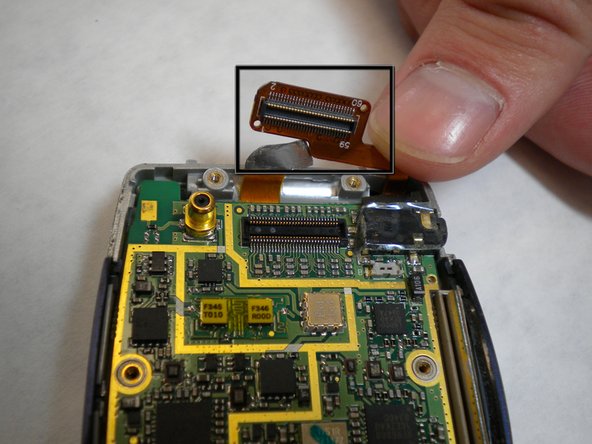
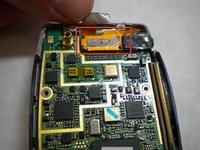
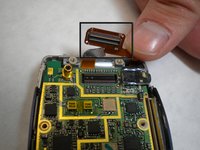
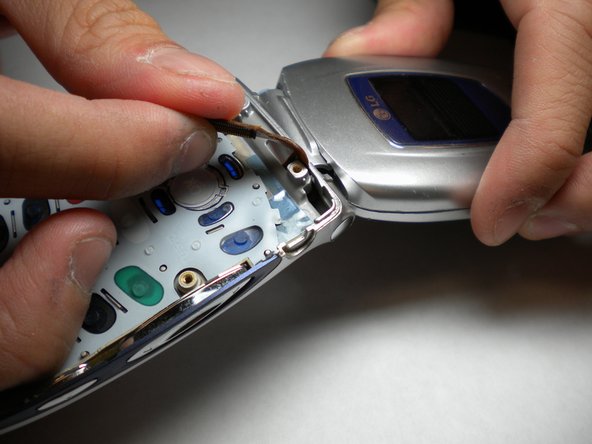
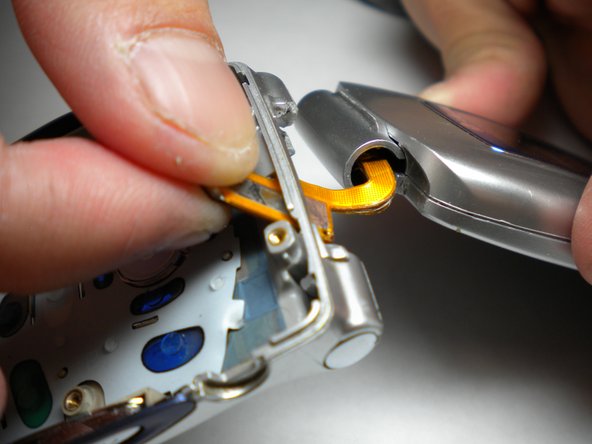
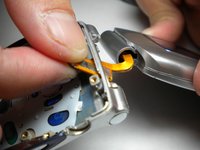
As shown in the photos, pull the orange strip through a thin opening at the top of the phone. Once this is done, the top and bottom halves can be separated.
-
-
-
Using tweezers, pull off the small rubber cushions located towards the four corners of the screen.
-
-
-
With a Phillips tip screwdriver, unscrew the four newly exposed screws.
-
-
-
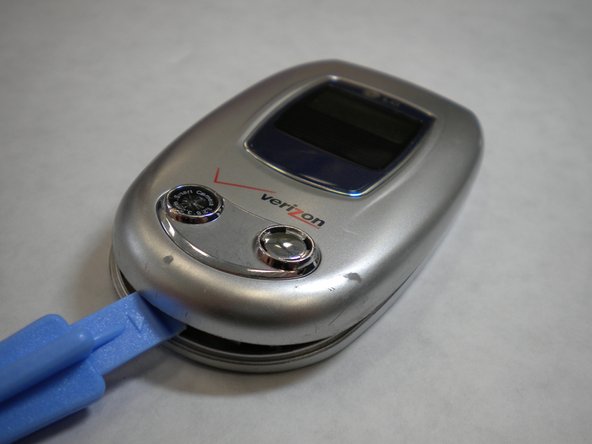
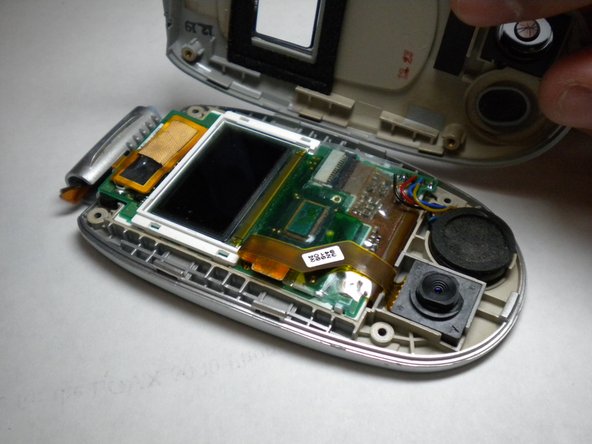
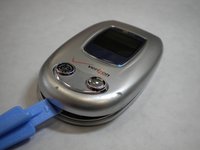
Carefully open the casing using the iFixit plastic tool by prying each side a little bit at a time. Rotate and open until all the inside clips pop open and the casing opens up.
-
-
-
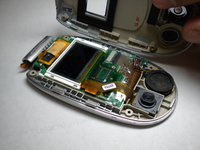
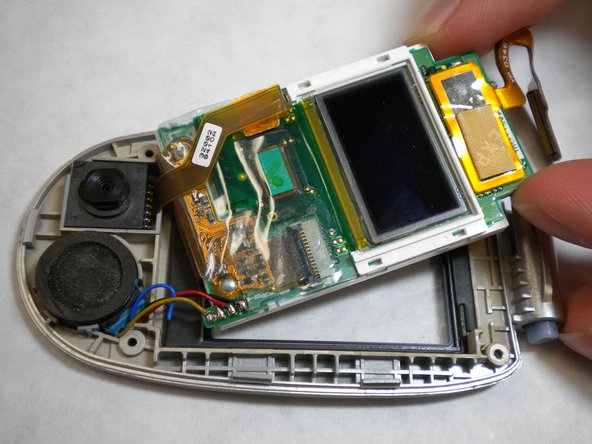
Gently pull the corner of screen and circuit board up and out of casing to remove screen from the top face plate.
-
-
-
Rotate the screen and the connected white frame away from the logic board.
-
Carefully peel the adhesive tape that connects the screen and logic board off. The screen can now be removed and replaced with a new screen unit.
-
To reassemble your device, follow these instructions in reverse order.


