crwdns2915892:0crwdne2915892:0
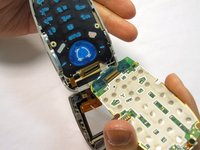
A guide to removing the phone's main PCB.
crwdns2942213:0crwdne2942213:0
-
-
Orient the phone as shown.
-
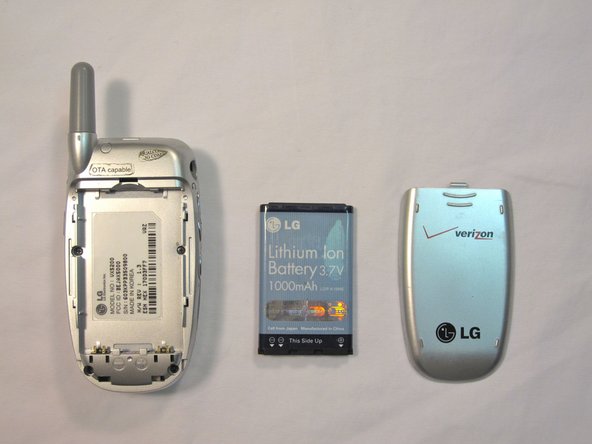
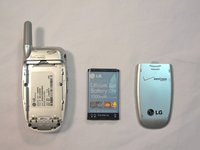
Remove the battery cover by pushing upward with your thumb.
-
-
-
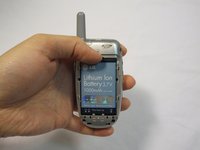
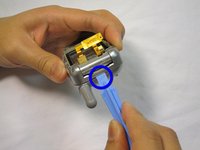
Place your fingernail at the top of the battery and pry the battery out towards you.
-
-
-
Orient the phone as shown with the battery already removed.
-
-
-
-
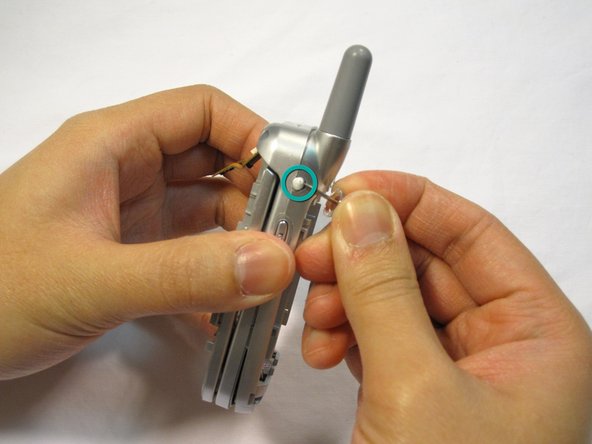
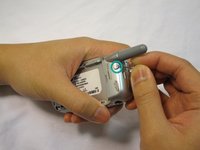
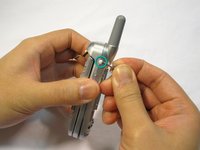
Remove the 2 plastic plugs located on the side and upper quadrant of the rear body panel by using the push-pin and lifting outwards.
-
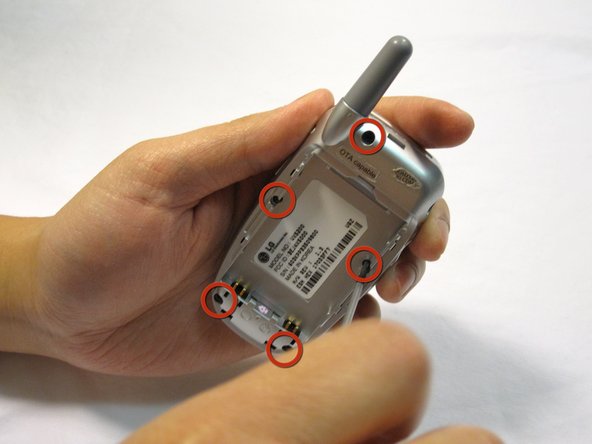
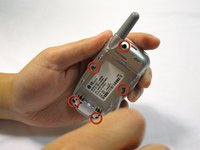
Use a Phillips #00 screwdriver to remove the 5 screws as shown here.
-
-
-
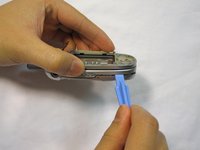
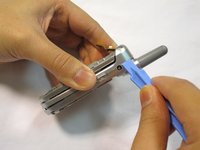
Place an iPod opener tool in the seam above the antenna.
-
Run the tool around the perimeter of the entire phone.
-
-
-
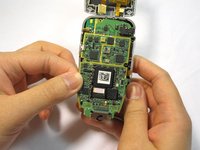
Check to see that your device looks like the attached photo.
-
-
-
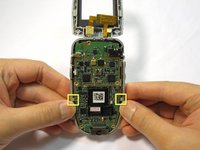
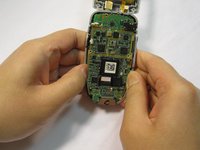
Locate the tabs that hold the logic board in place.
-
Pull the outer frame of the phone outwards to release the board from the tabs.
-
-
-
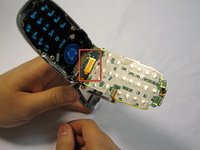
Locate the copper connection (orange-colored) on the back of the board.
-
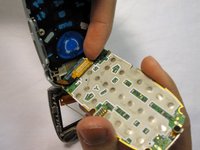
Pry the connector free from the board with your fingernail.
-
-
-
Check to see that your device looks like the image shown.
-
To reassemble your device, follow these instructions in reverse order.
crwdns2935221:0crwdne2935221:0
crwdns2935229:02crwdne2935229:0


