crwdns2933423:0crwdne2933423:0

LG Rebel 4 LTE Disassembly

crwdns2942213:0crwdne2942213:0

  1. LG Rebel 4 LTE Disassembly, Remove the Cover: crwdns2935265:01crwdnd2935265:01crwdnd2935265:02crwdne2935265:0 LG Rebel 4 LTE Disassembly, Remove the Cover: crwdns2935265:01crwdnd2935265:02crwdnd2935265:02crwdne2935265:0
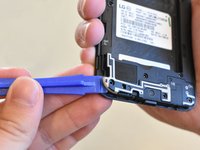
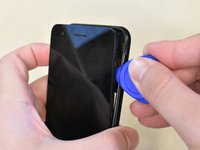
    • Locate the indent on the back left side of the phone.

    • Insert the opening tool into the indent and pry until it pops.

    • Remove the backing.

  2. LG Rebel 4 LTE Disassembly, Remove Internal Components: crwdns2935265:02crwdnd2935265:01crwdnd2935265:03crwdne2935265:0 LG Rebel 4 LTE Disassembly, Remove Internal Components: crwdns2935265:02crwdnd2935265:02crwdnd2935265:03crwdne2935265:0 LG Rebel 4 LTE Disassembly, Remove Internal Components: crwdns2935265:02crwdnd2935265:03crwdnd2935265:03crwdne2935265:0
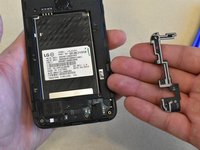
    • Use the spudger to pry the battery out.

    • If installed, pop out the SD/TF card by gently pressing in and releasing the SD card. Not pictured, Located above the Sims card (See Below).

    • Use your fingers to remove the sim card.

  3. LG Rebel 4 LTE Disassembly, Remove Screws: crwdns2935265:03crwdnd2935265:01crwdnd2935265:03crwdne2935265:0 LG Rebel 4 LTE Disassembly, Remove Screws: crwdns2935265:03crwdnd2935265:02crwdnd2935265:03crwdne2935265:0 LG Rebel 4 LTE Disassembly, Remove Screws: crwdns2935265:03crwdnd2935265:03crwdnd2935265:03crwdne2935265:0
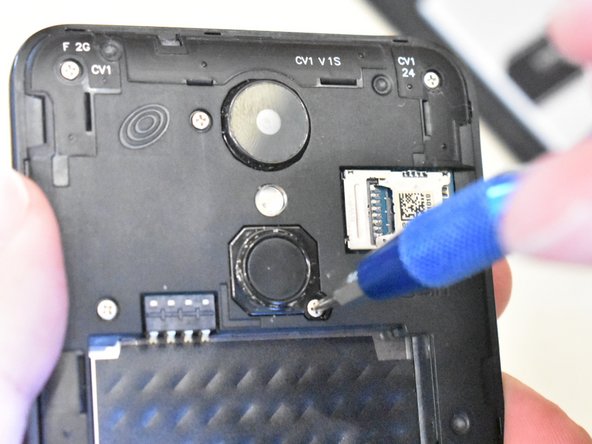
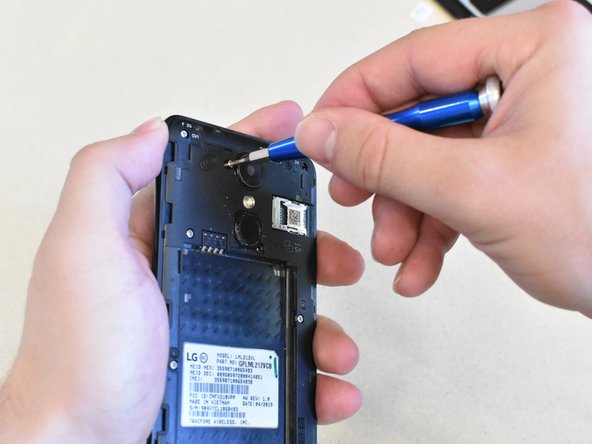
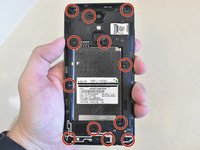
    • Using the #000 Phillips screwdriver, remove all the screws (as seen in the photo).

    • There should be 12 screws in total.

    • Don't lose the screws!

  4. LG Rebel 4 LTE Disassembly, Remove Charging Port Cover: crwdns2935265:04crwdnd2935265:01crwdnd2935265:02crwdne2935265:0 LG Rebel 4 LTE Disassembly, Remove Charging Port Cover: crwdns2935265:04crwdnd2935265:02crwdnd2935265:02crwdne2935265:0
    • Use the spudger to carefully pry the cover around the charging port.

  5. LG Rebel 4 LTE Disassembly, Remove the Screen: crwdns2935265:05crwdnd2935265:01crwdnd2935265:03crwdne2935265:0 LG Rebel 4 LTE Disassembly, Remove the Screen: crwdns2935265:05crwdnd2935265:02crwdnd2935265:03crwdne2935265:0 LG Rebel 4 LTE Disassembly, Remove the Screen: crwdns2935265:05crwdnd2935265:03crwdnd2935265:03crwdne2935265:0
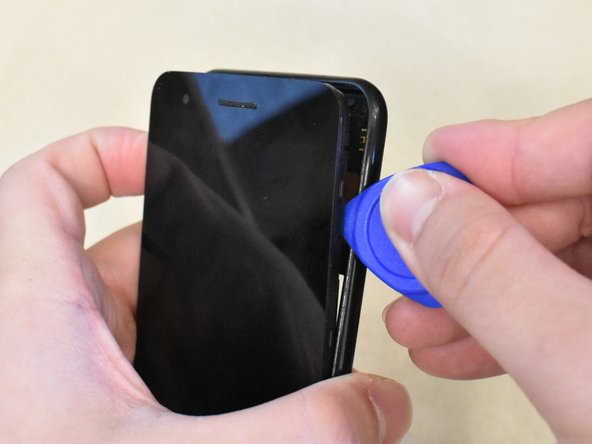
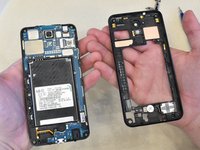
    • Rotate the phone (view picture) to reveal the top corner of the phone.

    • Using a opening pick, pry in between the glass screen and the framing.

  6. LG Rebel 4 LTE Disassembly, Remove the Motherboard: crwdns2935265:06crwdnd2935265:01crwdnd2935265:03crwdne2935265:0 LG Rebel 4 LTE Disassembly, Remove the Motherboard: crwdns2935265:06crwdnd2935265:02crwdnd2935265:03crwdne2935265:0 LG Rebel 4 LTE Disassembly, Remove the Motherboard: crwdns2935265:06crwdnd2935265:03crwdnd2935265:03crwdne2935265:0
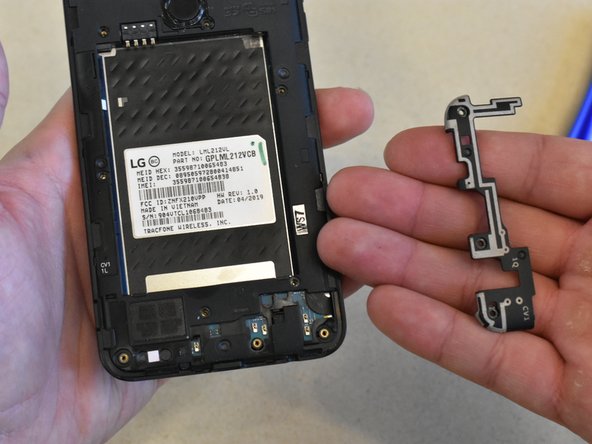
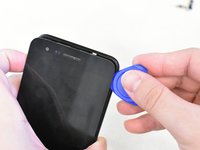
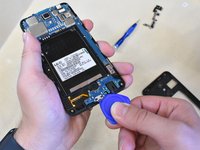
    • Pry from the top and bottom of the screen with the (refer to photo) opening pick to release the tabs holding the motherboard to the phone.

    • Do not let the main camera fall out while removing the mother board.

  7. LG Rebel 4 LTE Disassembly, Disconnect the Connector Cable: crwdns2935265:07crwdnd2935265:01crwdnd2935265:03crwdne2935265:0 LG Rebel 4 LTE Disassembly, Disconnect the Connector Cable: crwdns2935265:07crwdnd2935265:02crwdnd2935265:03crwdne2935265:0 LG Rebel 4 LTE Disassembly, Disconnect the Connector Cable: crwdns2935265:07crwdnd2935265:03crwdnd2935265:03crwdne2935265:0
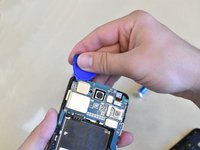
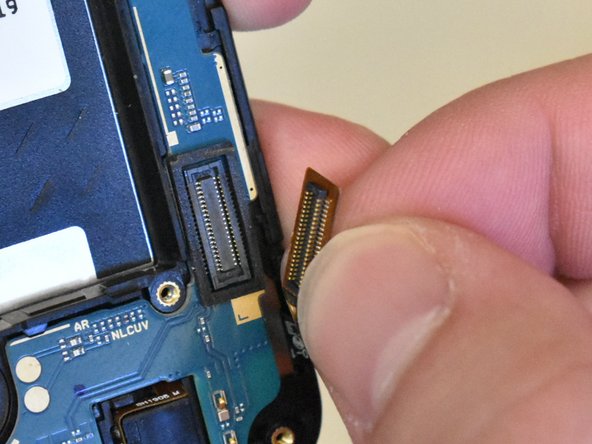
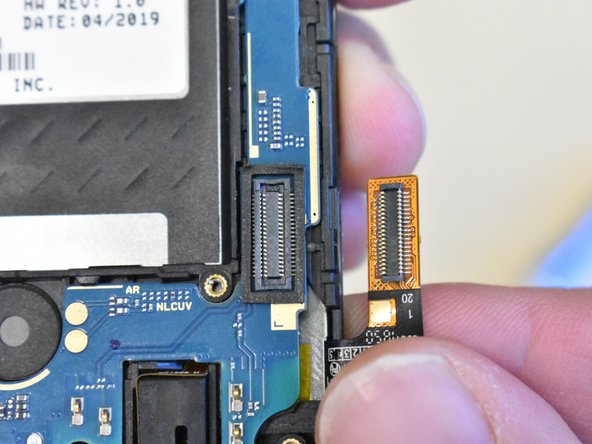
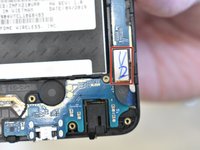
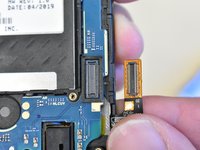
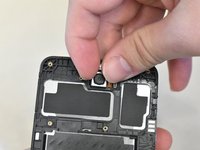
    • On the bottom right of the phone, locate a cable that holds the motherboard to the phone.

    • Disconnect the cable by gently pulling up on the component with your fingers.

    • Do not use a prying tool or screwdriver to disconnect the cable.

  8. LG Rebel 4 LTE Disassembly, Remove the Camera: crwdns2935265:08crwdnd2935265:01crwdnd2935265:03crwdne2935265:0 LG Rebel 4 LTE Disassembly, Remove the Camera: crwdns2935265:08crwdnd2935265:02crwdnd2935265:03crwdne2935265:0 LG Rebel 4 LTE Disassembly, Remove the Camera: crwdns2935265:08crwdnd2935265:03crwdnd2935265:03crwdne2935265:0
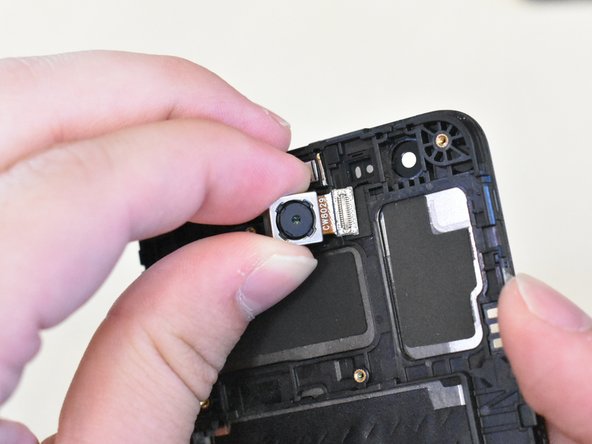
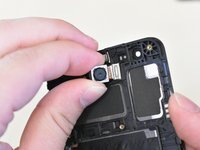
    • Separate the camera from the magnet by gently pulling up.

  9. LG Rebel 4 LTE Disassembly, Disassembly Complete: crwdns2935265:09crwdnd2935265:01crwdnd2935265:01crwdne2935265:0
    • Congratulations. You've successfully disassembled your device.

    • To reassemble the device, follow these steps in reverse order. (Begin with step 8, continuining until you end on step 1.

    • When reassembling, make sure that each component snaps tightly to the phone before moving to the next step.

crwdns2915888:0crwdne2915888:0

To reassemble your device, follow these instructions in reverse order.

JCJR

crwdns2935283:006/23/23crwdne2935283:0

169 crwdns2915208:0crwdne2915208:0

crwdns2935295:0crwdne2935295:0

crwdns2944067:00crwdne2944067:0

crwdns2917038:0crwdne2917038:0

crwdns2936625:0crwdne2936625:0:

crwdns2936751:024crwdne2936751:0 0

crwdns2936753:07crwdne2936753:0 5

crwdns2936753:030crwdne2936753:0 19

crwdns2942667:0crwdne2942667:0 161