crwdns2915892:0crwdne2915892:0
This guide will show how to replace a faulty or broken charging port on a LG Optimus F60. This process is involves soldering and can take 25-35 minutes to complete.
crwdns2942213:0crwdne2942213:0
-
-
Hold the phone in your hand and position the small plastic opening tool or your finger under the lip of the phone by the USB port.
-
Pry or lift up on the indent with the opening tool.
-
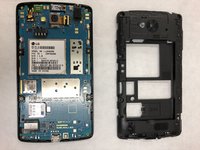
Remove the back panel.
-
-
-
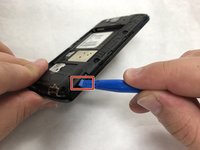
Place the small plastic opening tool or your finger at the indentation at the base of the battery.
-
Pry upwards or lift with your finger and remove battery.
-
-
-
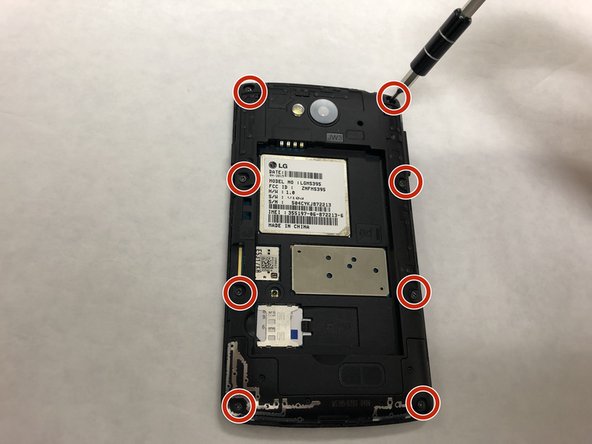
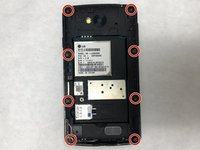
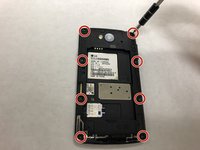
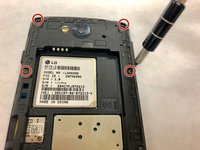
Use the Phillips #000 Screwdriver to remove the eight 4mm screws.
-
-
-
-
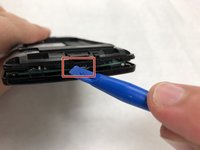
Insert the iFixit opening tool in the indentation.
-
Pry the plastic using the opening tool to remove the lower back panel.
-
Remove the lower back panel from the device.
-
-
-
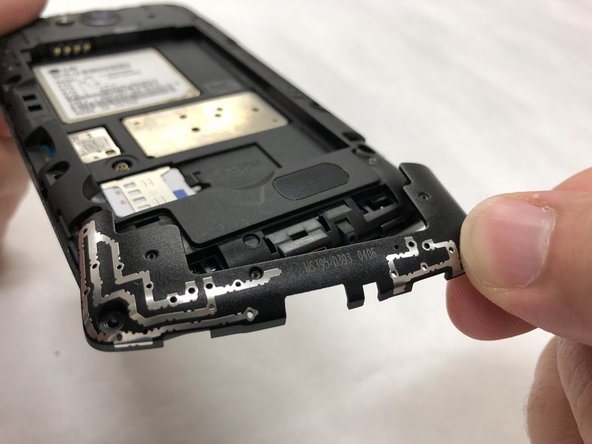
Insert the iFixit opening tool starting under the charging port.
-
Continue to pry at the edges until loose enough to remove.
-
Remove the back panel.
-
-
crwdns2935267:0crwdne2935267:0Tweezers$4.99
-
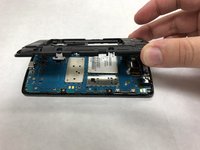
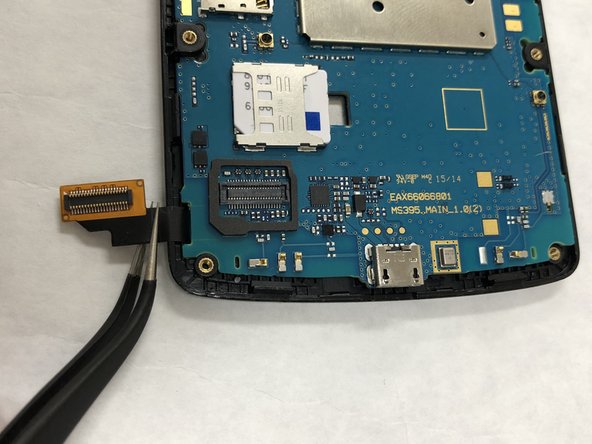
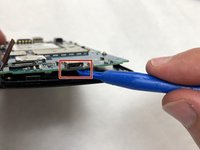
Find the digitizer connector in the lower left hand corner of the device.
-
Use the tweezers to gently lift up and remove the connector.
-
-
-
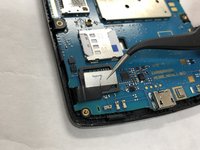
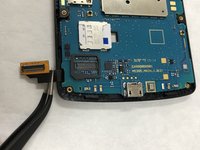
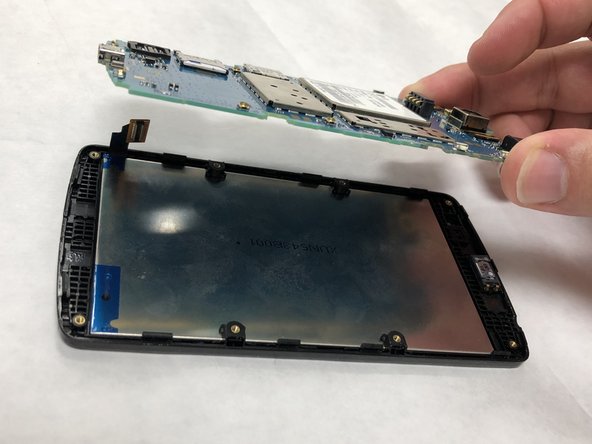
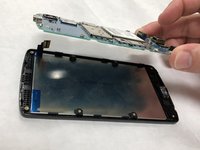
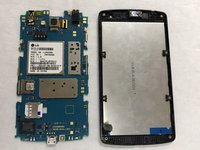
Gently pry the motherboard from the digitizer starting from under the charging port.
-
Remove and replace the motherboard.
-
-
-
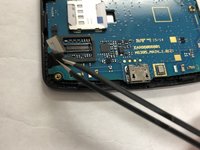
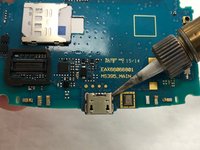
Remove the charging port with the soldering iron.
-
To desolder, refer to this guide: How To Solder and Desolder Connections
-
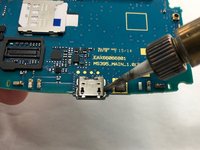
Remove and replace the charging port.
-


To reassemble your device, follow these instructions in reverse order.
crwdns2935221:0crwdne2935221:0
crwdns2935229:03crwdne2935229:0
crwdns2935287:0crwdne2935287:0

IUPUI, Team S2-G5, Henning Spring 2019 crwdns2935289:0IUPUI, Team S2-G5, Henning Spring 2019crwdne2935289:0
IUPUI-HENNING-S19S2G5
crwdns2931471:03crwdne2931471:0
crwdns2935297:03crwdne2935297:0