crwdns2915892:0crwdne2915892:0
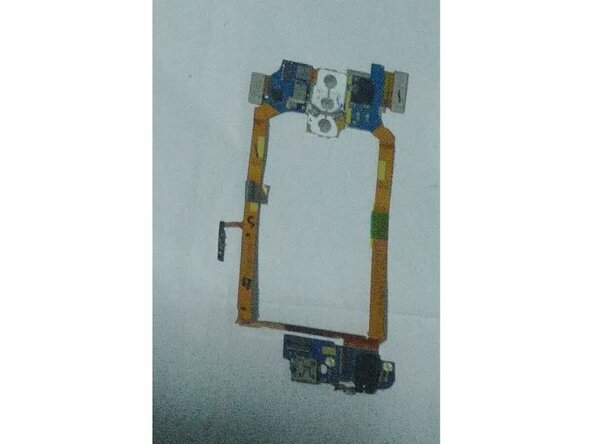
The LG G2 (Except F320 Korean Variants) Have a replacable charging port which can be done by replacing the Sub board/Daughterboard or whatever you want to call it.
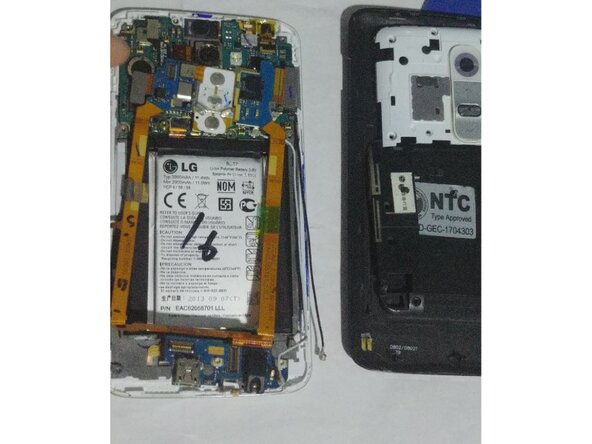
This guide is also a requirement for simple repairs such as battery replacements or screen replacements as the Battery and screen flex was burried under the Sub board
crwdns2942213:0crwdne2942213:0
-
crwdns2935267:0crwdne2935267:0iFixit Opening Picks (Set of 6)$4.99
-
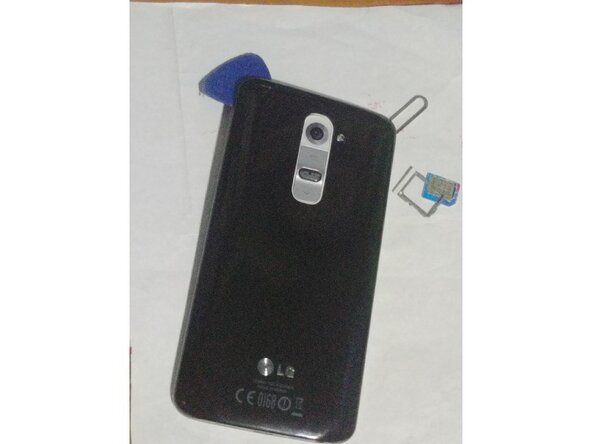
Removing the back cover was pretty easy on the LG G2, no adhesive, no heating required. All you need is a pick and your nails.
-
1. Remove your SIM Card tray
-
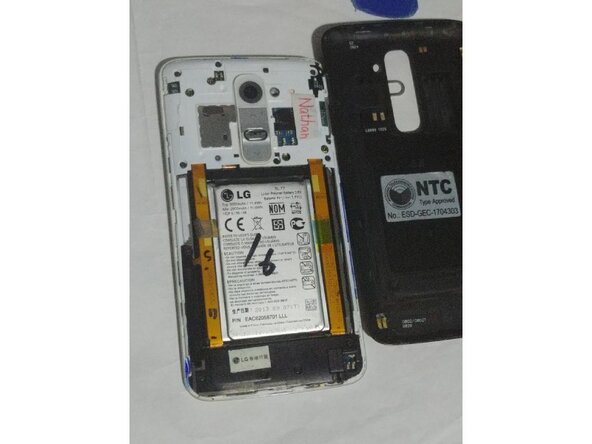
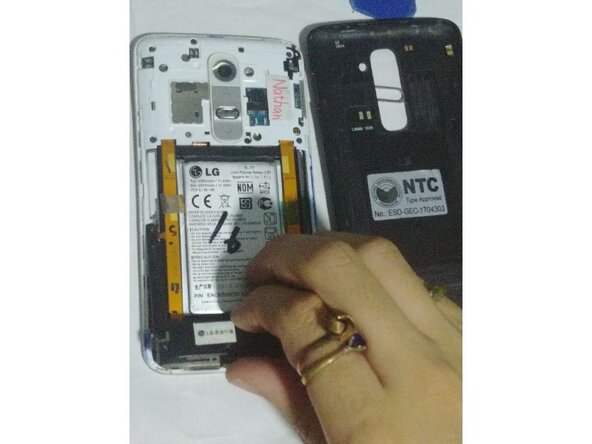
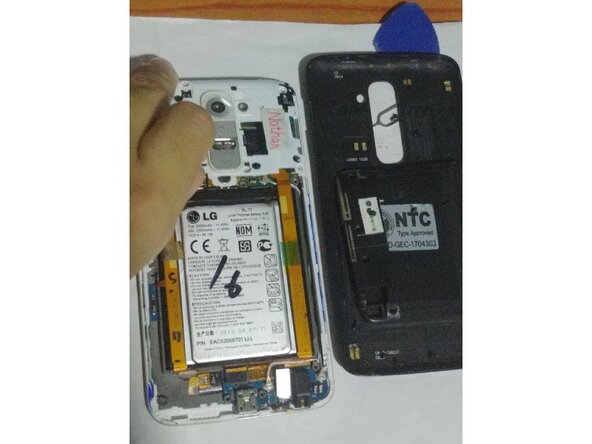
2. Pry on the back cover with your nails, then you can slide a guitar pick on it to continue to removal
-
-
-
You can start with any part could be either the top or the bottom speaker part, as long you removed the screws
-
-
-
-
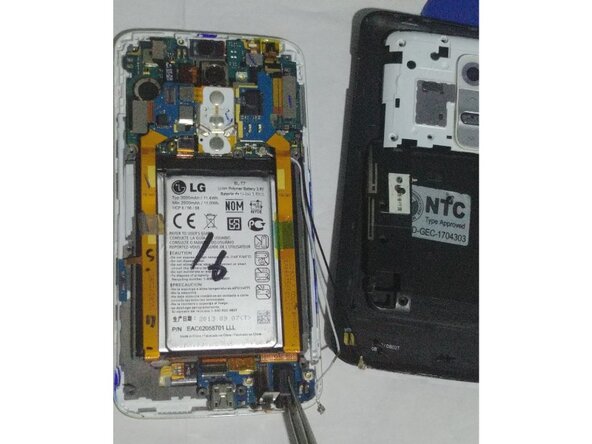
There are several connections to remove
-
Top digitizer connector
-
Sub board/Daugtherboard connections
-
Screen connection
-
Bottom digitizer connector
-
Antennas
-
-
-
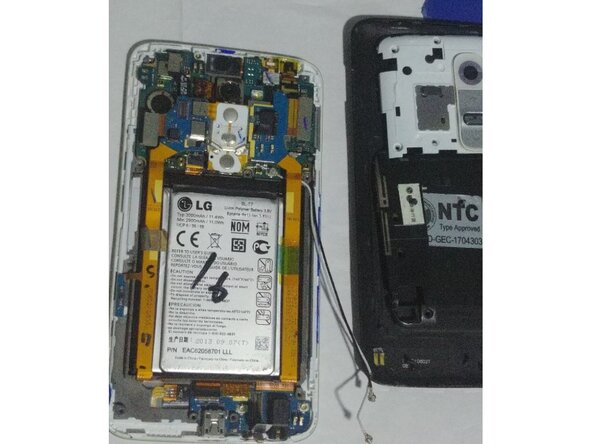
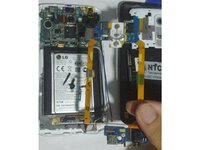
So you already disconnected everything and released the EMI shield which hides the eMMC chip on it, the daughterboard can be free with the use of tweezers
-
-
-
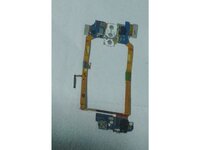
You now removed the daughterboard which has the charging port on it, this guide should work on every LG G2 variants except Korean LG G2 variants which is much similar to the LG G3.
-
Just to simplify things up i decided to go up with this guide as removing the sub board isn't easy as there are some adhesives holding up but things can be done easier and successful with patience and care
-


To reassemble your device, follow these instructions in reverse order.
This applies to all LG G2 variants except Korean variants
To reassemble your device, follow these instructions in reverse order.
This applies to all LG G2 variants except Korean variants
crwdns2935221:0crwdne2935221:0
crwdns2935227:0crwdne2935227:0
