
LG Cosmos 2 Motherboard Replacement

crwdns2959932:0crwdnd2959932:0Nick Whitecrwdnd2959932:0crwdnd2959932:0crwdnd2959932:06crwdnd2959932:0crwdne2959932:0
crwdns2959936:0Mud 7, 2024crwdne2959936:0
crwdns2869540:0crwdne2869540:0: 1865
crwdns2959988:0crwdne2959988:0
- crwdns2959990:0crwdne2959990:0
- 1
- crwdns2959992:0crwdne2959992:0
- 28
- crwdns2959994:0crwdne2959994:0
- 93
- crwdns2959996:0crwdne2959996:0
- 1.865
crwdns2955950:0crwdne2955950:0: 0
crwdns2959998:0crwdne2959998:0
crwdns2960000:0crwdne2960000:0crwdns2959984:0crwdne2959984:0: 0 1
crwdns2959956:0crwdne2959956:0
crwdns2959968:01crwdne2959968:0
crwdns2959986:0crwdne2959986:0: 2 3
crwdns2959982:02crwdne2959982:0
crwdns2959978:03crwdne2959978:0
crwdns2862597:0crwdne2862597:0
crwdns2862598:0crwdne2862598:0
crwdns2869446:0crwdne2869446:0
crwdns2869447:0crwdne2869447:0
crwdns2862633:0crwdne2862633:0
crwdns2862634:0crwdne2862634:0
crwdns2915892:0crwdne2915892:0
crwdns2959928:0crwdne2959928:0 ↓The steps to this process straightforward and mostly involve removing screws.
crwdns2959930:0crwdne2959930:0
crwdns2943215:0crwdne2943215:0


-
-
-
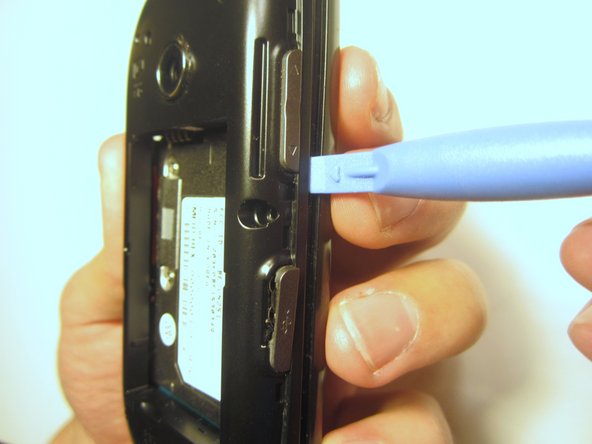
Insert the plastic opener into the slot at the top of the device.
-
Apply gentle pressure with the plastic tool to pop the back case off.
 crwdns2952109:0crwdne2952109:0
-
-
-
Use the plastic opener to lift, and remove, the device battery.
-
-
-
-
-
Use a screwdriver and corresponding bit to remove the six 2mm screws that are located along the edge of the rear case. Set the screws aside.
-
-
-
-
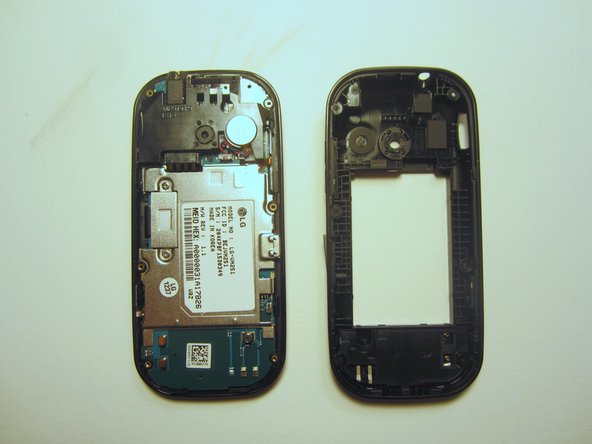
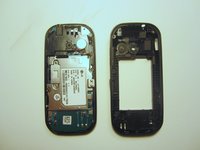
Use the plastic opener to pry the rear case loose.
-
-
-
-
-
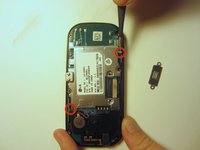
Use a screwdriver and corresponding bit to remove the two 3mm screws that attach the motherboard to the front case. Set the screws aside
-
-
-
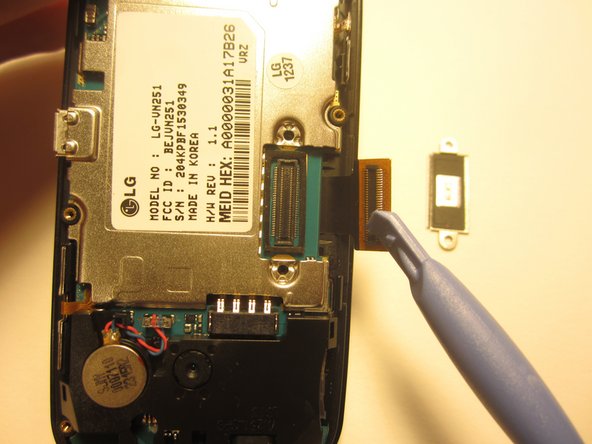
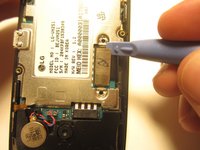
Rotate the phone 180 degrees and use the plastic opener to lift the metal piece that covers the ribbon cable.
-
-
-
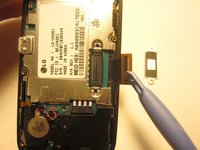
Use the plastic opener to disconnect the ribbon cable.
-
-
crwdns2935267:0crwdne2935267:0Tweezers$4.99
-
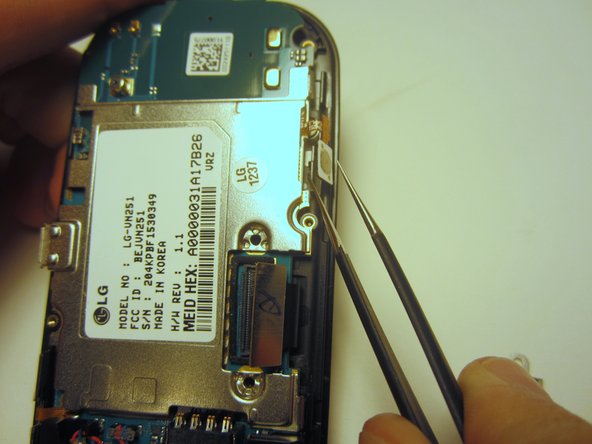
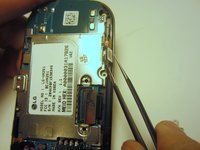
Use tweezers to disconnect the two cables that attach the motherboard to the case.
-
-
-
Remove the motherboard from the front case.
-
-






To reassemble your device, follow these instructions in reverse order.
crwdns2935287:0crwdne2935287:0

Clemson, Team 13-1, Benson Fall 2013 crwdns2935289:0Clemson, Team 13-1, Benson Fall 2013crwdne2935289:0
CLEM-BENSON-F13S13G1
crwdns2931471:03crwdne2931471:0
crwdns2935297:096crwdne2935297:0
