crwdns2915892:0crwdne2915892:0
The Kyocera Rise was designed to allow the screen to be easily replaced.
crwdns2942213:0crwdne2942213:0
-
-
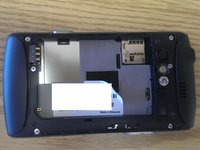
The Kyocera Rise has a removable back
-
-
-
First remove the back cover to expose the battery
-
Next pull the battery from the phone
-
-
-
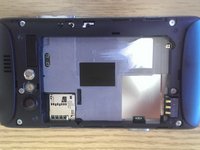
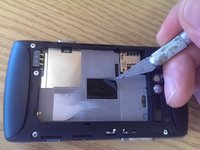
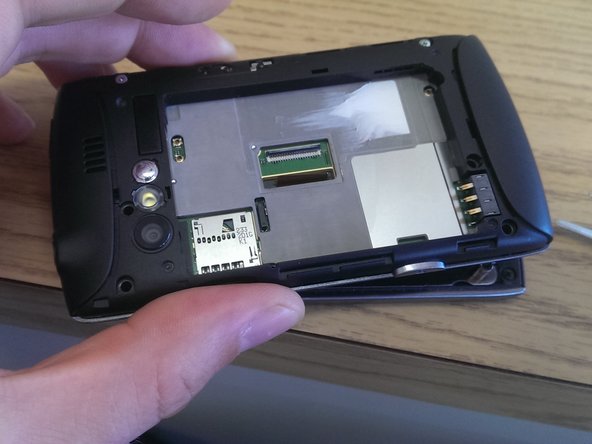
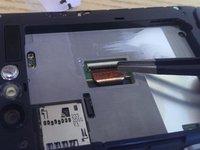
Remove the white sticker to expose the black plastic tab that is covering the zif connector that attaches to the screen
-
-
-
-
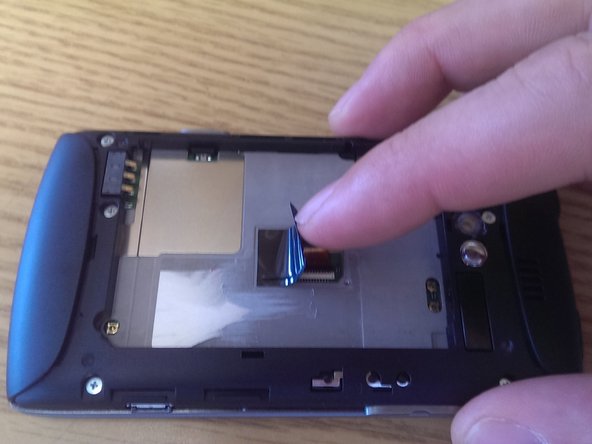
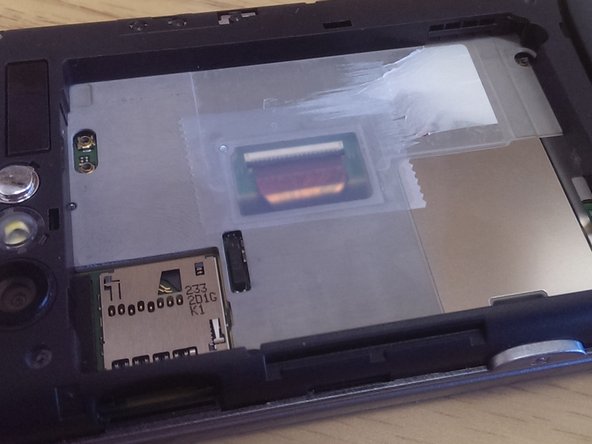
Remove the black tab by first getting under it with something sharp like an exacto knife
-
Its adhered with a weak adhesive and peels away easily
-
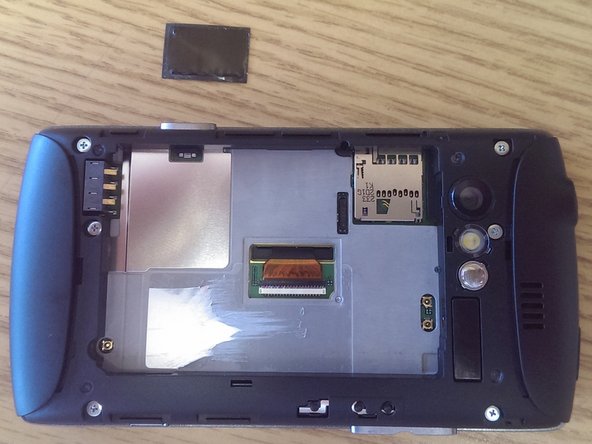
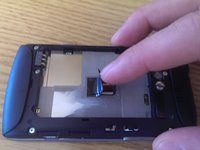
As you can see, a hole was left open to specifically allow quick and easy mate and unmate of the zif connector
-
-
-
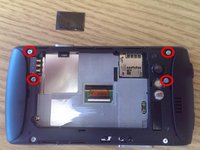
Remove only the four screws circled in red using a Phillips #0 (PH0) screwdriver. Do not remove the others. The four circled screws hold the sliding screen down.
-
-
crwdns2935267:0crwdne2935267:0Tweezers$4.99
-
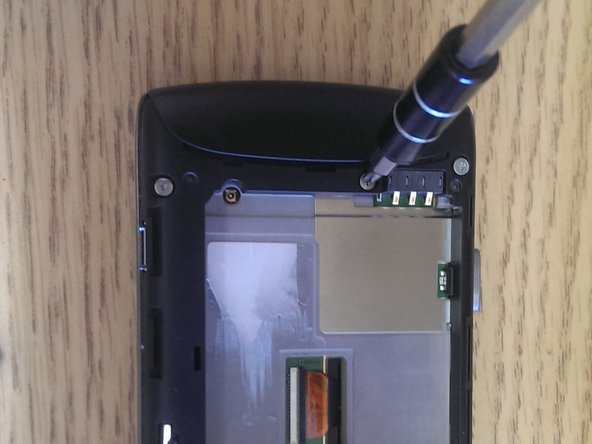
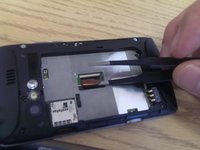
Unplugging the zif (zero insertion force) connector: The flex cable is held down by a black bar that swings up. To unclamp it, run a pair of blunt tweezers underneath the cable. Twist and pull and this causes the black latch that's holding down the flex cable to open. Then the flex cable can be pulled out of the zif with the tweezers.
-
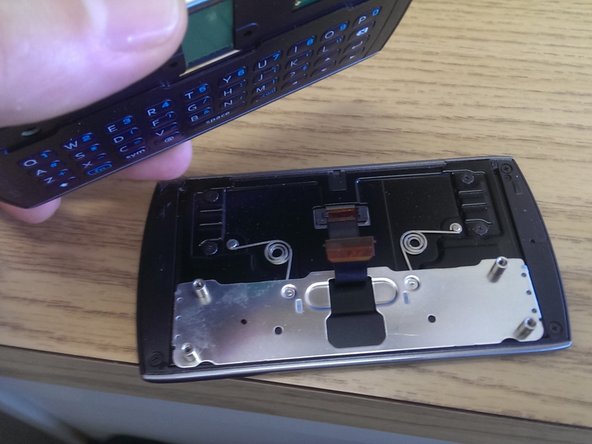
Since the screws holding the screen have already been removed, the phone keyboard containing half of the phone can be lifted away from the screen now.
-
-
-
Replacing the screen requires following the steps in reverse. Mating the flex cable from the new screen into the zif connector takes a bit of precise tweezer work.
-
The black tab that holds down the flex cable has lifted up from when the old flex cable was removed. Make sure the black swinging latch is still up! Now slide the new flex cable into the zif connector. Make sure it is lined up properly and lays flat up under the black latch. Then, using the tweezers push the black tab down onto the flex cable.
-
The black tab should now be flush against the flex cable to hold the flex cable in place and give proper contact for your screen to function properly!
-
Cover the hole with tape or the black tab that was originally there in order to keep dust out
-


To reassemble your device, follow these instructions in reverse order.
To reassemble your device, follow these instructions in reverse order.
crwdns2935221:0crwdne2935221:0
crwdns2935229:06crwdne2935229:0
crwdns2947412:04crwdne2947412:0
Thank you! Dropped it and couldn't figure out how to get the cable back in.
THANK YOU!!! My screen keeps falling off & the ribbon coming loose, and I scoured the internet looking for a solution & finally found yours. I am NOT a tech person at ALL, so I appreciated the photos of each step more than you know! You just saved me from buying a new phone & I could not be more grateful! You rock!!
all of the screw we were suppose to take out dropped, will that affect how it powers?
My bottom 4 buttons light up but my scream doesn't turn on. And also my black bar doesn't latch, it doesn't hold the zit in place. Can you help me.