crwdns2915892:0crwdne2915892:0
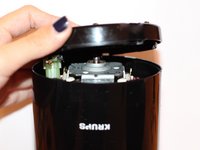
The trigger assembly that connects the button to the motor can sometimes break. This guide will explain how to replace the trigger assembly.
crwdns2942213:0crwdne2942213:0
-
-
In each of the four rectangular slots on the bottom of the device, there is an E-shaped clip.
-
-
-
Wedge the spudger between the flat side of the E-clip and the outside wall of the slot. Then, loosen up the clip by prying it inward with the spudger.
-
-
-
-
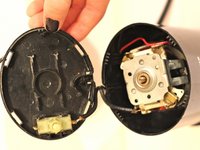
Work your way around the four clips, loosening each a little at a time. Eventually, all four clips will be loose enough to remove the base plate.
-
-
-
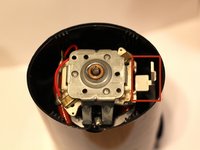
The trigger button is held in with light tension clips. Gently pry them back to release.
-
-
-
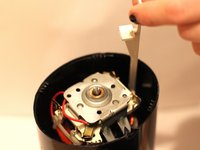
Desolder the contact points between the trigger button and the red wire and also where the plug attaches to the trigger button
-


To reassemble your device, follow these instructions in reverse order.
To reassemble your device, follow these instructions in reverse order.
crwdns2935221:0crwdne2935221:0
crwdns2935229:02crwdne2935229:0

crwdns2915084:0crwdne2915084:0

Baylor, Team 4-2, Williams Fall 2014 crwdns2935289:0Baylor, Team 4-2, Williams Fall 2014crwdne2935289:0
BU-WILLIAMS-F14S4G2
crwdns2931471:03crwdne2931471:0
crwdns2935297:014crwdne2935297:0