crwdns2915892:0crwdne2915892:0
This guide provides instructions on how to replace a broken or cracked LCD screen on your Konica Minolta DiMAGE Z3.
crwdns2942213:0crwdne2942213:0
-
-
Open the battery chamber door by sliding the door to the side of the camera to release the safety catch.
-
Lift the door up to open.
-
-
-
Insert the four batteries inside of the battery chamber door.
-
Make sure the positive and negative battery terminals are in the correct position.
-
-
-
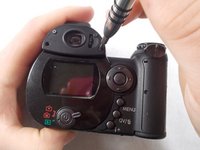
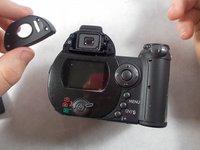
Use a screwdriver to remove the four viewfinder cover screws.
-
-
-
Remove the 2 small screws under the viewfinder.
-
-
-
-
Remove the screen cover by applying slight pressure at the top, then pulling the screen protector away from the camera.
-
-
-
Remove 6 screws on the bottom panel.
-
-
-
Remove 1 screw on the outer side of the battery chamber.
-
-
-
Remove 1 screw inside the battery chamber.
-
-
-
Pull the wrist strap away from the front of the camera to remove it.
-
Then carefully pull the back casing apart from the camera.
-
-
-
Remove the 3 screws that attach the LCD screen to the circuit board.
-
-
-
Gently remove the LCD screen from the circuit board.
-
-
crwdns2935267:0crwdne2935267:0Tweezers$4.99
-
Use tweezers to carefully pull the ribbon cable from the circuit board, not from the LCD screen.
-
Peel back tape on LCD screen to reveal where the wires are attached. Use tweezers to detach the wires from the LCD screen.
-
To reassemble your device, follow these instructions in reverse order.


