crwdns2915892:0crwdne2915892:0
In this guide, you will learn how to repair and replace a loose or faulty shutter button on your Kodak PixPro AZ251.
crwdns2942213:0crwdne2942213:0
-
-
Slide switch to open lock position.
-
-
-
Press down on the battery cover and slide outwards to open.
-
-
-
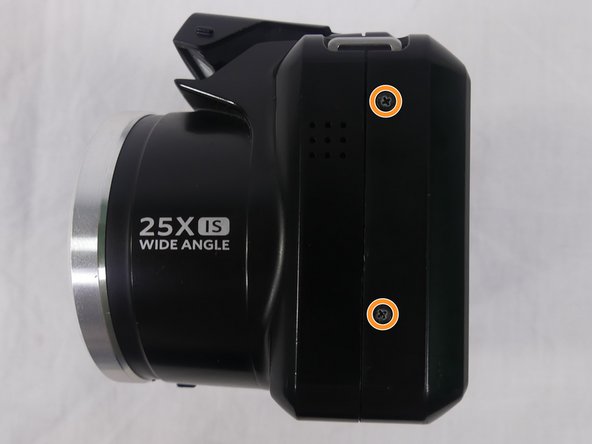
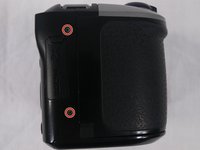
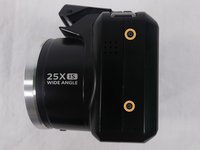
Remove a total of four 5mm JIS #000 screws from around the camera:
-
Two screws from the right side.
-
Two screws from the left side.
-
-
-
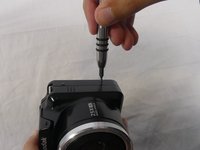
Remove the single 5mm Phillips #00 screw from the bottom.
-
-
-
Open the flash module.
-
Remove the two 6mm JIS #00 screws found inside of the flash housing.
-
-
-
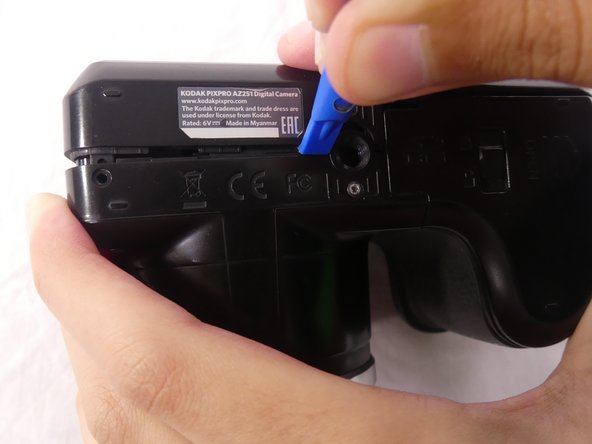
Use a plastic opening tool to pry apart both halves of the camera.
-
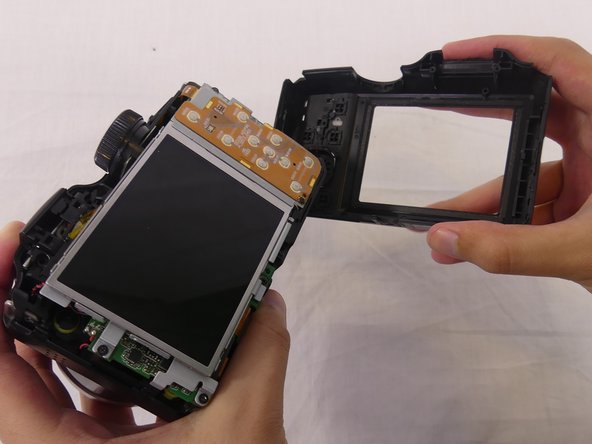
Remove the back panel.
-
-
-
-
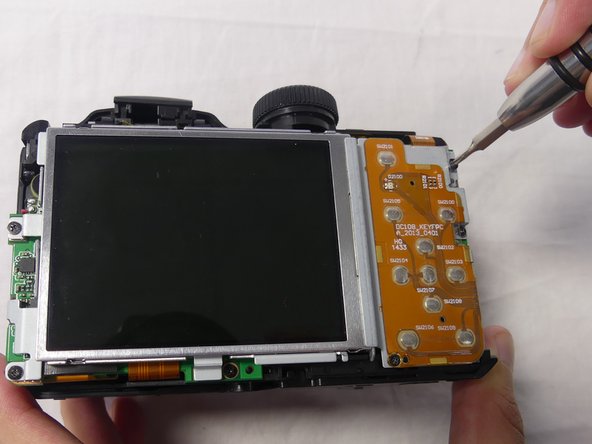
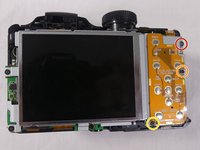
Remove these three JIS #000 screws from the control board:
-
5mm screw.
-
4mm screw.
-
2mm screw.
-
-
-
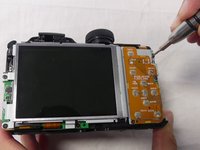
Pull the small metal switch plate to the side.
-
-
-
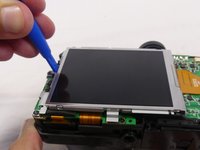
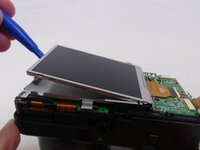
Pry the LCD screen out of the metal housing plate with a plastic opening tool.
-
-
-
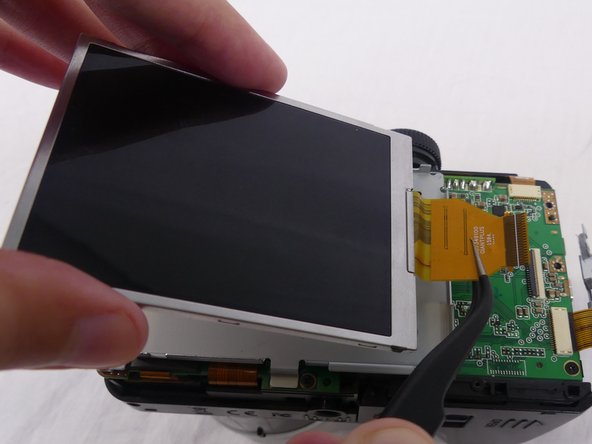
Use a spudger to flip up the retaining flap on the display ribbon cable ZIF socket.
-
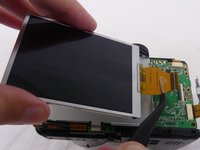
Pull the orange cable out of the socket.
-
-
-
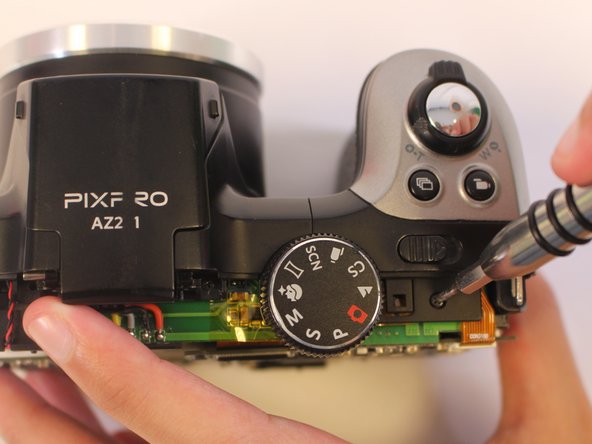
Remove one 4mm JIS #000 screw from the top of the camera.
-
-
crwdns2935267:0crwdne2935267:0Tweezers$4.99
-
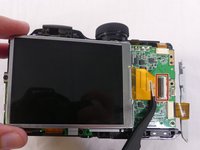
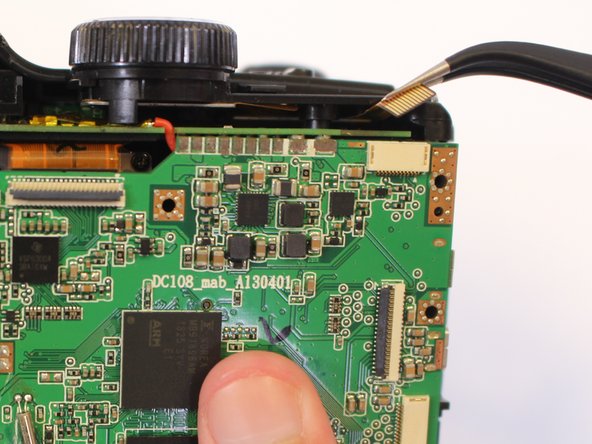
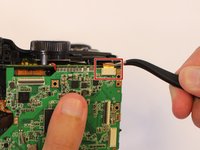
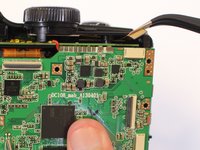
Using tweezers, disconnect the orange cable connection at the top of the motherboard.
-
-
-
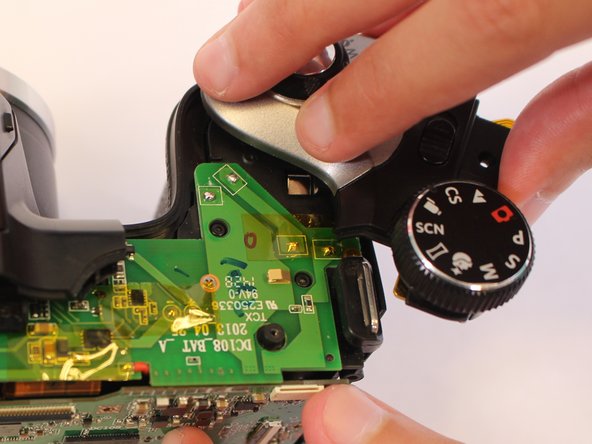
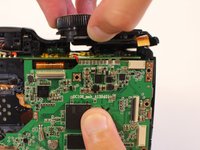
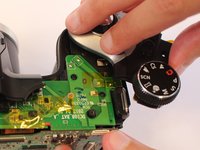
Pull the mode dial up and off of the camera.
-
-
-
Turn camera upside down.
-
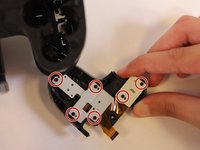
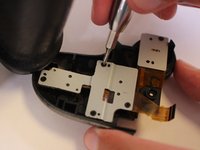
Remove the six 2mm JIS #000 screws from the metal base of the shutter button.
-
-
-
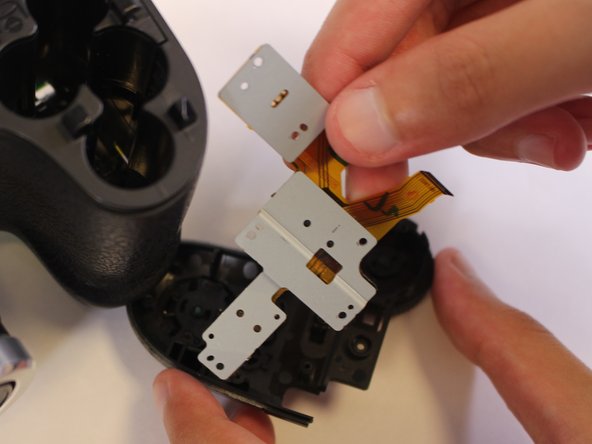
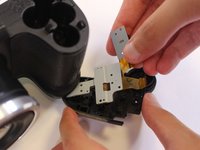
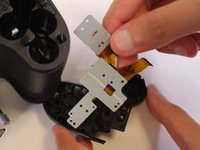
Remove the metal base and ribbon cables.
-
-
-
While holding the shutter button in place, remove the two 4mm JIS #000 screws from the base.
-
-
-
Remove the plastic base of the shutter button using tweezers by pulling it straight upward.
-
-
-
Remove the shutter button by pulling it out from the bottom side of the top cover.
-
To reassemble your device, follow these instructions in reverse order.
To reassemble your device, follow these instructions in reverse order.


