crwdns2915892:0crwdne2915892:0
This guide demonstrates how to clean or replace the shutter button.
crwdns2942213:0crwdne2942213:0
-
-
Turn off camera by firmly pressing the power button that is located on the top of the camera near the selector dial.
-
-
-
Press thumb firmly on battery door and slide it in the direction of the arrow.
-
Lift thumb allowing the door to swing open.
-
-
crwdns2935267:0crwdne2935267:0Anti-Static Wrist Strap$7.95
-
Before removing back cover, it is advisable to use an anti-static wrist strap to prevent damage to electronics.
-
-
-
Turn the camera off by firmly pressing the power button located on top of the camera.
-
-
-
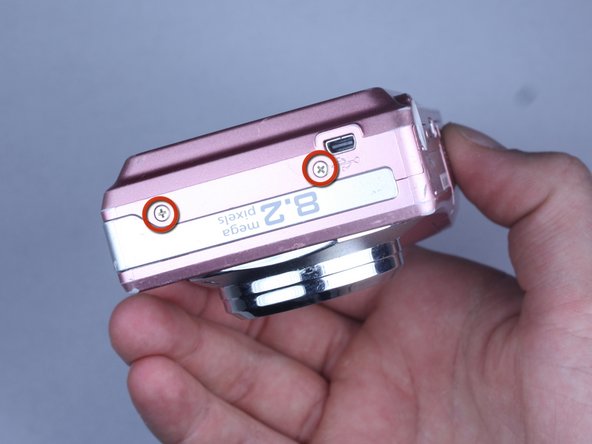
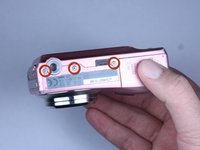
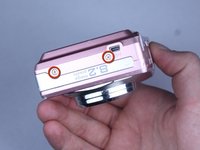
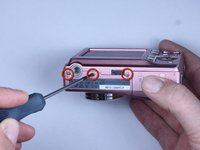
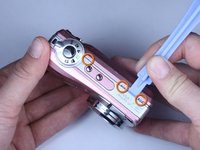
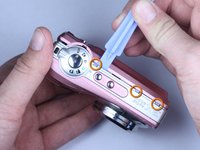
Locate the 7 screws holding the back cover on.
-
Three screws are located on the bottom of the camera.
-
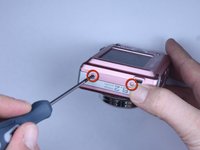
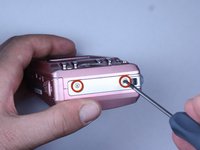
Two screws are located on the side shown in the photograph.
-
Two final screws are located on the opposite side shown in the photograph.
-
-
-
-
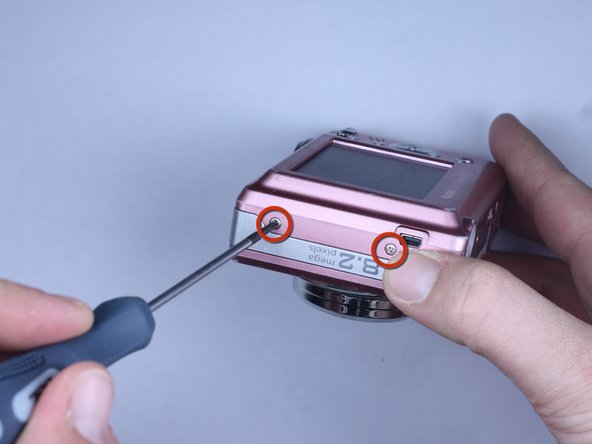
Remove all 7 screws:
-
Hold the camera firmly with one hand so that you can still see a screw.
-
Place the Philips 00(Found here)screwdriver into the screw.
-
Turn the screwdriver to the left until it is free.
-
Repeat for the remaining screws.
-
-
-
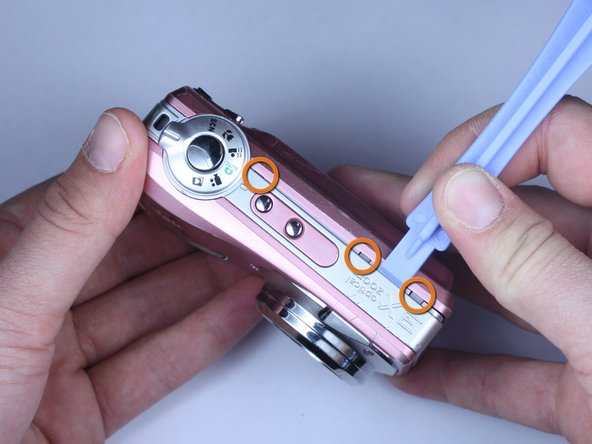
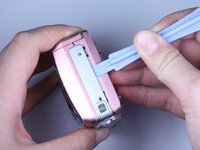
Use plastic opening tools to slightly open the side of the case.
-
Insert a plastic opening tool and apply pressure to the internal three tabs at the top.
-
The first two are near the words "3X Optical Zoom".
-
The third is near the shutter button.
-
-
-
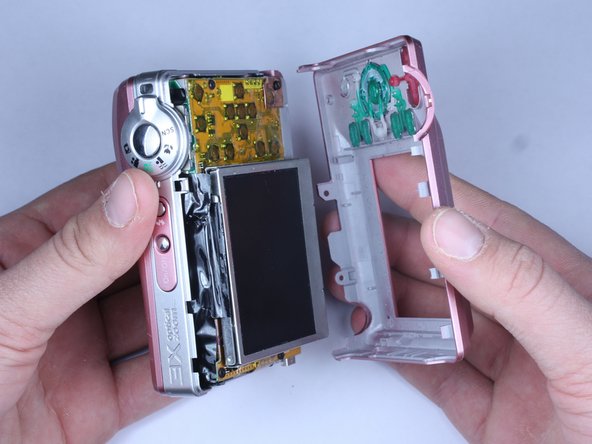
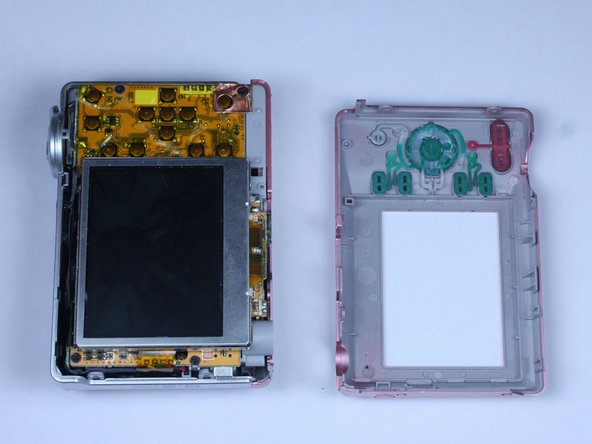
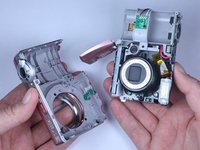
Gently pull apart the back cover from the rest of the camera.
-
Make sure there are no more screws or tabs keeping the cover on.
-
Use the plastic opening tool to separate any sides still closely connected.
-
-
-
Open the battery door.
-
Press thumb firmly on battery door and slide it in the direction of the arrow.
-
Lift thumb allowing the door to swing open.
The battery door on my easyshare c813 is broken. How can i get a replacement door?
-
-
-
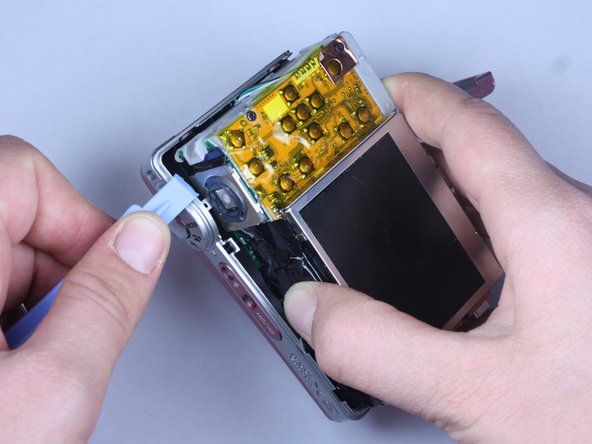
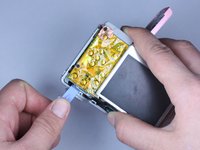
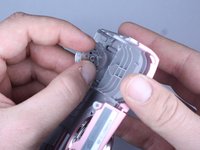
Use the plastic opening tool to lift the casing around the shutter button.
-
Gently remove the front cover from the device.
-
-
-
To discharge the capacitor follow this guide.
-
-
-
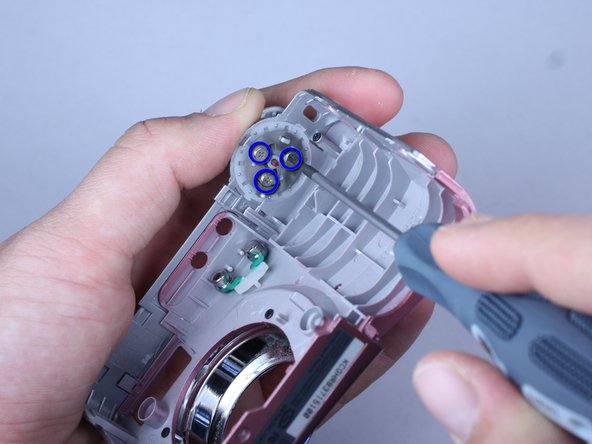
The shutter button is held on to the front cover by three screws
-
Hold the shutter button in place
-
Use a Philips 00 screwdriver to remove the screws.
-
-
-
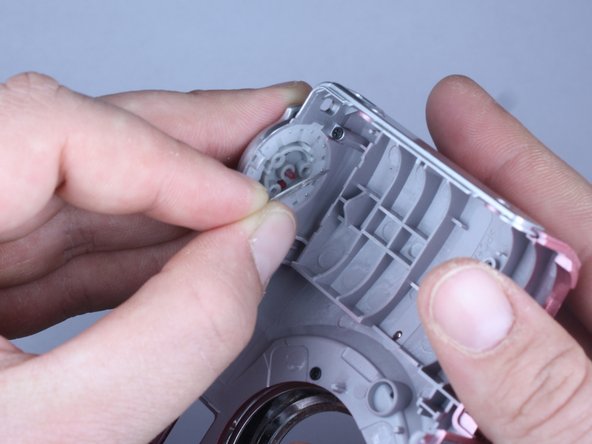
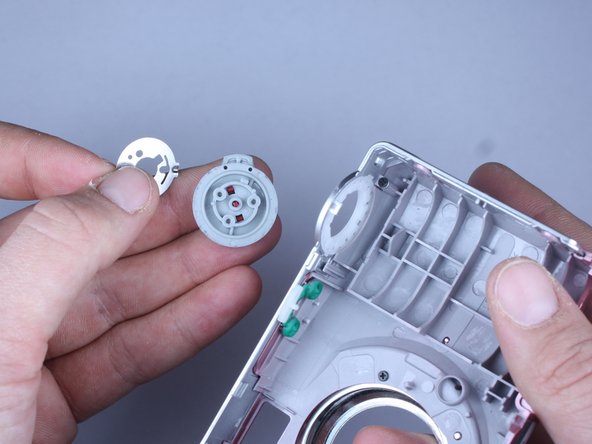
Keep the shutter button in place while removing the circular metal plate
-
Remove the shutter button by allowing it to fall into your hand
-
-
-
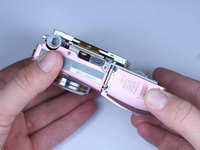
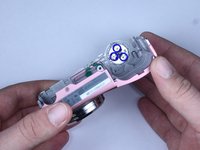
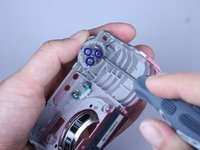
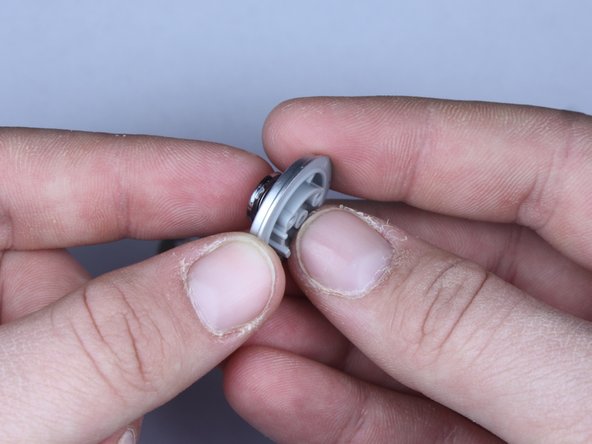
Hold down the shutter button portion of the selector dial
-
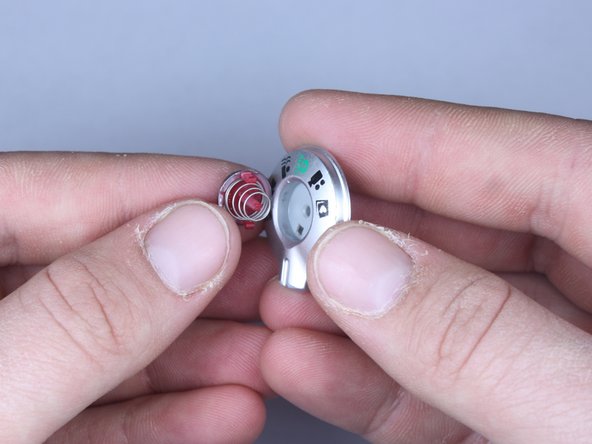
Press down the red tabs and slowly relieve pressure on the shutter button
-
Press down on the center red stick
-
Tool shown is Found here
-
-
-
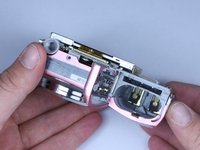
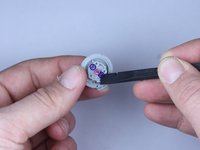
If cleaning, remove dirt from button
-
When putting back together, the button should be be oriented so that the green automatic mode points towards the power button.
-


To reassemble your device, follow these instructions in reverse order.
To reassemble your device, follow these instructions in reverse order.
crwdns2915084:0crwdne2915084:0

Cal Poly, Team 24-22, Regan Spring 2010 crwdns2935289:0Cal Poly, Team 24-22, Regan Spring 2010crwdne2935289:0
CPSU-REGAN-S10S24G22
crwdns2931471:04crwdne2931471:0
crwdns2935297:022crwdne2935297:0
crwdns2947410:01crwdne2947410:0
does anybody know how the pins works on the surface mounted shutter switch button on the PCB? this would be very helpful thanks!