crwdns2915892:0crwdne2915892:0
Removing and replacing the LCD and LCD casing.
crwdns2942213:0crwdne2942213:0
-
-
Use your finger tip to slide battery cover door away from the center of the camera.
-
The battery door should spring open.
-
If this does not happen, gently open the door lifting from the outer bottom side of the camera.
-
-
-
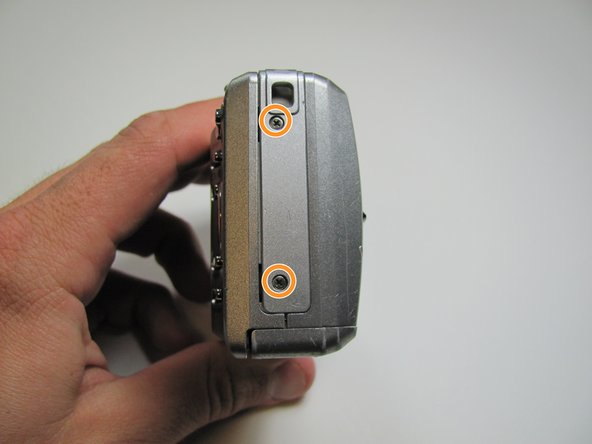
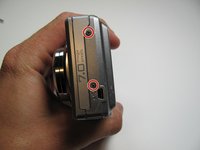
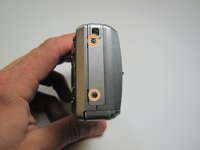
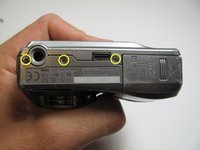
Remove the seven screws from the outer case with a Phillips #00.
-
All screws are 4.45mm.
-
There are 2 screws on the port side.
-
There are 2 screws on starboard side.
-
There are 3 screws on the bottom.
-
-
-
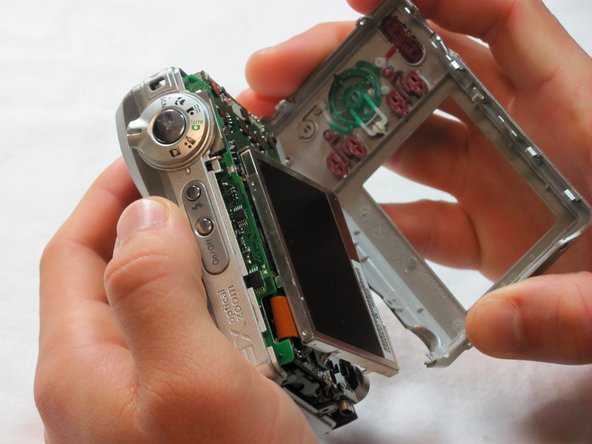
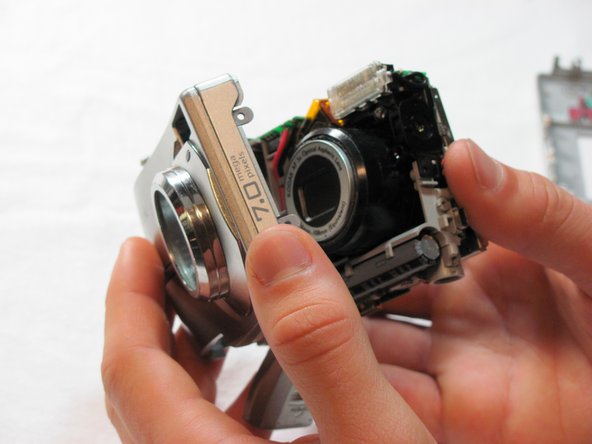
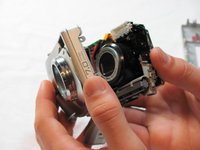
Pull the outer case off with your hands.
-
-
-
-
Put your thumb in the upper right corner of the LCD screen.
-
Pull the LCD screen out of its outer case with your thumb.
-
-
-
Remove the screw underneath LCD screen with the Phillips #00. The screw measures 4.1mm in length.
-
-
-
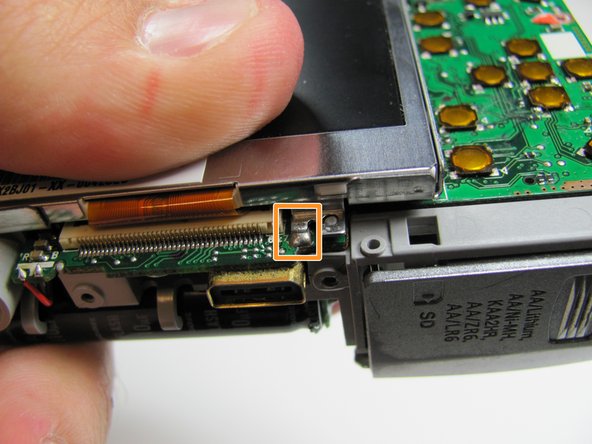
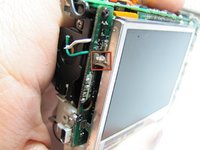
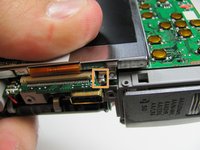
Desolder the two points.
-
One on the port side.
-
One on the bottom.
-
-
-
After desoldering the LCD casing, just use your fingers to carefully remove it.
-
-
-
Flip up the black tab on the bottom of the LCD screen with a fingertip.
-
-
-
Remove the LCD ribbon cable from inside the black tab.
-
To reassemble your device, follow these instructions in reverse order.
To reassemble your device, follow these instructions in reverse order.
crwdns2935221:0crwdne2935221:0
crwdns2935229:06crwdne2935229:0
crwdns2947412:02crwdne2947412:0
Thank you... i fixed my old camera lcd.
hvor kan jeg kjøpe LCD skjermen til dette kamerat, og hva koster et sånn LCD-skjerm


