crwdns2915892:0crwdne2915892:0
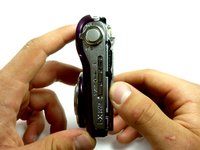
This guide will show you how to take out and replace the LCD screen on your camera.
crwdns2942213:0crwdne2942213:0
-
-
To start, remove the Philips #00 4.5 mm screws on both sides of the camera.
-
On the bottom, there are three Philips #00 4.5 mm screws. Two are for the front panel and one is for the back panel. To remove the back panel, take out the screws indicated in the final picture of the sequence.
-
-
-
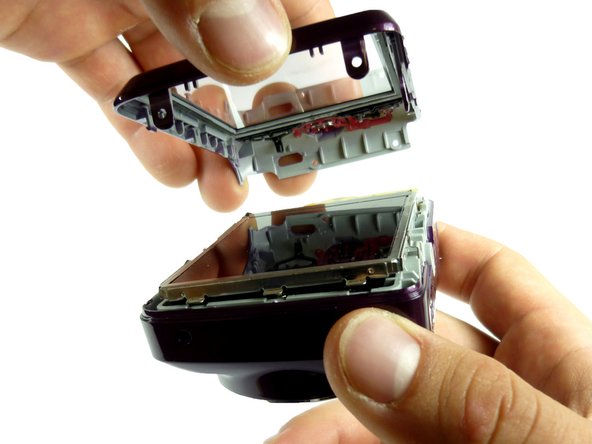
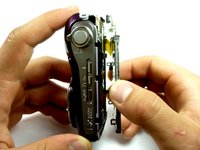
Once all the screws are out, remove the back panel.
-
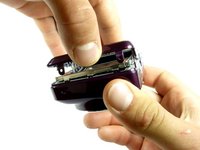
To do this, start by removing the bottom of the panel.
-
-
-
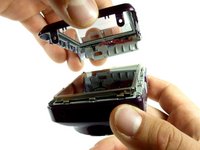
Once the bottom part is unhooked, unhook the top, and the whole panel should come off.
-
Be sure to gently pry the cover off.
-
-
-
-
In the top right hand corner of the inside of the camera, there is a Philips #00 4 mm screw that needs to be removed.
-
-
crwdns2935267:0crwdne2935267:0Tweezers$4.99
-
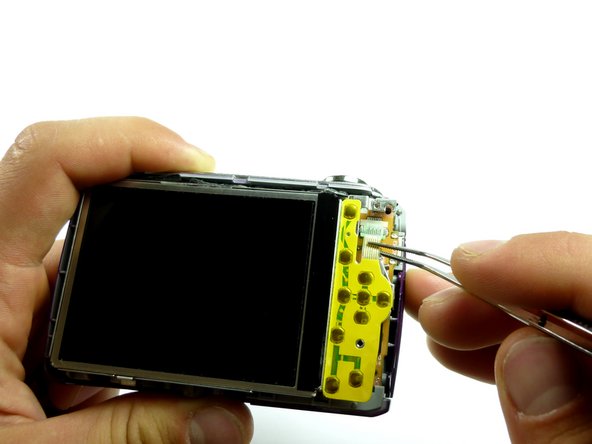
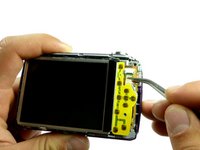
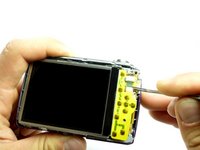
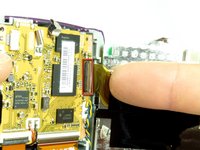
The next step is to remove the white ribbon on the upper right hand corner next to the LCD screen.
-
This can be done with or without tweezers.
-
-
-
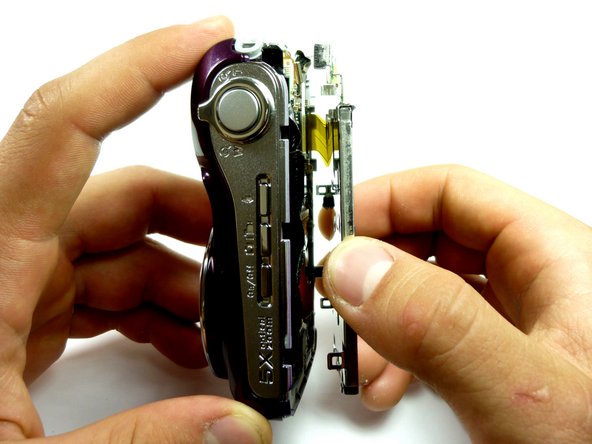
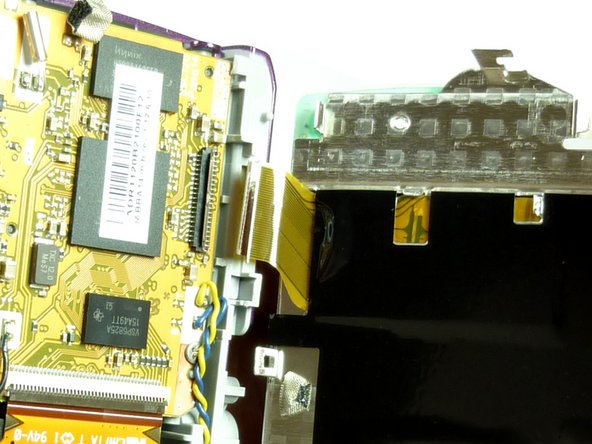
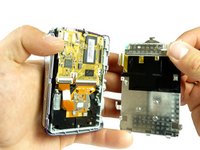
Carefully pry the top portion of the screen from the camera.
-
-
-
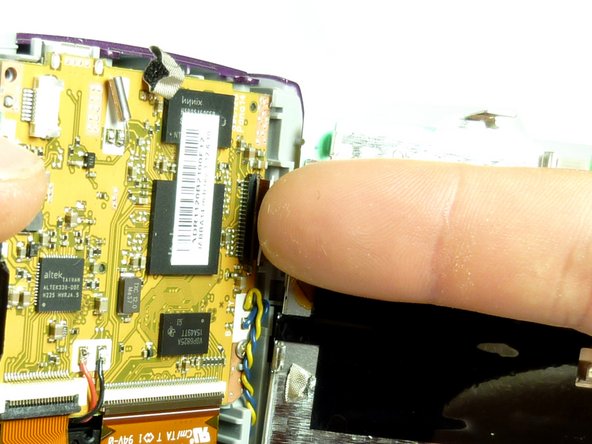
To remove the screen completely, push down on the rectangular tab indicated in the picture.
-
-
-
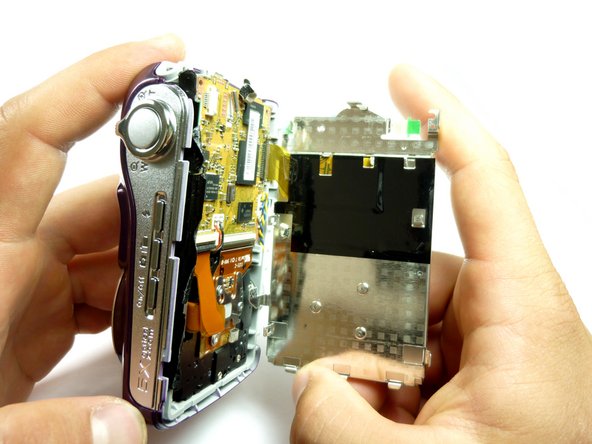
The LCD screen is now completely removed from the rest of the camera.
-


To reassemble your device, follow these instructions in reverse order. NOTE: be sure to put the internal screws on the inside and the external screws on the outside.
To reassemble your device, follow these instructions in reverse order. NOTE: be sure to put the internal screws on the inside and the external screws on the outside.
crwdns2935221:0crwdne2935221:0
crwdns2935229:04crwdne2935229:0
crwdns2915084:0crwdne2915084:0

Cal Poly, Team 6-22, Amido Spring 2012 crwdns2935289:0Cal Poly, Team 6-22, Amido Spring 2012crwdne2935289:0
CPSU-AMIDO-S12S6G22
crwdns2931471:04crwdne2931471:0
crwdns2935297:08crwdne2935297:0