crwdns2915892:0crwdne2915892:0
Unit wouldn't power on anymore after 4 years of service, Seems that the power supply is a common failure for this model.
There are two methods to fix sound bar
crwdns2942213:0crwdne2942213:0
-
-
Remove 19 TR15 Torx screws from the rear of the unit and
-
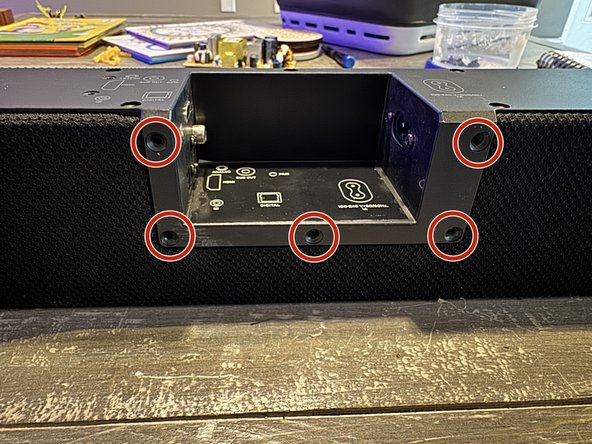
Remove 5 TR15 Torx screws from the bottom.
-
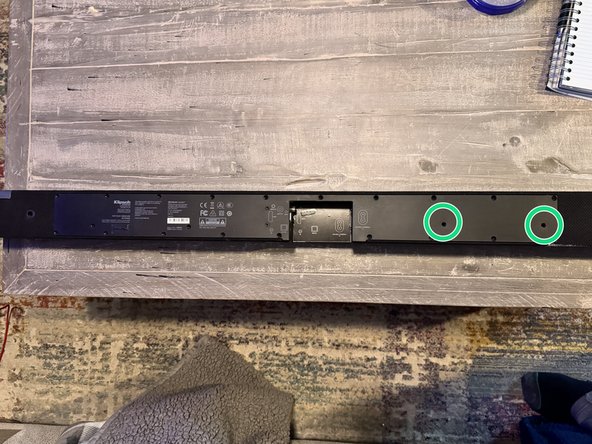
Remove 2 2.5" Allen Screws
-
-
-
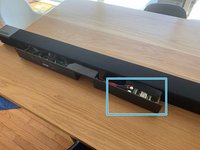
Using Pry Bar, Separate the rear panel from the main housing.
-
-
-
-
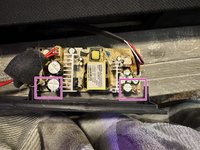
Remove the Yellow Glue from the underside to remove the power supply from the right side of the rear panel.
-
-
-
From Here you can either Replace the Power Supply, using compatible components from amazon, or you can try and replace capacitors and see if that fixes the issue.
-


To reassemble your device, follow these instructions in reverse order.
To reassemble your device, follow these instructions in reverse order.
crwdns2935221:0crwdne2935221:0
crwdns2935227:0crwdne2935227:0