crwdns2933423:0crwdne2933423:0

KitchenAid KSB5CR Power Cable Replacement

crwdns2942213:0crwdne2942213:0

  1. KitchenAid KSB5CR Power Cable Replacement, Removing the Back Panel Part 1: crwdns2935265:01crwdnd2935265:01crwdnd2935265:03crwdne2935265:0 KitchenAid KSB5CR Power Cable Replacement, Removing the Back Panel Part 1: crwdns2935265:01crwdnd2935265:02crwdnd2935265:03crwdne2935265:0 KitchenAid KSB5CR Power Cable Replacement, Removing the Back Panel Part 1: crwdns2935265:01crwdnd2935265:03crwdnd2935265:03crwdne2935265:0
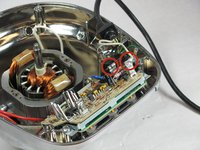
    • Remove the glass container and place the blender upside down on a solid surface.

    • Remove the four rubber feet using the needle nose pliers.

    • Remove the four #7.5 Phillips 25mm screws that were located underneath the rubber feet using the Phillips #2 screwdriver.

  2. KitchenAid KSB5CR Power Cable Replacement, Removing the Back Panel Part 2: crwdns2935265:02crwdnd2935265:01crwdnd2935265:01crwdne2935265:0
    • Lift the back panel up, sliding it along the power cord.

  3. KitchenAid KSB5CR Power Cable Replacement, Freeing the Power Cable: crwdns2935265:03crwdnd2935265:01crwdnd2935265:01crwdne2935265:0
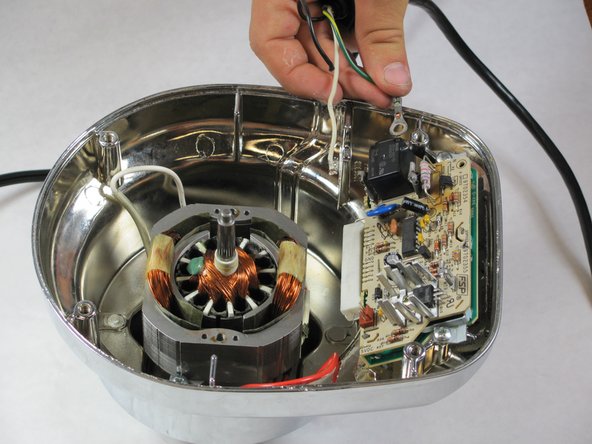
    • Lift up on the power cable to pop it out of its holder.

  4. KitchenAid KSB5CR Power Cable Replacement, Detaching the White and Black Wires: crwdns2935265:04crwdnd2935265:01crwdnd2935265:02crwdne2935265:0 KitchenAid KSB5CR Power Cable Replacement, Detaching the White and Black Wires: crwdns2935265:04crwdnd2935265:02crwdnd2935265:02crwdne2935265:0
    • Be gentle with the knife or you will break the circuit board.

    • Slide the knife into the metal loop holding the insulation before the white copper wire, and wiggle it back and forth until it loosens.

    • Pull the wire out from the metal loop that you loosened.

    • Repeat this process with the black copper wire.

  5. KitchenAid KSB5CR Power Cable Replacement, Detatching the Green Wire: crwdns2935265:05crwdnd2935265:01crwdnd2935265:02crwdne2935265:0 KitchenAid KSB5CR Power Cable Replacement, Detatching the Green Wire: crwdns2935265:05crwdnd2935265:02crwdnd2935265:02crwdne2935265:0
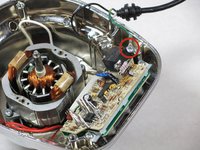
    • Using the Phillips #2 screwdriver, remove the #8 Phillips 6mm screw to which the green wire is attached.

crwdns2915888:0crwdne2915888:0

To reassemble your device, follow these instructions in reverse order.

Cameron Geehr

crwdns2935283:009/28/14crwdne2935283:0

745 crwdns2915208:0crwdne2915208:0

crwdns2935297:06crwdne2935297:0

crwdns2915084:0crwdne2915084:0

Cal Poly, Team 12-5, Forte Fall 2014 crwdns2935289:0Cal Poly, Team 12-5, Forte Fall 2014crwdne2935289:0

CPSU-FORTE-F14S12G5

crwdns2931471:05crwdne2931471:0

crwdns2935297:06crwdne2935297:0

crwdns2944067:00crwdne2944067:0

crwdns2917038:0crwdne2917038:0

crwdns2936625:0crwdne2936625:0:

crwdns2936751:024crwdne2936751:0 1

crwdns2936753:07crwdne2936753:0 10

crwdns2936753:030crwdne2936753:0 12

crwdns2942667:0crwdne2942667:0 661