crwdns2915892:0crwdne2915892:0
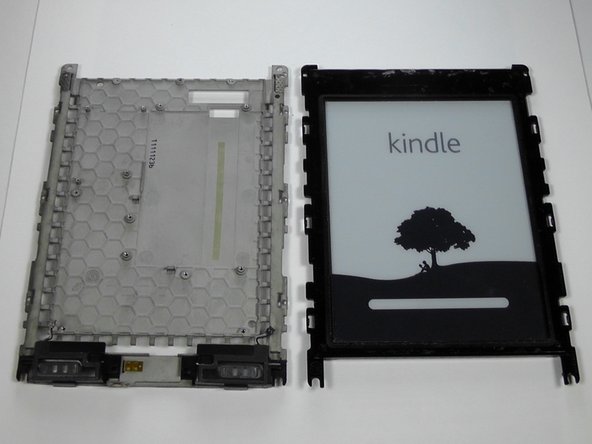
Use this guide to separate the screen from the screen support unit.
crwdns2942213:0crwdne2942213:0
-
-
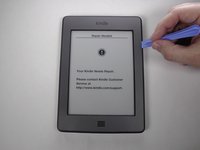
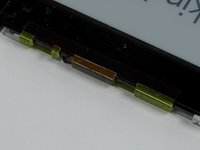
Use the plastic opening tool to undo the six plastic clips around the bottom of the back panel of the Kindle.
-
-
-
Slide the back panel downward, toward the charging port. This will release the clips on the top half.
-
Once the top clips release, gently lift the back panel away.
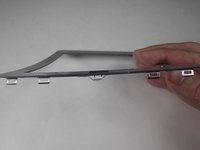
There are four tabs on each side.The two nearest the top are open at the top, hence they slide out (back towards the power connector end.
This is important in the reassembly stage:
1. Align the back cover about 0.75 cm away from the top
2. Hold the top half of the cover flat against the unit, and flex the cover away from the case a little at the bottom
3. Slide the top and the first two clips parallel to the case
4. snap the remaining bottom clips in place
-
-
-
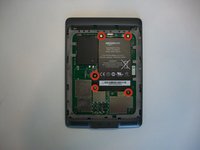
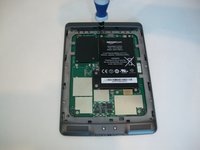
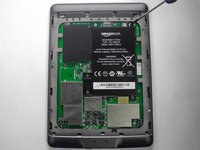
Use a Phillips #00 screwdriver to remove the five screws.
-
-
-
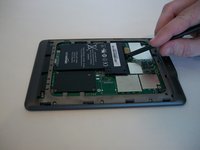
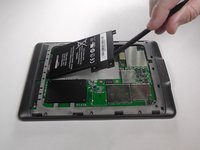
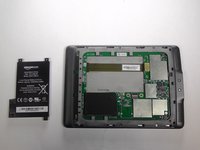
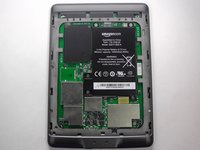
Using the flat end of your spudger, gently pry the battery up and remove it.
-
-
-
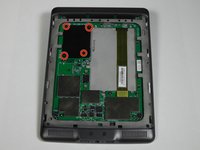
Remove the indicated four 2 mm screws with a Phillips #00 screwdriver. (Units with the 3G assembly have Phillips #000 screws.)
-
Next, gently lift the 3G assembly with a Spudger or your fingers.
-
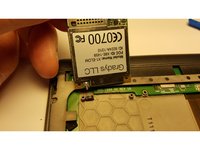
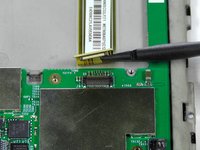
Disconnect the antenna lead by carefully prying it off the 3G board with a plastic tool.
The 3G model has an antenna connector near the top left on the underside.
-
-
-
-
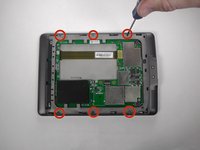
Using a Phillips #00 screwdriver, remove the six 4 mm screws to access the front plate.
-
-
-
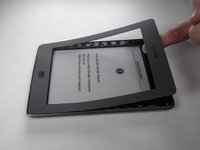
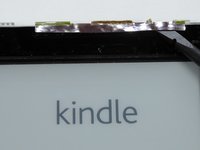
Use the plastic opening tool to pry the bezel from the top and sides
-
-
-
Use your Phillips #00 srewdriver to remove the indicated screws.
-
-
-
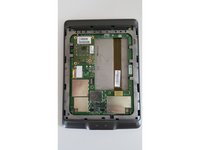
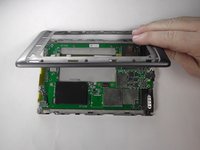
With the screws removed, gently remove the case from the internals.
-
-
-
With the screen facing you, use your heated iOpener or other heating element to loosen the glue holding the WiFi unit to the screen. After 30 seconds, remove the heating element.
-
After the glue is loosened, use a thin tool, like a Spudger or small plastic opening tool, to separate the WiFi unit from the screen.
-
-
-
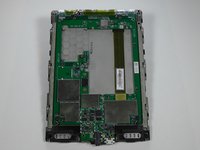
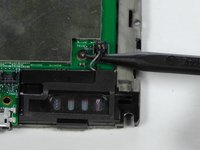
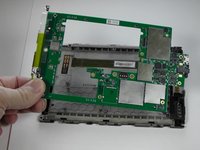
With the motherboard facing you, use the pointy end of your Spudger to gently separate the two speaker's connectors.
-
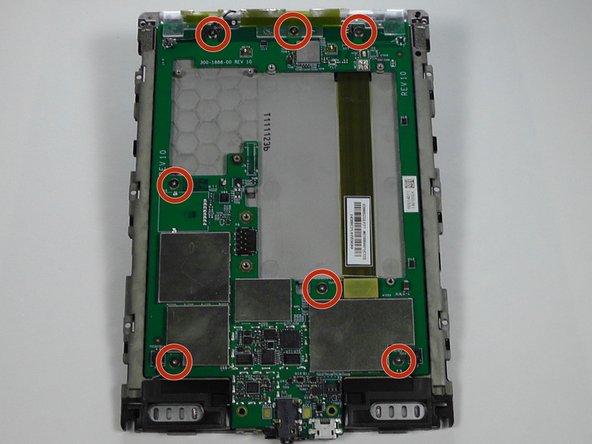
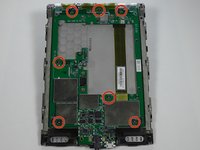
Use your #00 Phillips Screwdriver to remove the seven 2 mm screws.
-
-
-
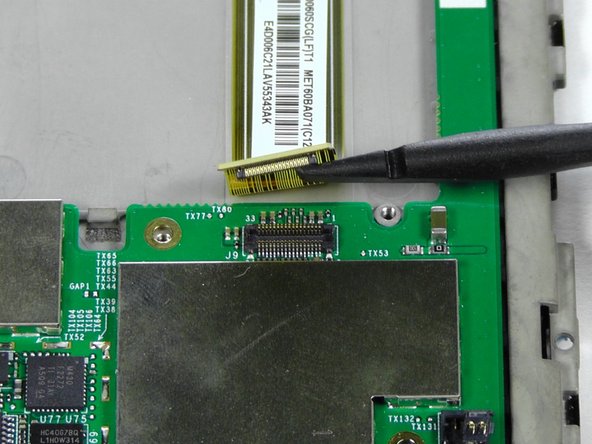
Use a Spudger to separate the display's connector from the motherboard.
-
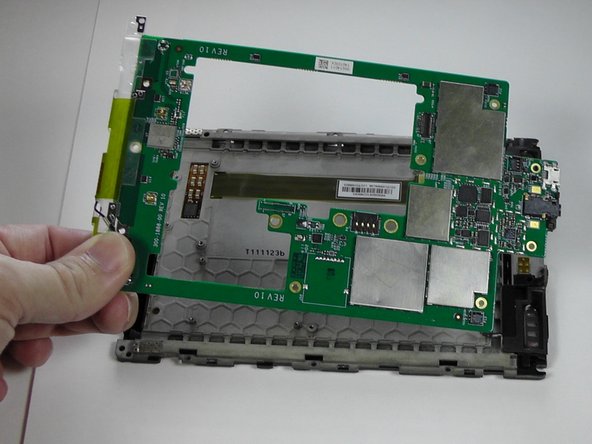
Gently remove the motherboard from the display support.
-
-
-
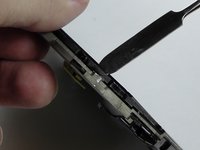
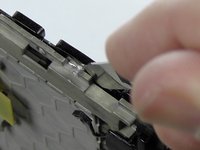
Using your Metal Spudger, place the pointy end into the top of the clip.
-
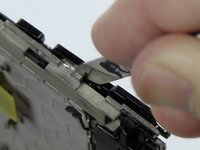
Gently rotate the Spudger and lift the plastic unit to create a gap on the side.
-
-
-
Use the Spudger in the gap to pry the clip open.
-
Repeat for the other clips.
-
-
-
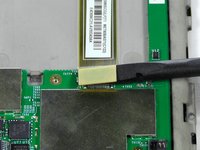
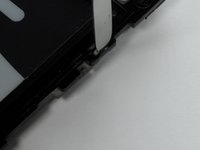
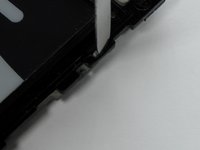
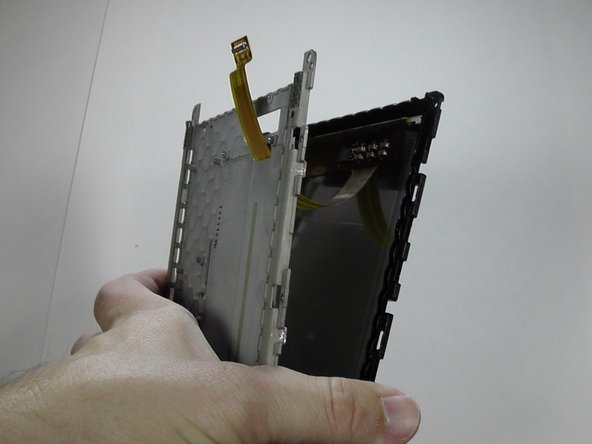
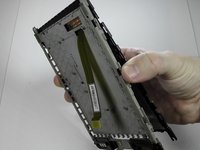
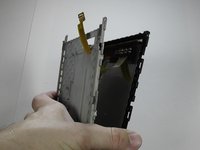
With the clips separated, gently guide the Screen's Motherboard Connector through the hole.
-
To reassemble your device, follow these instructions in reverse order.
To reassemble your device, follow these instructions in reverse order.
crwdns2935221:0crwdne2935221:0
crwdns2935229:010crwdne2935229:0
crwdns2947412:06crwdne2947412:0
I would love to know where I can get the replacement screen. Any links?
Good guide, thanks, finally, if you need to remove the screen itself from the black plastic frame you can do this inserting the spudger carefully between the screen and the black plastic frame and gradually moving it all round the frame. It will help if you put a heated silicon gel pack over each side before trying to release it
I have a Kindle with half of screen responding to touch
Is the touch incliduded on the screen itself? Will replacing the screen help or is there another way to fix the touch?
No, the touch circuitry is built into the motherboard.
Where do you buy the screen replacement part for the Kindle Touch?
I got one on ebay for about $15.
LoriP408 -






















Wear work gloves as the tool can easily slip and stab you in the hand.
BRUCE - crwdns2934203:0crwdne2934203:0
The clips aren't all the same; the side clips are slide-locks rather than press-locks.
Use the Opening Tool to unclip the clips along the bottom edge. This will allow the lid to slide towards the top, releasing the side clips and allowing the lid to be lifted off.
When reassembling, slide the lid upwards while pressing the sides to re-engage the side clips, then press the bottom edge to lock it into place.
jimf - crwdns2934203:0crwdne2934203:0