crwdns2915892:0crwdne2915892:0
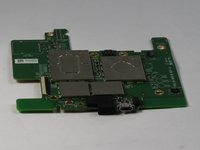
The Paperwhite’s charging port is integrated into the motherboard, and can only be replaced by either de-soldering the old port and carefully soldering on a new one, or by replacing the entire board.
crwdns2942213:0crwdne2942213:0
-
-
-
Insert plastic opening tool into the corners of the Paperwhite and slide around the edge perimeter to remove bezel.
 crwdns2952109:0crwdne2952109:0
-
-
-
Using a Screw Driver, Remove the eleven 3.2 mm Phillips 000 screws from corners of the mid-frame and from behind the black strip as shown.
-
-
-
Carefully remove the mid-frame from the back cover.
-
-
-
-
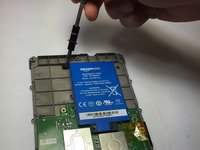
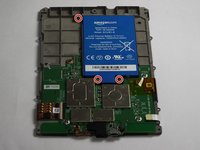
Use a screwdriver to remove the three 3.0 mm Phillips 000 screws that are holding the battery in place as shown.
-
-
-
Carefully lift the battery and remove it from the device.
-
-
-
-
-
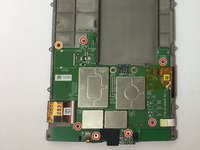
Use a screwdriver to remove the seven 3.0 mm Phillips 000 screws that are holding the motherboard in place as shown.
-
-
-
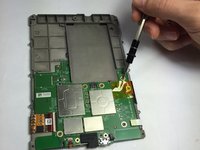
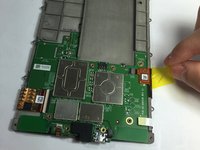
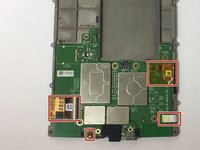
Gently disconnect the zif connectors.
-
-
-
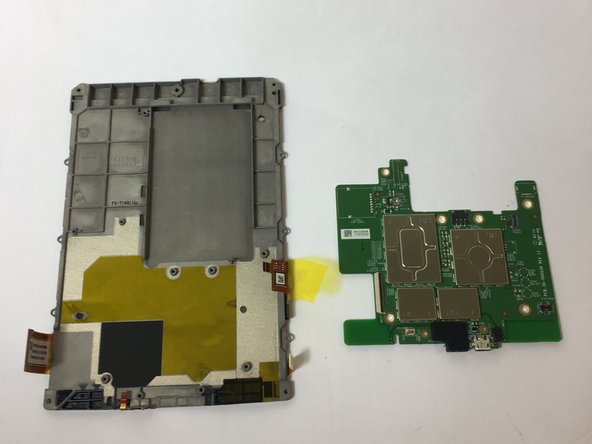
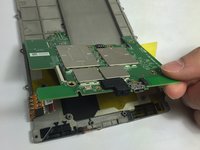
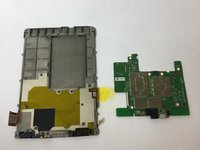
Gently remove the motherboard.
-
-
-
-
-
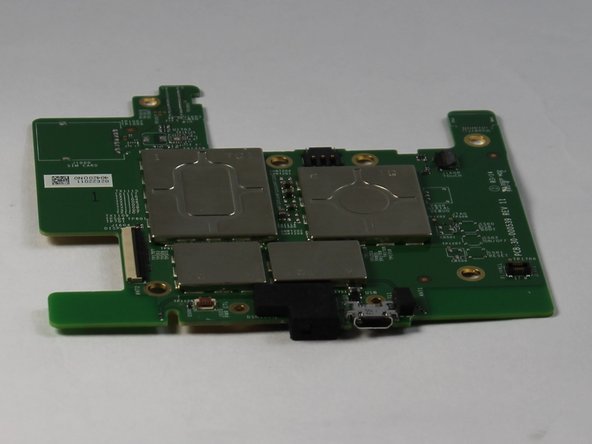
From here, to fix a faulty port, either replace the entire motherboard, or carefully desolder the old port and solder a new one on in its place.
-
-








To reassemble your device, follow these instructions in reverse order.
crwdns2935221:0crwdne2935221:0
crwdns2935229:012crwdne2935229:0

crwdns2935287:0crwdne2935287:0

USF Tampa, Team 11-2, Blackwell Fall 2016 crwdns2935289:0USF Tampa, Team 11-2, Blackwell Fall 2016crwdne2935289:0
USFT-BLACKWELL-F16S11G2
crwdns2931471:04crwdne2931471:0
crwdns2935297:060crwdne2935297:0
crwdns2947412:010crwdne2947412:0
How to replace the USB port; replace the motherboard. Kind of a lame fix if you ask me. Whatever happened to soldering a new port on?
Sam Hardeman - crwdns2934203:0crwdne2934203:0 crwdns2950251:0crwdne2950251:0
I have not done the fix yet but plan to replace the USB which appears to be a USB - micro B USB 2.0 Receptacle Connector 5 Position Surface Mount available at DigiKey. Is there any reason not to attempt this? I have microscope and soldering station. If not, where do you get the motherboard and how much is it?
Bill Smith - crwdns2934203:0crwdne2934203:0 crwdns2950251:0crwdne2950251:0
Any updates? Did you run into any issues?
theend12212012 - crwdns2934203:0crwdne2934203:0 crwdns2950251:0crwdne2950251:0
Démontage facile effectivement, mais les cinq microsoudures sur la carte mère sont impossibles à faire avec un simple fer à souder ! Il faut utiliser du matériel pour CMS (composant à montage en surface)…
Ceci dit mon problème vient effectivement de ces microsoudures. En appuyant simplement sur ces contacts mon Kindle s’est remis en marche ! Vive le travail mal fait à la construction…
telerando - crwdns2934203:0crwdne2934203:0 crwdns2950251:0crwdne2950251:0
Getting the Kindle open and getting to the charging port was quite ‘easy’. In step 1 the top is stuck on with something like sticky back tape and the top can be gently pulled away from the tape.
Having got to the port I can not figure out how to replace it. This part does not seem to be easy, unless Step 9 is explained in much more detail. The contacts for the port seem to be incredibly small and I can’t figure out how they’re connected, or what part I need to order to replace the port.
Richard Garside - crwdns2934203:0crwdne2934203:0 crwdns2950251:0crwdne2950251:0
