crwdns2915892:0crwdne2915892:0
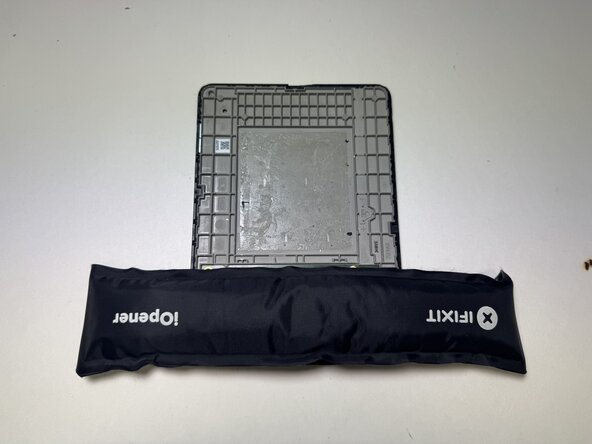
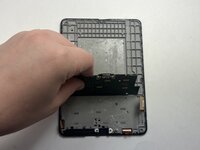
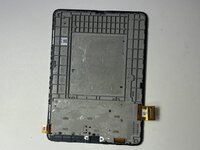
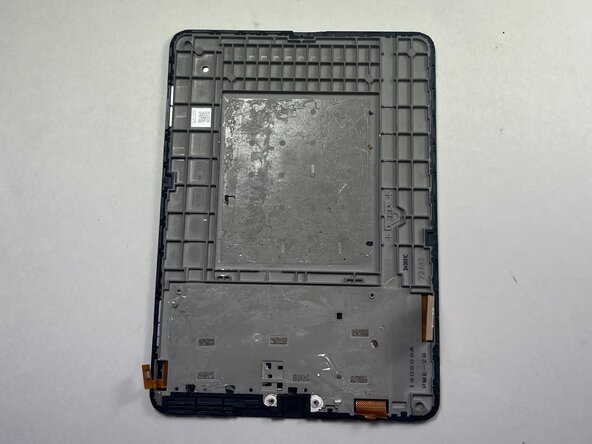
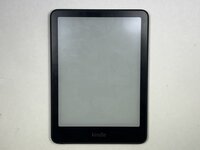
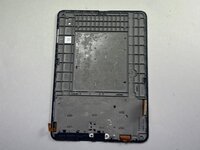
The Kindle Paperwhite 12th gen screen is a complex part with everything altogether including the hardware casing for the motherboard and battery, the ribbon cables to connect them to the Kindle, and the screen itself. It also houses the systems light and touchscreen system. Replacement of the screen should be done as a last effort, as the price of the screen part is a considerable majority of the price of the main product, but it can solve any issues with burn-in or ghosting, as well as touch screen sensitivity issues and internal lighting issues. The replacement will consist of taking out every piece of hardware and reinstalling it into the new housing,
crwdns2942213:0crwdne2942213:0
-
-
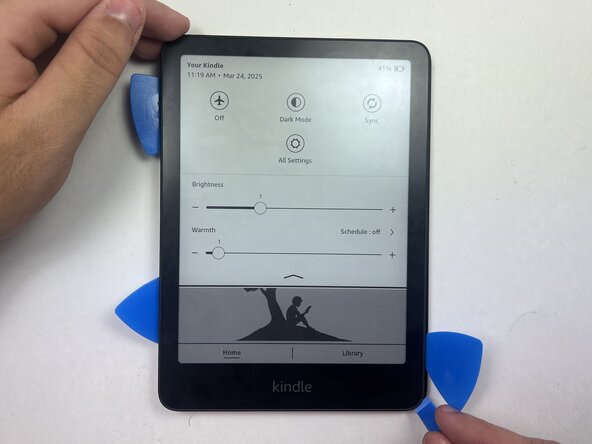
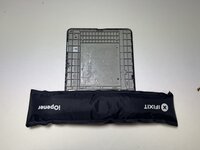
Use an opening tool or opening picks and insert the tip between the back case and screen.
-
Slide the opening tool around the edge of the tablet to release the clips holding them together and avoid damaging the connectors.
-
-
-
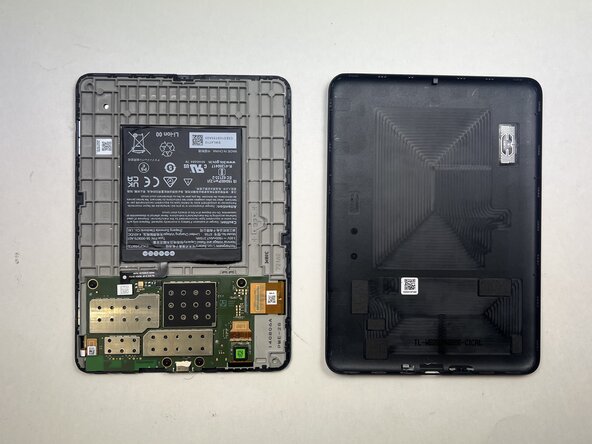
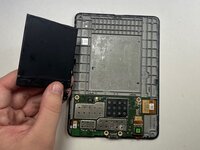
Flip the Kindle over and remove back casing from screen and device.
-
-
-
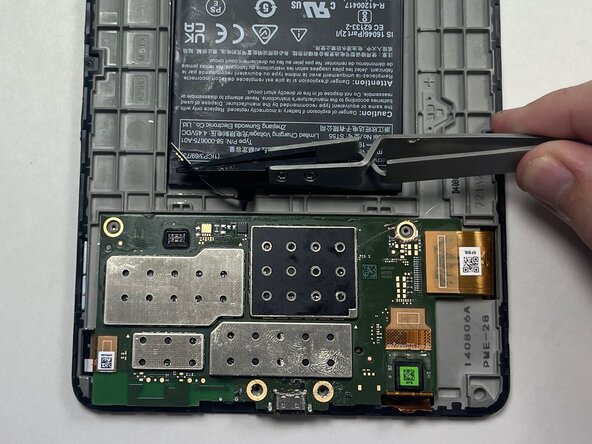
Place a spudger or an opening tool under the connector's edge and pry straight up to disconnect it.
-
-
-
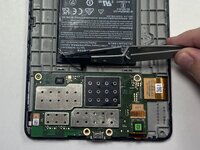
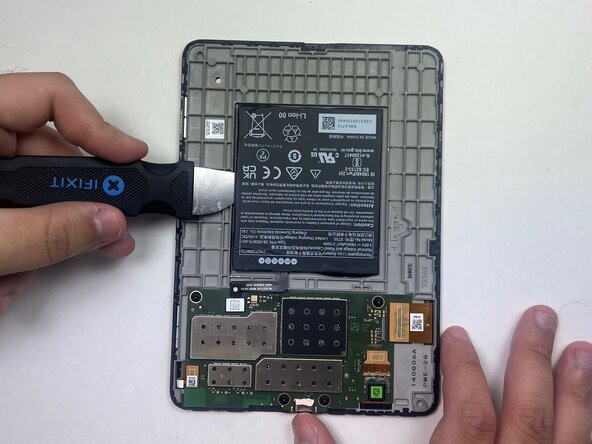
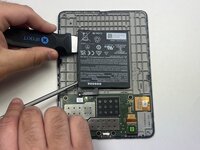
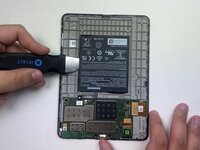
Use a black nylon spudger and slide it under the sides of the battery to create a gap between the battery and the housing.
-
Once the battery has loosened from the adhesive, use the black nylon spudger to gently lift and fully detach it while applying light upward pressure.
-
-
-
-
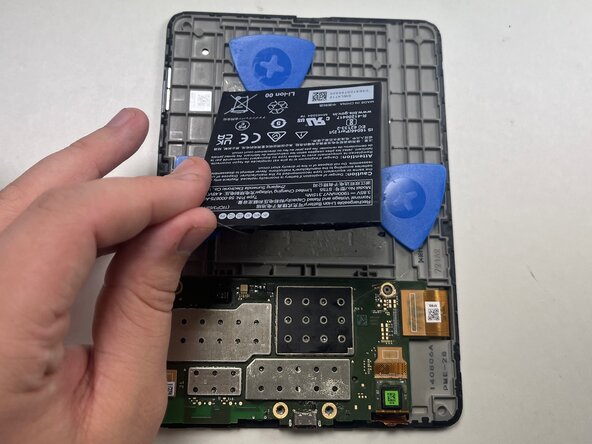
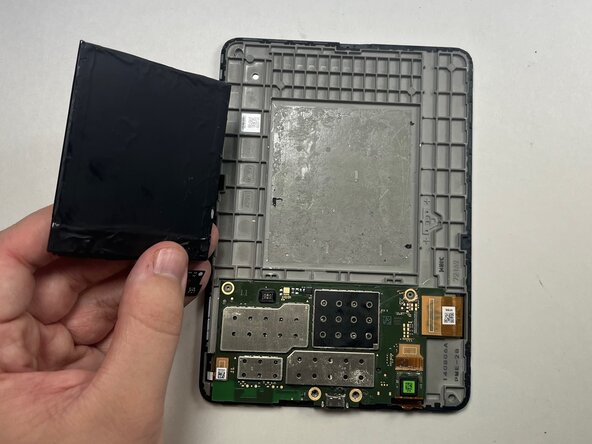
Loosen the battery from the backing, then insert an opening pick on each side of the battery to help pry it off. Once the picks are in place, carefully peel the battery away and remove it from the device.
-
-
-
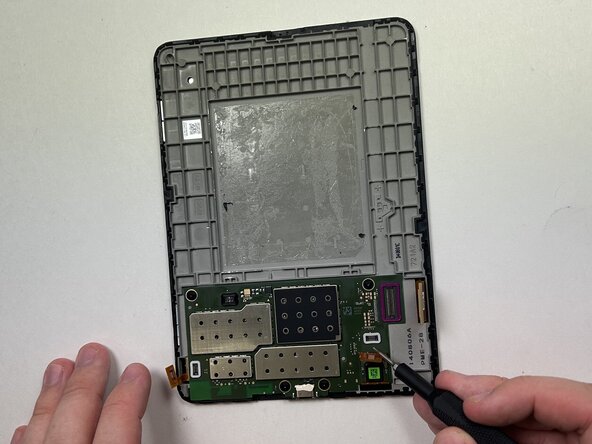
Place a spudger or an opening tool under the press connector edge and pry straight up to disconnect it.
-
-
-
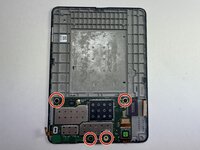
Use a 5IP Torx Plus screwdriver to remove the four 3.2 mm screws securing the motherboard in place.
-
-
-
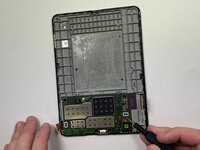
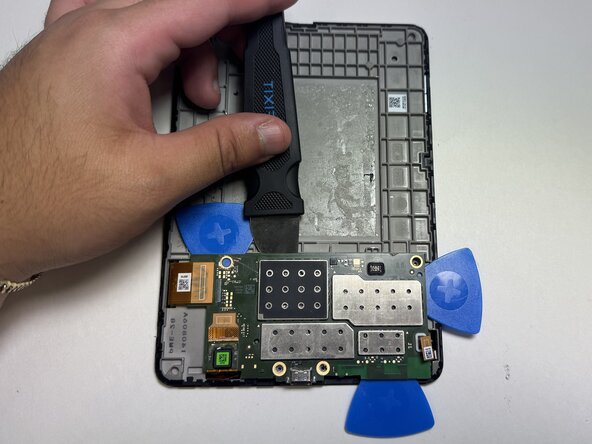
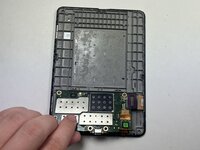
Slide opening picks under the edges of the motherboard to loosen the glue holding it in place.
-
-
-
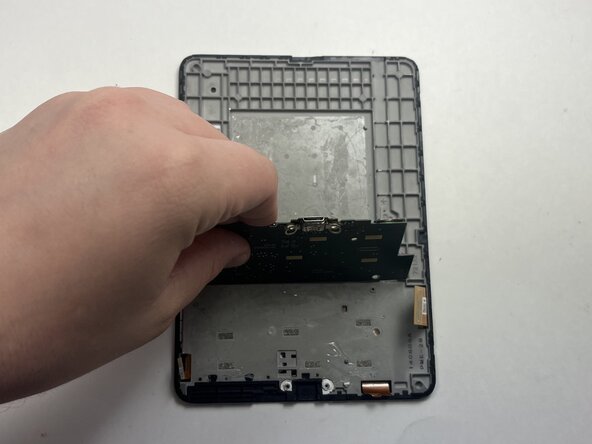
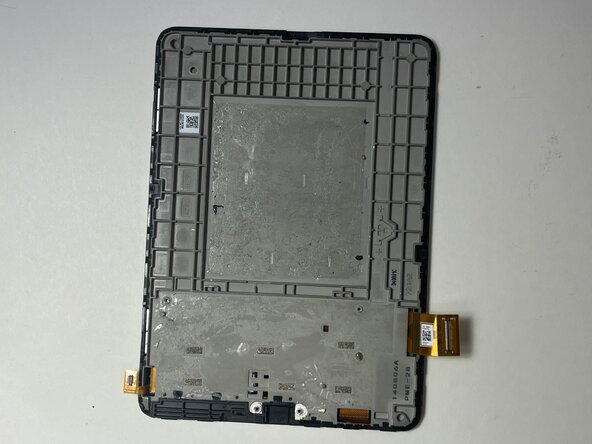
Gently lift the motherboard piece from the frame, insuring to not damage the motherboard in the process.
-
To reassemble your device, follow these instructions in reverse order.
To reassemble your device, follow these instructions in reverse order.

