crwdns2915892:0crwdne2915892:0
Fixing the speakers for your Kindle can be a pain - especially if you don't know where to start. But with a little direction and some elbow grease, you should be able to remove the speakers and replace them in no time.
crwdns2942213:0crwdne2942213:0
-
-
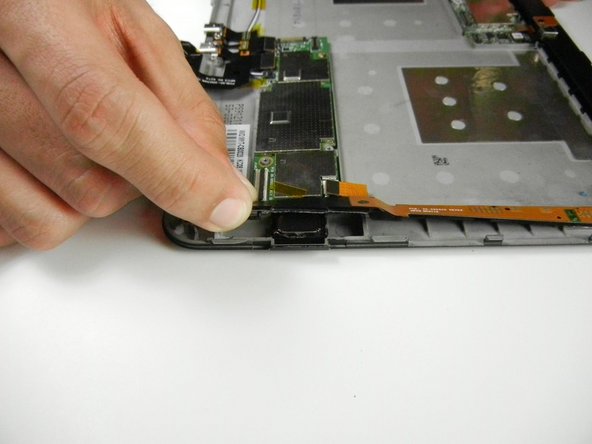
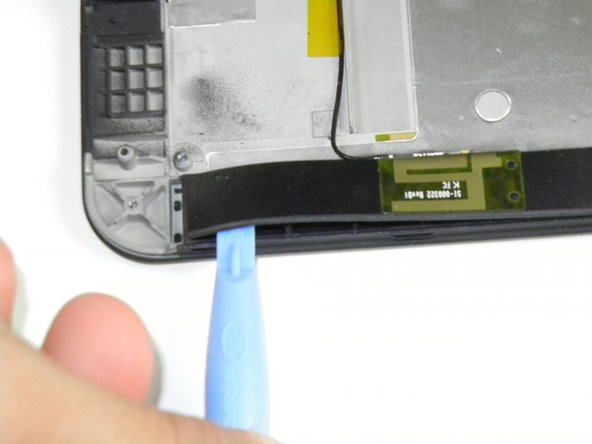
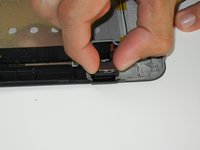
Insert a large plastic opening tool next to the Kindle's headphone jack.
-
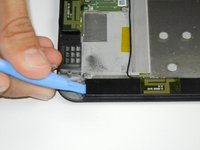
Move the plastic opening tool evenly around the Kindle, separating the two halves.
-
-
-
Set the Kindle down on the rear case.
-
Holding the display assembly near the camera, carefully open the display assembly up to about 90 degrees from the rear case.
-
-
-
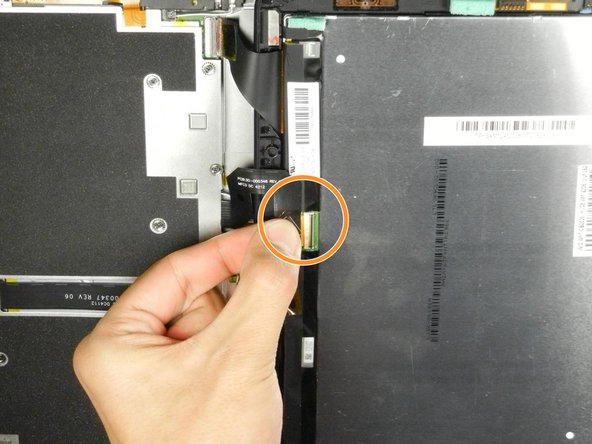
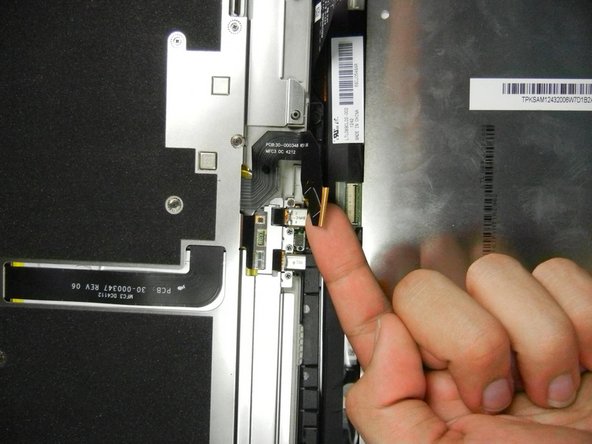
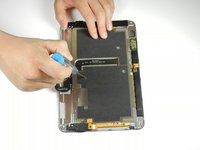
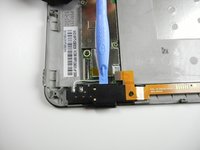
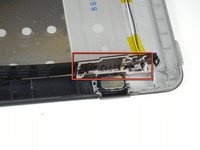
Lift the retaining flap on the ZIF connector of the upper flex cable.
-
Gently pull the cable out of its socket.
-
-
-
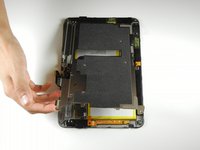
Separate the display assembly from the rest of the device.
-
-
-
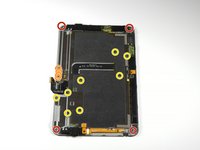
Remove the following sixteen screws from the metal midframe on the rear of the device:
-
Four 3 mm Phillips screw (located in each corner of the device - noted in red in the diagram)
-
Four 3 mm Phillips screws (surrounding the ports - noted in orange in the diagram)
-
Eight 3 mm Phillips screws (located around the body of the midframe - noted in yellow in the diagram)
-
-
-
-
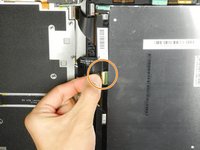
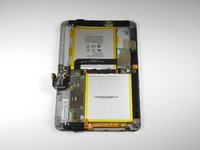
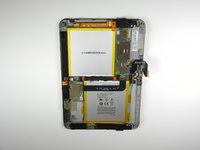
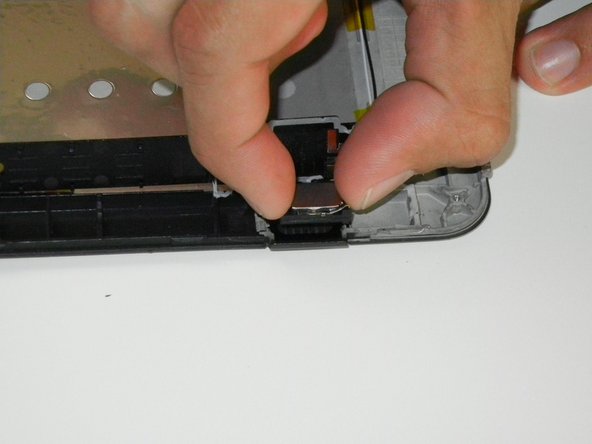
Lift up on the silver ends of the black flex cable that lays across the battery.
-
Gently pull the black flex cable from the battery.
-
-
-
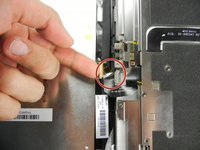
Disconnect the orange button cable from its socket on the motherboard.
-
-
-
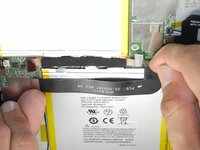
Starting at the outside edge of the battery, use the flat edge of a spudger to separate the battery from the rear of the device.
-
Move the spudger along each side of the battery, prying upwards with even pressure.
-
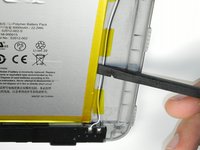
As the adhesive releases, push the spudger further underneath the battery.
-
Once half of the battery is detached, pry the other half in the same manner.
-
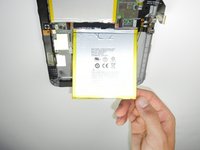
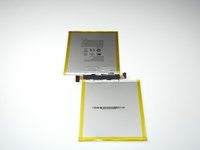
Remove the battery assembly from the Kindle.
-
-
-
Looking back at the Kindle before the battery was removed, locate the the two speakers on the top and bottom.
-
-
-
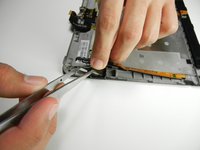
With a plastic opening tool, pry along the top edge of the plastic casing.
-
Using pliers and enough force, pull the speaker upward and out of the casing. Once again adhesive may prove difficult.
-
-
-
To get to the left speaker use a plastic opening tool and pry open the plastic casing.
-
Move along the edge, forcing the opening tool in further and prying the two sections apart.
-
-
crwdns2935267:0crwdne2935267:0Tweezers$4.99
-
Continue to move the opening tool along the edge until the entire casing is open.
-
Around the speaker is an extensive amount of adhesive (the white ribbons) and will require more force to separate.
-
Once the left speaker is accessible, use your fingers or some tweezers to pull the speaker upward and out.
-


To reassemble your device, follow these instructions in reverse order. Be sure to replace the speakers in the correct orientation.
crwdns2935221:0crwdne2935221:0
crwdns2935227:0crwdne2935227:0
crwdns2935287:0crwdne2935287:0

Cal Poly, Team 5-16, Forte Winter 2013 crwdns2935289:0Cal Poly, Team 5-16, Forte Winter 2013crwdne2935289:0
CPSU-FORTE-W13S5G16
crwdns2931471:05crwdne2931471:0
crwdns2935297:014crwdne2935297:0