crwdns2933423:0crwdne2933423:0

Kindle Fire HD 2013 Motherboard Replacement

crwdns2942213:0crwdne2942213:0

  1. Kindle Fire HD 2013 Motherboard Replacement, Motherboard: crwdns2935265:01crwdnd2935265:01crwdnd2935265:03crwdne2935265:0 Kindle Fire HD 2013 Motherboard Replacement, Motherboard: crwdns2935265:01crwdnd2935265:02crwdnd2935265:03crwdne2935265:0 Kindle Fire HD 2013 Motherboard Replacement, Motherboard: crwdns2935265:01crwdnd2935265:03crwdnd2935265:03crwdne2935265:0
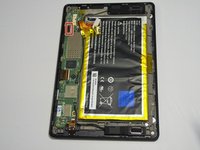
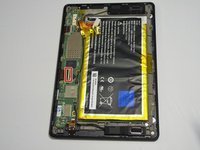
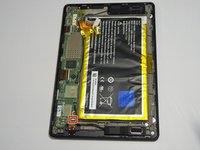
    • Open up the device by using a plastic opening tool in order to avoid damaging the device.

    • To do so, find the seam along the outer edge of the device and use the plastic tool to pry the back panel up. Doing so may take some force and patience.

  2. Kindle Fire HD 2013 Motherboard Replacement: crwdns2935265:02crwdnd2935265:01crwdnd2935265:02crwdne2935265:0 Kindle Fire HD 2013 Motherboard Replacement: crwdns2935265:02crwdnd2935265:02crwdnd2935265:02crwdne2935265:0
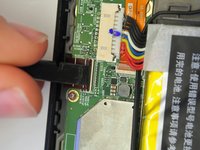
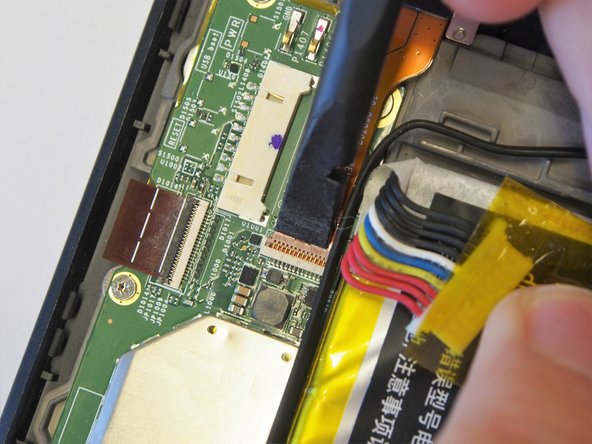
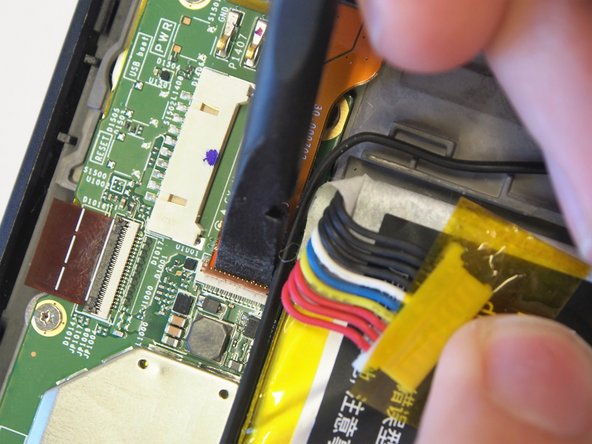
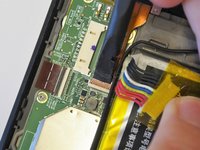
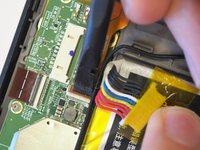
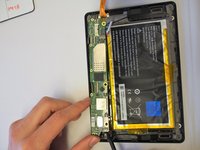
    • Locate the battery's power ribbon.

    • Use the nylon spudger to disconnect the ribbon from the mother board.

  3. Kindle Fire HD 2013 Motherboard Replacement: crwdns2935265:03crwdnd2935265:01crwdnd2935265:03crwdne2935265:0 Kindle Fire HD 2013 Motherboard Replacement: crwdns2935265:03crwdnd2935265:02crwdnd2935265:03crwdne2935265:0 Kindle Fire HD 2013 Motherboard Replacement: crwdns2935265:03crwdnd2935265:03crwdnd2935265:03crwdne2935265:0
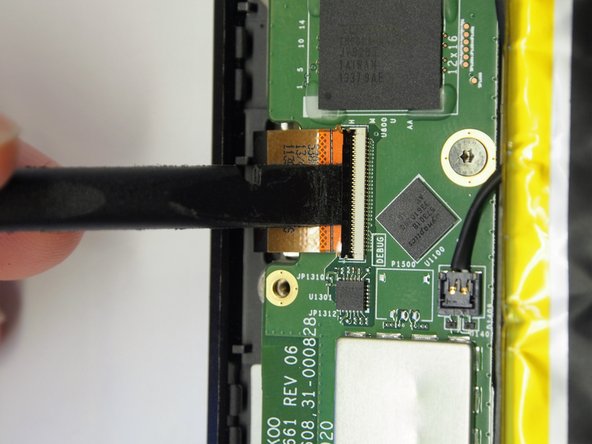
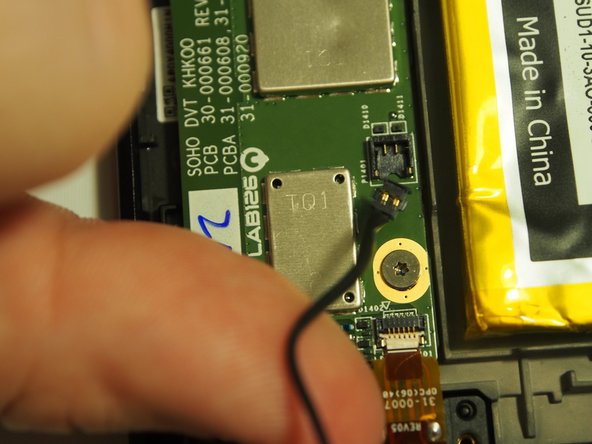
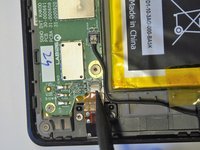
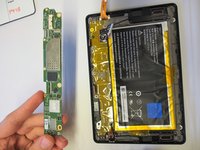
    • Identify the ribbon at the top left of the tablet.

    • Use a nylon spudger to lift the black tab holding the ribbon.

  4. Kindle Fire HD 2013 Motherboard Replacement: crwdns2935265:04crwdnd2935265:01crwdnd2935265:01crwdne2935265:0
    • Pull the ribbon out of the motherboard.

  5. Kindle Fire HD 2013 Motherboard Replacement: crwdns2935265:05crwdnd2935265:01crwdnd2935265:03crwdne2935265:0 Kindle Fire HD 2013 Motherboard Replacement: crwdns2935265:05crwdnd2935265:02crwdnd2935265:03crwdne2935265:0 Kindle Fire HD 2013 Motherboard Replacement: crwdns2935265:05crwdnd2935265:03crwdnd2935265:03crwdne2935265:0
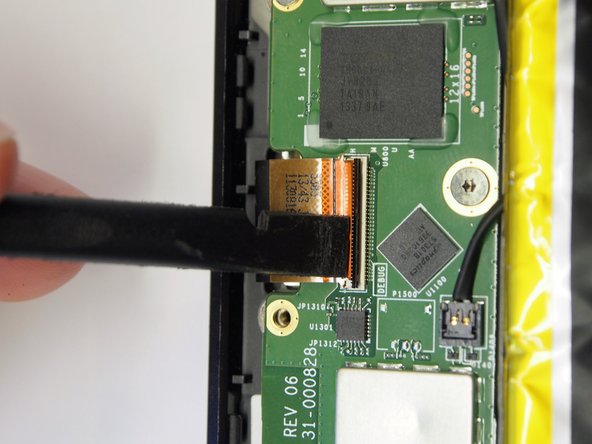
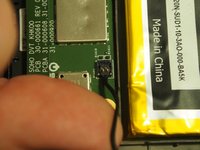
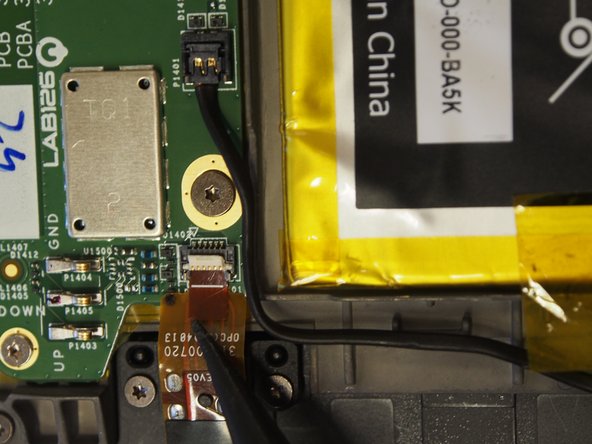
    • Identify the ribbon located at the center left of the motherboard.

    • Using the black spudger, lift up the black tab holding it in place.

  6. Kindle Fire HD 2013 Motherboard Replacement: crwdns2935265:06crwdnd2935265:01crwdnd2935265:01crwdne2935265:0
    • Pull the ribbon out of the motherboard.

  7. Kindle Fire HD 2013 Motherboard Replacement: crwdns2935265:07crwdnd2935265:01crwdnd2935265:03crwdne2935265:0 Kindle Fire HD 2013 Motherboard Replacement: crwdns2935265:07crwdnd2935265:02crwdnd2935265:03crwdne2935265:0 Kindle Fire HD 2013 Motherboard Replacement: crwdns2935265:07crwdnd2935265:03crwdnd2935265:03crwdne2935265:0
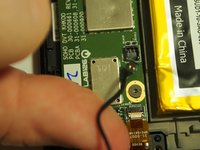
    • Identify the 2 black contacts for the speakers.

    • Pull straight up near the connection point and the wire will come disconnect easily.

  8. Kindle Fire HD 2013 Motherboard Replacement: crwdns2935265:08crwdnd2935265:01crwdnd2935265:03crwdne2935265:0 Kindle Fire HD 2013 Motherboard Replacement: crwdns2935265:08crwdnd2935265:02crwdnd2935265:03crwdne2935265:0 Kindle Fire HD 2013 Motherboard Replacement: crwdns2935265:08crwdnd2935265:03crwdnd2935265:03crwdne2935265:0
    • Identify the ribbon for the USB port at the top of the motherboard.

    • Pull up the gold tab holding it in place with the nylon spudger.

    • Pull out the ribbon from the motherboard.

  9. Kindle Fire HD 2013 Motherboard Replacement: crwdns2935265:09crwdnd2935265:01crwdnd2935265:03crwdne2935265:0 Kindle Fire HD 2013 Motherboard Replacement: crwdns2935265:09crwdnd2935265:02crwdnd2935265:03crwdne2935265:0 Kindle Fire HD 2013 Motherboard Replacement: crwdns2935265:09crwdnd2935265:03crwdnd2935265:03crwdne2935265:0
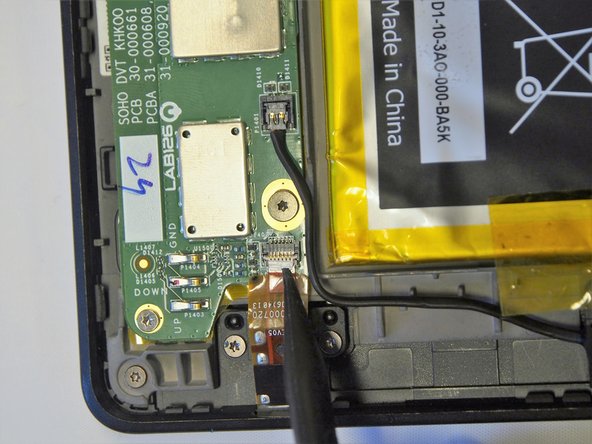
    • Identify the ribbon at the bottom of the motherboard for the headphone jack.

    • Using the nylon spudger, lift up the white tab holding the ribbon in place.

  10. Kindle Fire HD 2013 Motherboard Replacement: crwdns2935265:010crwdnd2935265:01crwdnd2935265:01crwdne2935265:0
    • Pull out the ribbon from the motherboard.

  11. Kindle Fire HD 2013 Motherboard Replacement: crwdns2935265:011crwdnd2935265:01crwdnd2935265:01crwdne2935265:0
    • Remove the screws holding the motherboard in place.

    • There are (5) 3mm T4 Torx screws along the outer edge.

    • Additionally, remove (3) 2mm T4 Torx screws along the edge near the battery.

  12. Kindle Fire HD 2013 Motherboard Replacement: crwdns2935265:012crwdnd2935265:01crwdnd2935265:02crwdne2935265:0 Kindle Fire HD 2013 Motherboard Replacement: crwdns2935265:012crwdnd2935265:02crwdnd2935265:02crwdne2935265:0
    • Using the nylon spudger, gently pull up on the motherboard and pull it out of the tablet. The mother board should now be disconnected completely.

crwdns2915888:0crwdne2915888:0

To reassemble your device, follow these instructions in reverse order.

aaa

crwdns2935283:010/06/16crwdne2935283:0

733 crwdns2915208:0crwdne2915208:0

crwdns2935297:05crwdne2935297:0

crwdns2915084:0crwdne2915084:0

USF Tampa, Team 2-3, Sullivan Fall 2016 crwdns2935289:0USF Tampa, Team 2-3, Sullivan Fall 2016crwdne2935289:0

USFT-SULLIVAN-F16S2G3

crwdns2931471:04crwdne2931471:0

crwdns2935297:06crwdne2935297:0

crwdns2944067:00crwdne2944067:0

crwdns2917038:0crwdne2917038:0

crwdns2936625:0crwdne2936625:0:

crwdns2936751:024crwdne2936751:0 0

crwdns2936753:07crwdne2936753:0 0

crwdns2936753:030crwdne2936753:0 5

crwdns2942667:0crwdne2942667:0 2,064