crwdns2942213:0crwdne2942213:0
-
crwdns2935201:0crwdne2935201:0 crwdns2935203:0crwdne2935203:0
-
At each corner, use the blue plastic opening tool to unhook and separate the front panel from the adhesive.
-
Run the tool along the seams to pry open the front panel.
-
-
crwdns2935201:0crwdne2935201:0 crwdns2935203:0crwdne2935203:0
-
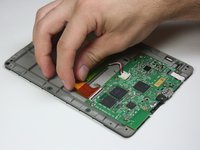
Peel the front panel off to remove it from the Kindle.
-
To prevent damaging the front panel, peel the panel from the corners towards the middle of the Kindle.
-
-
crwdns2935201:0crwdne2935201:0 crwdns2935203:0crwdne2935203:0
-
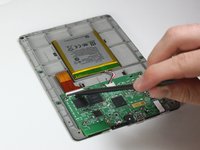
Working evenly along the corners and edges, separate the internal contents from the back panel.
-
-
crwdns2935201:0crwdne2935201:0 crwdns2935203:0crwdne2935203:0
crwdns2935267:0crwdne2935267:0Tweezers$4.99-
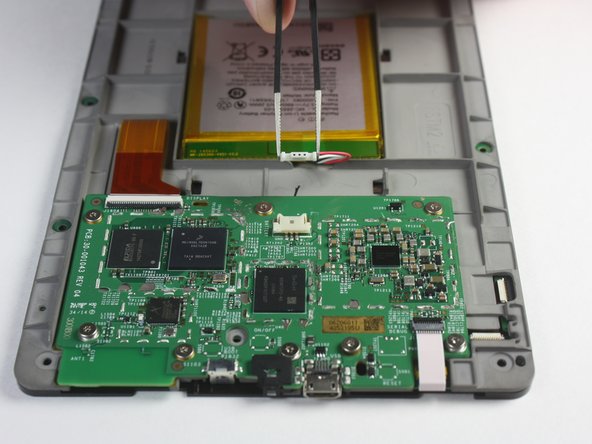
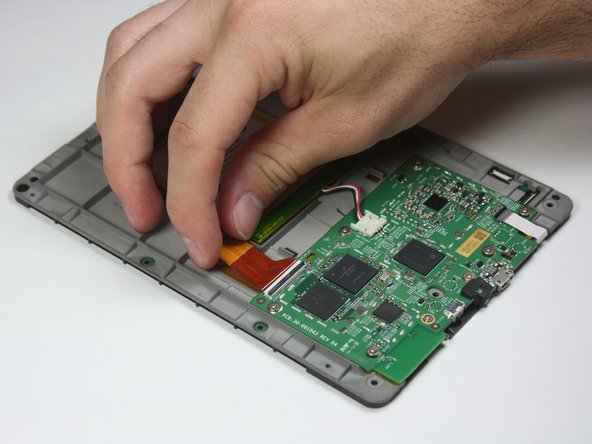
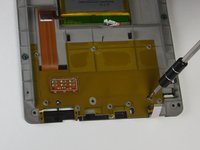
Flip the screen over to face the motherboard and battery pack.
-
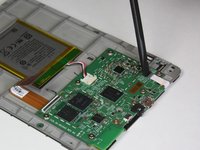
Use the blunted precision tweezers to gently unclip and detach the cable connecting the battery pack and motherboard.
-
-
-
crwdns2935201:0crwdne2935201:0 crwdns2935203:0crwdne2935203:0
-
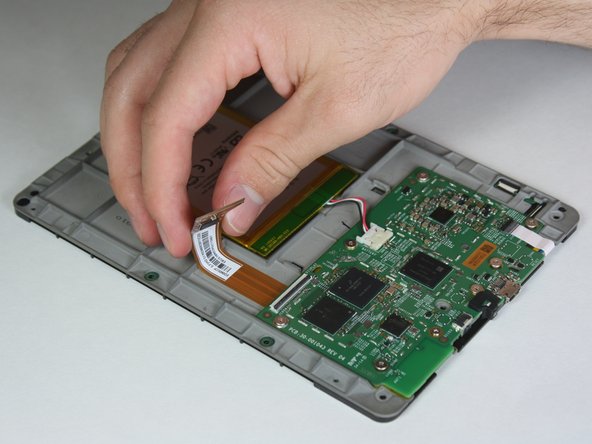
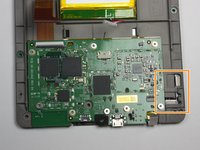
Use the tip of the spudger to flip up the small retaining flap on the copper colored zero insertion force (ZIF) connector.
-
Pull the cable from the connector.
-
-
crwdns2935201:0crwdne2935201:0 crwdns2935203:0crwdne2935203:0
-
Similar to the previous step, flip up the retaining flap on the white cable connector.
-
Pull the white cable from the connection.
-
-
crwdns2935201:0crwdne2935201:0 crwdns2935203:0crwdne2935203:0
-
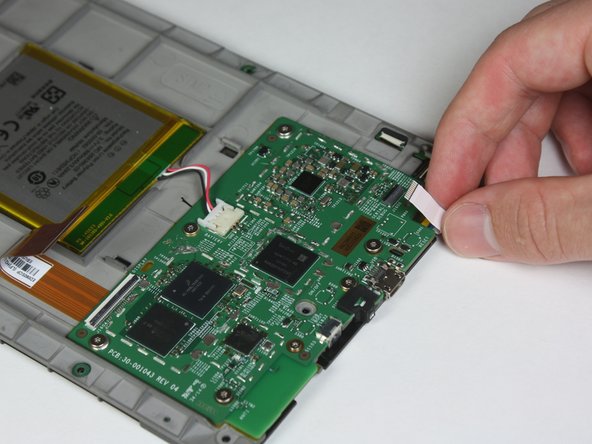
Disconnect the touch digitiser bridge cable by using your Spudger to lift up the white tabs on both connectors.
-
Use tweezers to pull out the cable.
-
The touch digitiser bridge cable is the one connecting between these two connectors.
-
-
crwdns2935201:0crwdne2935201:0 crwdns2935203:0crwdne2935203:0
-
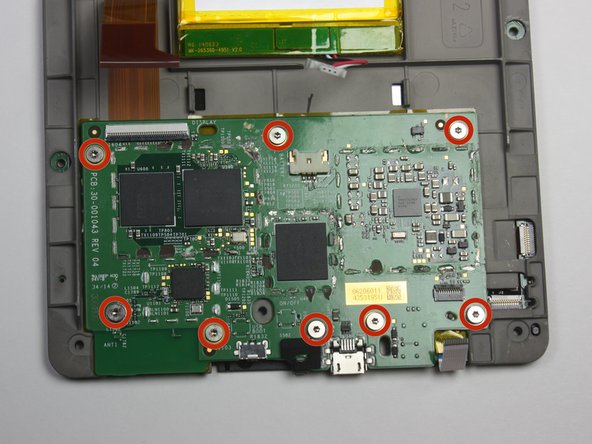
Use the T5 Torx screwdriver to remove the eight 3.0 mm Torx screws.
-
-
crwdns2935201:0crwdne2935201:0 crwdns2935203:0crwdne2935203:0
-
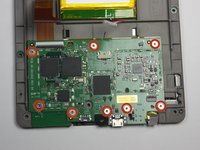
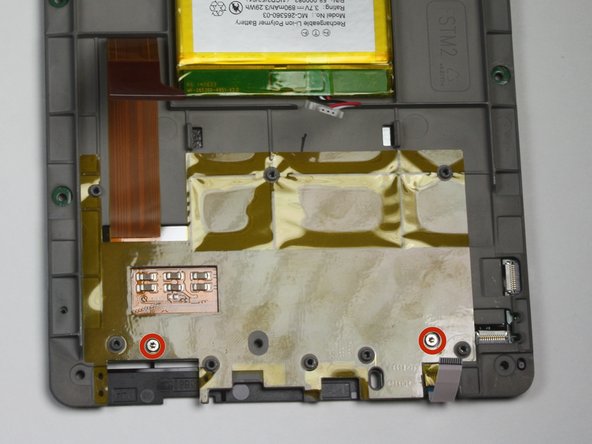
Remove the two 2.5 mm Torx screws using the T5 Torx screwdriver.
-
-
crwdns2935201:0crwdne2935201:0 crwdns2935203:0crwdne2935203:0
-
Run the plastic opening tool around the edge to separate the bezel from the adhesive.
-
-
crwdns2935201:0crwdne2935201:0 crwdns2935203:0crwdne2935203:0
-
Flip the bezel over to view the circuit board.
-
Use the T5 Torx screwdriver to undo the six 2.0 mm screws holding the circuit board to the bezel.
-
Remove the LED circuit board.
-


crwdns2935221:0crwdne2935221:0
crwdns2935229:02crwdne2935229:0
crwdns2915084:0crwdne2915084:0

Cal Poly, Team 6-28, Amido Winter 2015 crwdns2935289:0Cal Poly, Team 6-28, Amido Winter 2015crwdne2935289:0
CPSU-AMIDO-W15S6G28
crwdns2931471:04crwdne2931471:0
crwdns2935297:024crwdne2935297:0
crwdns2947410:01crwdne2947410:0
Where do you buy the replacement parts?