crwdns2915892:0crwdne2915892:0
The bumper on your Kilgone G20 plays a vital role in protecting the vacuum and guiding its navigation by detecting obstacles. Over time, it can become less responsive or damaged, affecting your device’s ability to clean efficiently. This guide will walk you through the steps to inspect, remove, and replace the bumper, ensuring your robot vacuum stays in top-notch condition.
crwdns2942213:0crwdne2942213:0
-
-
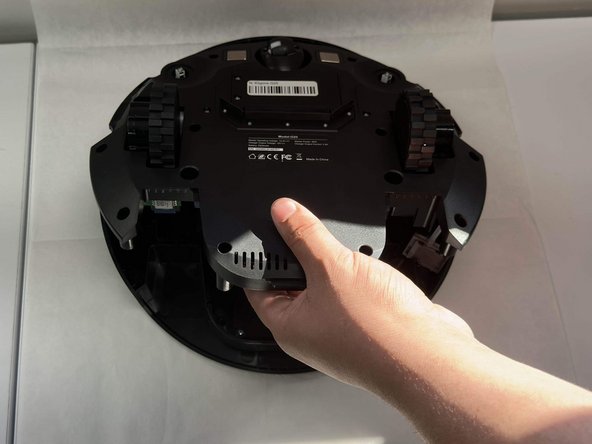
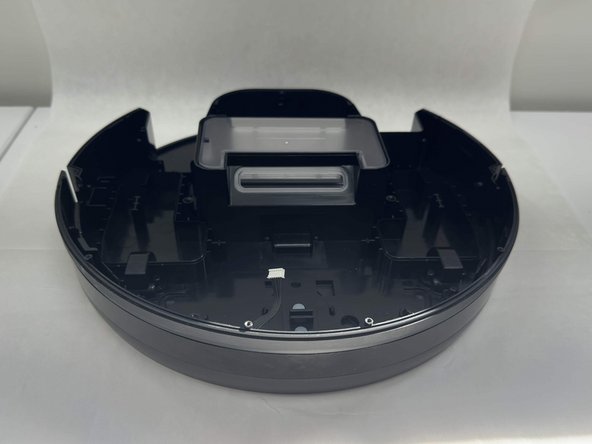
Flip the vacuum upside down.
-
-
-
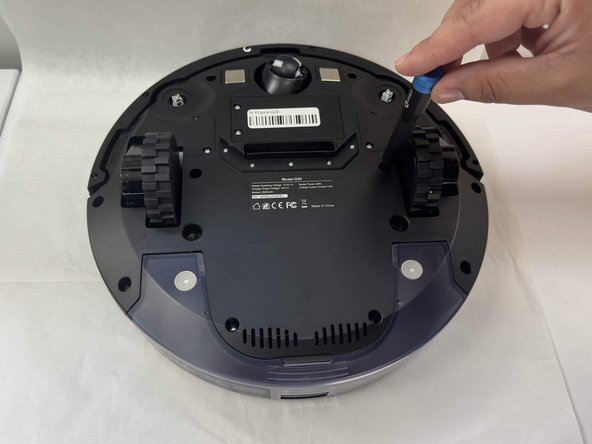
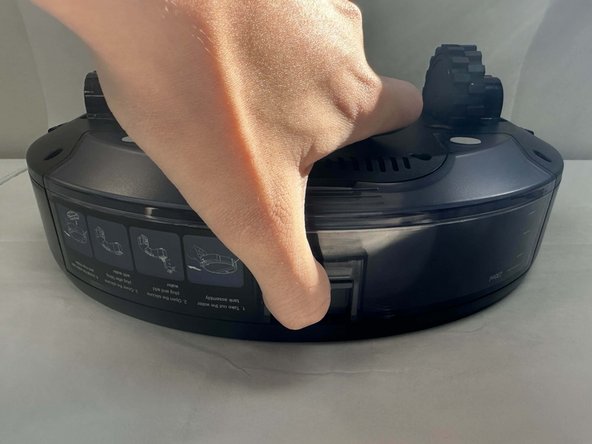
Grip the brush firmly.
-
Pull up on the brush with force, and it will pop out of place.
-
-
-
-
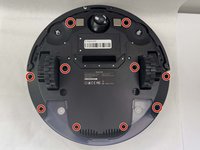
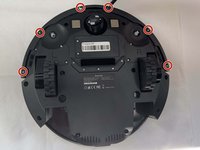
Remove all ten of the 3.8 x 12.2 mm screws using a Phillips #1 screwdriver.
-
-
-
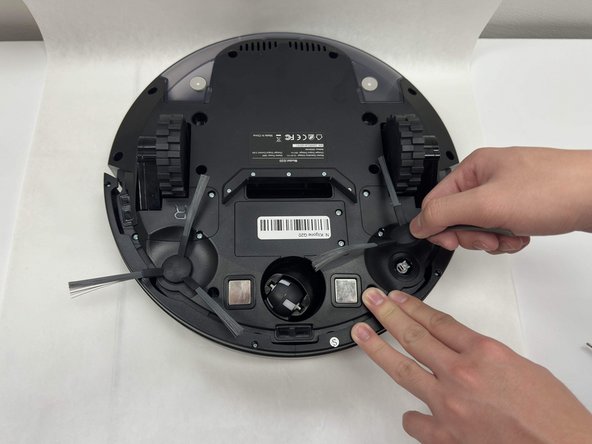
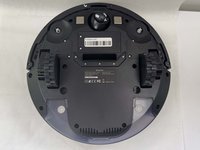
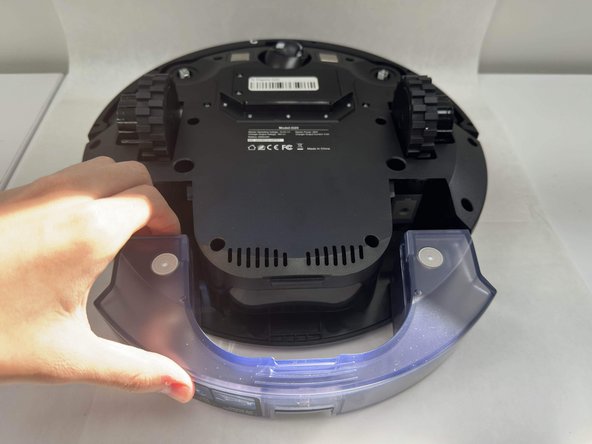
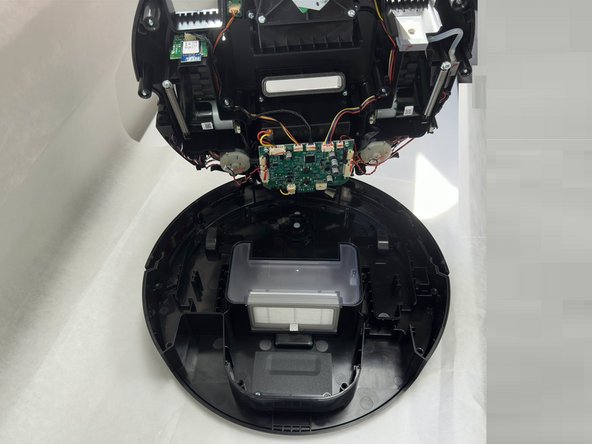
Pull up on the tab that's on the mop solution container. Lift and pull up simultaneously in order to remove the bin.
-
Set aside the bin.
-
-
-
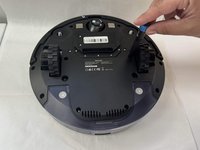
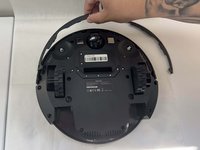
Remove the six 2.3 x 7.3 mm screws that secure the bottom of the bumper with a Phillips #1 screwdriver.
-
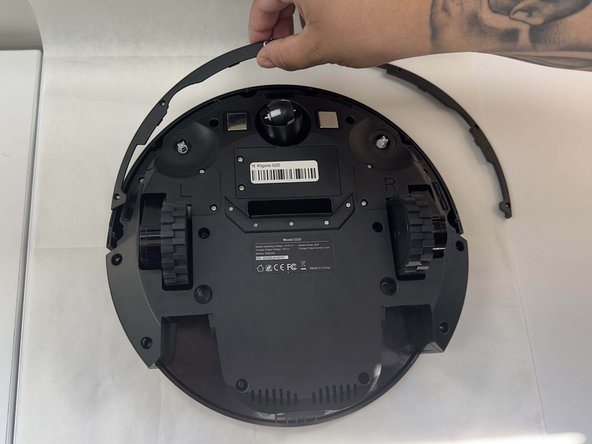
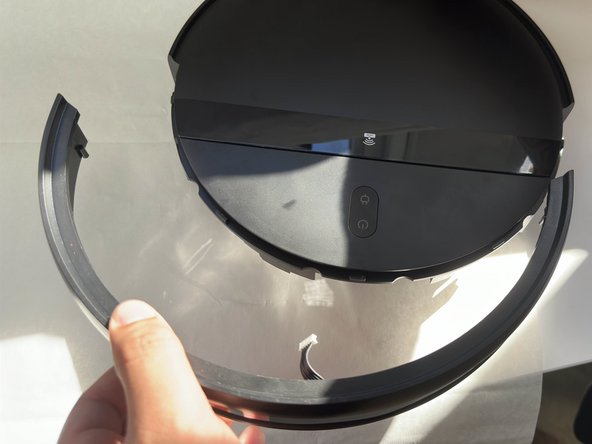
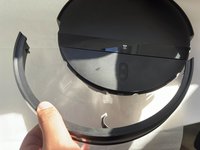
Pull up on both sides of the bumper, and set them aside somewhere along with the screws.
-
-
-
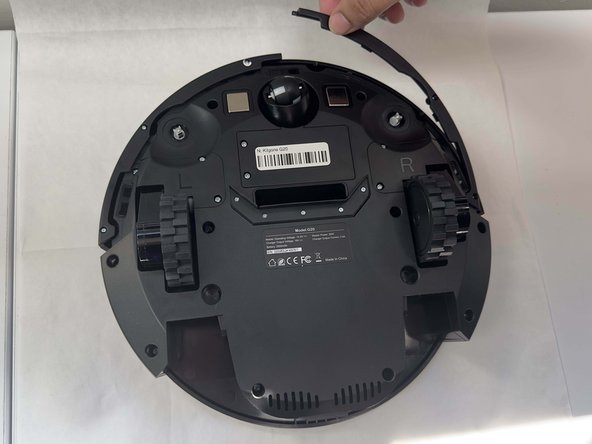
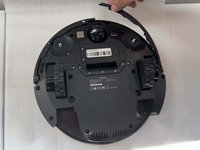
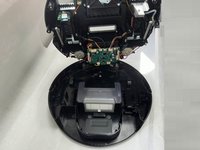
Gently lift up in order to seperate the bottom of the vacuum from the top.
-
-
-
Find the cable that connects from the bumper to the motherboard.
-
-
-
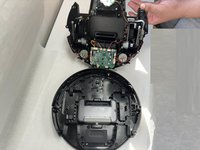
Using both hands, pick up the G20.
-
Now gently wiggle the bumper out from its place, and it should pop out. Use one hand to hold the G20 steadily, and one to take the bumper out of place.
-


To reassemble your device, follow these instructions in reverse order.
To reassemble your device, follow these instructions in reverse order.

crwdns2915084:0crwdne2915084:0

University of North Texas, Team 6-3, Kilpatrick Fall 2024 crwdns2935289:0University of North Texas, Team 6-3, Kilpatrick Fall 2024crwdne2935289:0
UNT-KILPATRICK-F24S6G3
crwdns2931471:04crwdne2931471:0
crwdns2935297:05crwdne2935297:0