crwdns2915892:0crwdne2915892:0
This guide will show you how to tear down the Keychron K3 keyboard. This is a complete teardown that involves removing the keys and keyboard frame to access the PCB. Thia guide is for the K3 with hot-swappable switches
crwdns2942213:0crwdne2942213:0
-
-
Unplug the keyboard and toggle the leftmost switch to the 'Off" Position
-
-
-
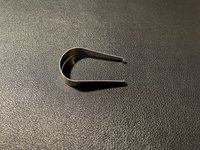
Using a keycap puller, carefully remove the keys from the keyboard
-
-
-
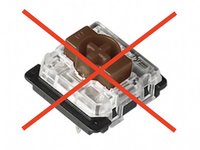
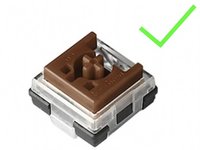
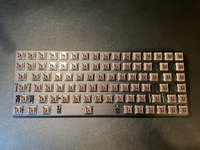
Check that your switches are hot-swappable. If they are not, trying to remove them will damage your keyboard.
-
The optical switches are hot-swappable, and they have a larger colored stem which is mostly square.
Is having non-hotswappable keys means we cant disassemble it?
-
-
-
-
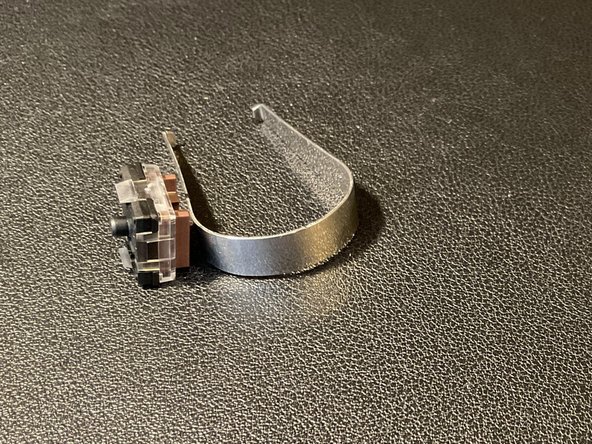
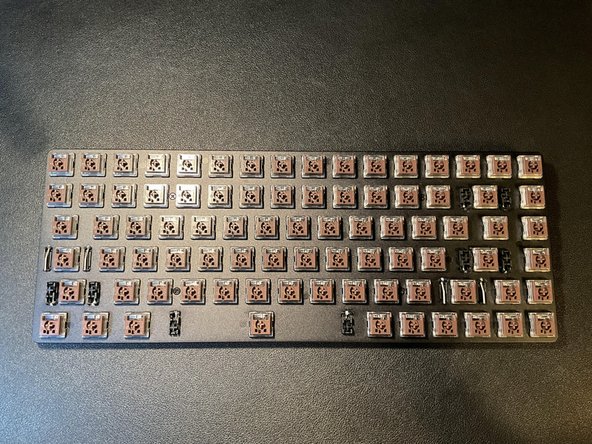
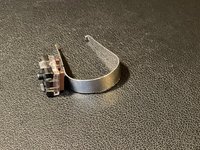
Use a switch puller to remove the switches.
-
Each switch has small tabs on the corners to grab and remove them. (The Included switch puller might require extra strength to remove)
BEWARE!!! My Keychron K3 looks exactly like this but the switches are soldered on!! If you just pull (like I did) you’ll break them!
The optical switches (pictured) are hot-swappable, and the colored part of the switch is approximately square. The mechanical switches are NOT hot-swappable, and the colored part is smaller and oblong.
-
-
-
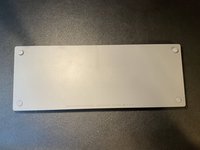
Use a # 1 philips drill bit to remove the 4 screws on the keyboard
-
-
-
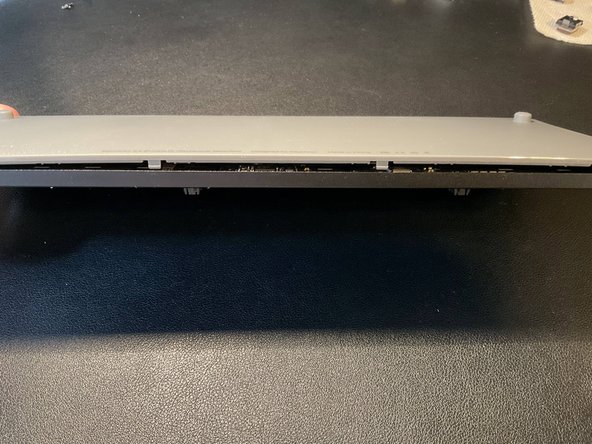
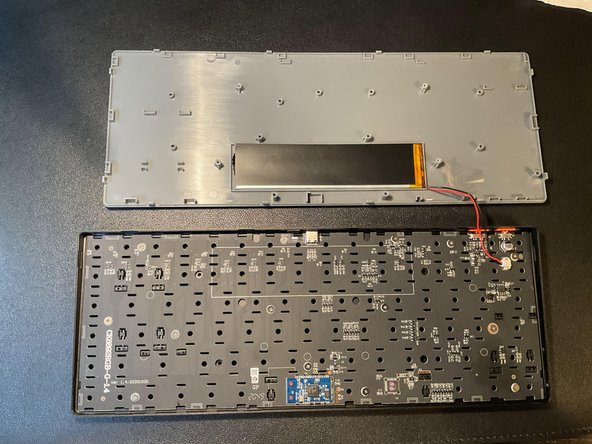
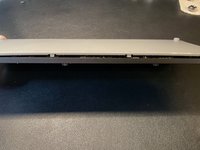
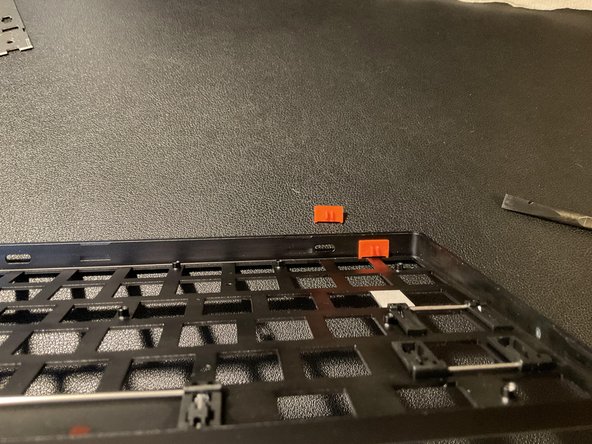
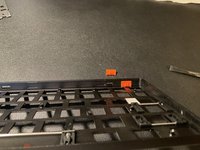
Use a spudger or another wedge tool to pry open the plastic base from the aluminum chassis.
-
-
crwdns2935267:0crwdne2935267:0Tweezers$4.99
-
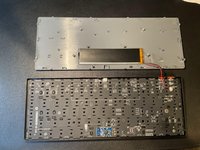
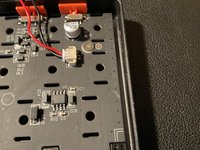
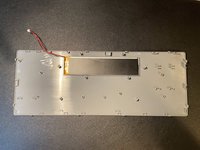
Use tweezers to disconnect the battery from the PCB.
What is the part number or specs for the battery?
Hi Tech Guy! The Ebay link is no longer working. Do you still remember the battery model?
Hi! This is the "Tech Guy" I did change my username. I do apologize for the broken link. I did find two replacement links and will add specifications for the battery in terms of size, milliamp hours, and voltage
Dimensions (mm): 130mm x 32mm x 3mm
Mah: 1600mAh
Pookie -
-
-
-
Remove the 14 screws with a # 1 Philips screw driver bit
-
To remove the PCB from the aluminum frame, use a spudger to wedge it out.
-
-
-
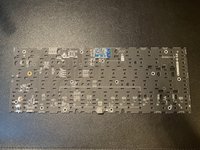
The PCB is now removed and able to work on.
-
To reassemble your device, follow these instructions in reverse order.
To reassemble your device, follow these instructions in reverse order.
crwdns2935221:0crwdne2935221:0
crwdns2935229:04crwdne2935229:0
crwdns2947412:04crwdne2947412:0
Feel free to leave advice if you think I should change any steps. This is my first guide. Enjoy!
Hi Mike,
Great job! Check out this article on creating guides–it has some great tips! Looking forward to reading your next one!
Do you know what size screws the keyboard uses?
Does anyone know where I can get a replacement battery for this keyboard?


