crwdns2915892:0crwdne2915892:0
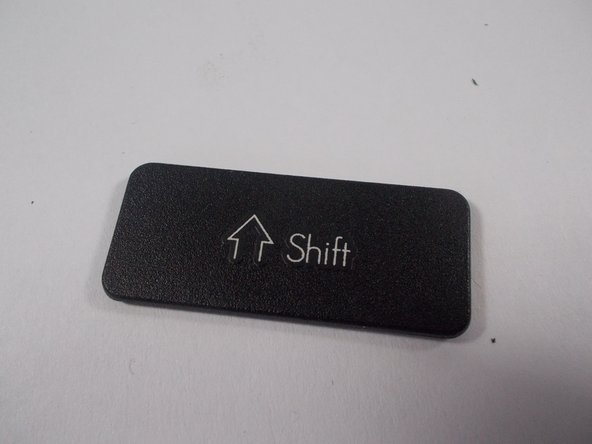
This guide will show two methods for installing a missing key on a Gateway LT2104u Laptop keyboard.
crwdns2942213:0crwdne2942213:0
-
-
Place the missing key onto the keyboard in the desired orientation. Once aligned, press firmly until the key snaps into place. This will not require large amounts of force. If it does not snap in, realign the key and try again.
-
-
-
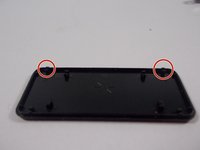
Large rectangular keys need to be attached to the small metal bar to be attached properly. There are two ways to do this.
-
-
-
-
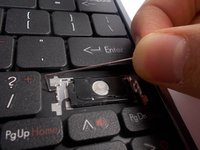
Before installing, the plastic receivers on the on the bottom of key need to be lined up properly with the metal pins.
-
Option one is to line up the receivers with the metal bar from step 2 and apply pressure to attach.
-
-
-
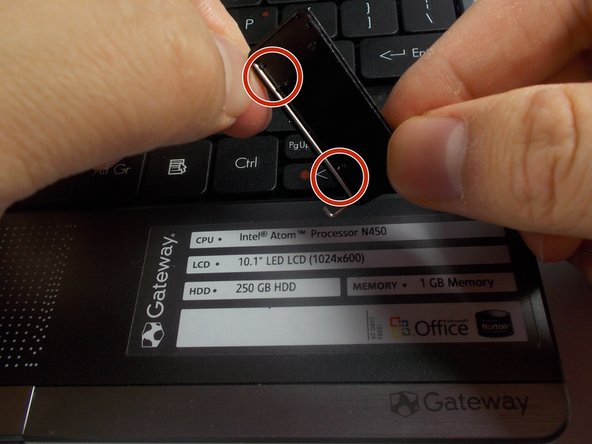
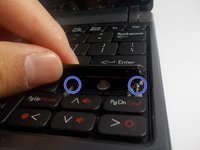
Pull the metal bar gently from one side to unseat it from the keyboard and allow it to be removed.
-
Attach the metal bar to the receivers on the back of the key.
-
Seat the metal bar into the hole on one side, and then the other. Then press firmly to attach the key.
-


To reassemble your device, follow these instructions in reverse order.
crwdns2935221:0crwdne2935221:0
crwdns2935229:06crwdne2935229:0
crwdns2935287:0crwdne2935287:0

UMass Dartmouth, Team 7-5, Catania Spring 2016 crwdns2935289:0UMass Dartmouth, Team 7-5, Catania Spring 2016crwdne2935289:0
UMASSD-CATANIA-S16S7G5
crwdns2931471:03crwdne2931471:0
crwdns2935297:010crwdne2935297:0
crwdns2947410:01crwdne2947410:0
Great guide! One thing worth adding: laptop keys actually come in three retainer clip types — standard scissor (most common, two interlocking plastic arms), butterfly/inverted V (older MacBooks, very fragile), and snap-on single-piece clips (found on some Lenovo ThinkPads). The rubber cup underneath is equally important — if it's flattened or torn, the key will feel mushy even after reinstalling the cap. When diagnosing a wobbly key, check whether the clip is bent or cracked at the hinge point before ordering a replacement, since that's the component that fails most often.
Jeff Horton - crwdns2934203:0crwdne2934203:0 crwdns2950251:0crwdne2950251:0