
Keurig K55 Lid Spring Replacement

crwdns2959932:0crwdnd2959932:0William O'Briencrwdnd2959932:0crwdnd2959932:0crwdne2959932:0
crwdns2959936:0Kul 23, 2018crwdne2959936:0
crwdns2869540:0crwdne2869540:0: 2.9K
crwdns2959988:0crwdne2959988:0
- crwdns2959990:0crwdne2959990:0
- 5
- crwdns2959992:0crwdne2959992:0
- 22
- crwdns2959994:0crwdne2959994:0
- 111
- crwdns2959996:0crwdne2959996:0
- 2,910
crwdns2955950:0crwdne2955950:0: 2
crwdns2960008:02crwdne2960008:0
crwdns2960000:0crwdne2960000:0crwdns2959984:0crwdne2959984:0: 1 2
crwdns2959972:01crwdne2959972:0
crwdns2959970:02crwdne2959970:0
crwdns2959986:0crwdne2959986:0: 0 1
crwdns2959958:0crwdne2959958:0
crwdns2959976:01crwdne2959976:0
crwdns2915892:0crwdne2915892:0
crwdns2959928:0crwdne2959928:0 ↓Is your Keurig K55 K lid not staying open? If so, you might have a broken or missing spring. Here's a guide to replace the Keurig K55 Lid Spring.
crwdns2959930:0crwdne2959930:0
crwdns2943215:0crwdne2943215:0

-
-
-
Lift the silver handle up.
-
Locate the screw and washer holding the handle in place on each side.
-
Remove both 13mm screws and washers using a Phillips #0 screwdriver.
 crwdns2952109:0crwdne2952109:0
-
-
-
Grab the handle and pull it upward and toward the rear of the device.
-
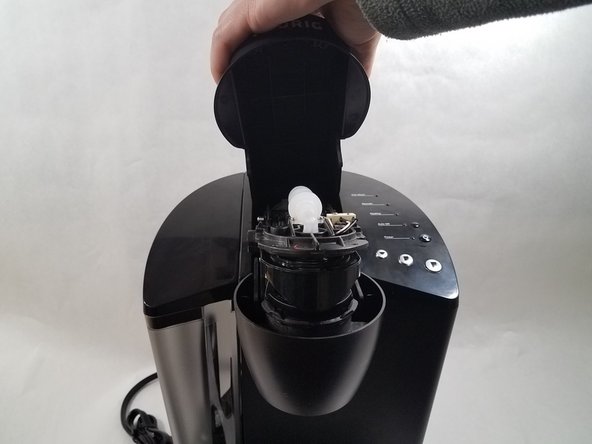
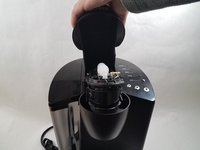
Lift the lid to the fully open position.
-
Remove the two 11mm Phillips screws located on the upper part of the device.
-
-
-
-
Lower the lid to just before its closing position.
-
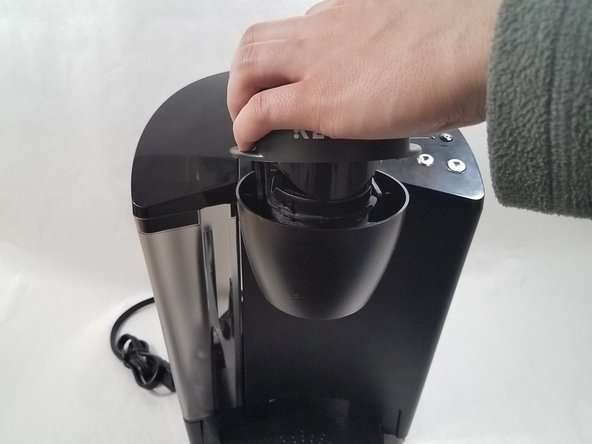
Grab the black top cover with the Keurig logo and gently push back toward the rear of the device to release it.
-
Gently pull the top cover upward and toward the front of the device to remove it.
-
-
-
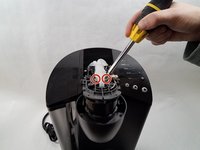
Remove the two 11mm Phillips head screws securing the water pump.
-
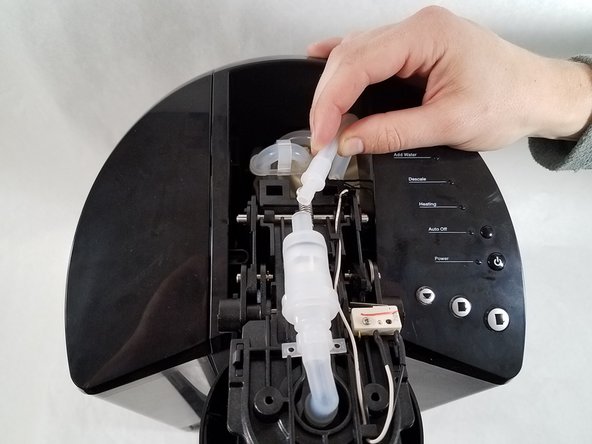
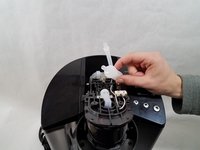
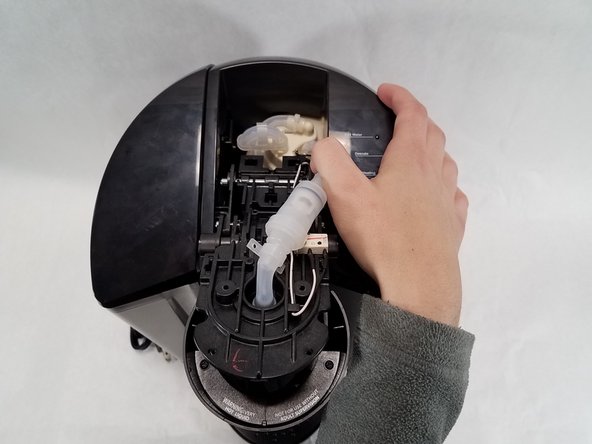
Grab the secondary water pump firmly and pull one of the plastic water lines off of the pump.
-
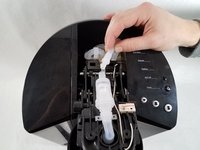
Pull the other line from the water pump.
-
-
-
-
-
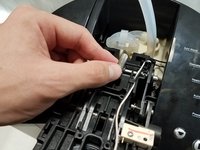
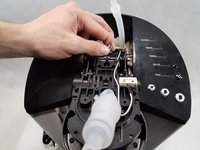
Pull the spring off the front hook using two fingers.
-
-
-
Pull the spring off the other hook.
-
-







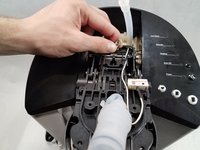
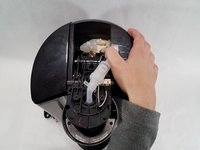
To reassemble your device, follow these instructions in reverse order.
crwdns2935221:0crwdne2935221:0
crwdns2935227:0crwdne2935227:0

crwdns2935287:0crwdne2935287:0

Cal Poly, Team S1-G3, Livingston Winter 2018 crwdns2935289:0Cal Poly, Team S1-G3, Livingston Winter 2018crwdne2935289:0
CPSU-LIVINGSTON-W18S1G3
crwdns2931471:04crwdne2931471:0
crwdns2935297:060crwdne2935297:0
crwdns2947412:02crwdne2947412:0
What is the small plastic/rubber angled water line part that the front part of the water pump valve is inserted into ?
Joe K - crwdns2934203:0crwdne2934203:0 crwdns2950251:0crwdne2950251:0
Well i might have described it as a water pump in my above message, but from what I've read on here it is a check valve, so what is the rubber/plastic small angled water line part that the front of the check valve is inserted into !
Joe K - crwdns2934203:0crwdne2934203:0 crwdns2950251:0crwdne2950251:0
