crwdns2915892:0crwdne2915892:0
If the CD drive is malfunctioning, or perhaps a CD is stuck and won't come out with a simple hard reset, you may need to replace/disassemble the KDC-BT565U in order to get the unit in proper working condition.
Note: this requires the KDC-BT565U to be separated from the car. If the unit is currently in an automobile, it needs to be unmounted. This may require specialist assistance.
crwdns2942213:0crwdne2942213:0
-
-
Press the eject button on the bottom left corner of the face plate.
-
-
-
Begin by slightly lifting the face plate out from the side located by the release button.
-
Slide towards the side of the eject button, then completely lift out.
-
-
-
Grasp the outer metal sleeve with one hand and the front of the unit with the other.
-
Slide the sleeve back until it comes off the unit.
-
-
-
Remove the thin frame from the front of the device. This can be done by first unsnapping the top pegs and then the bottom ones.
-
-
-
-
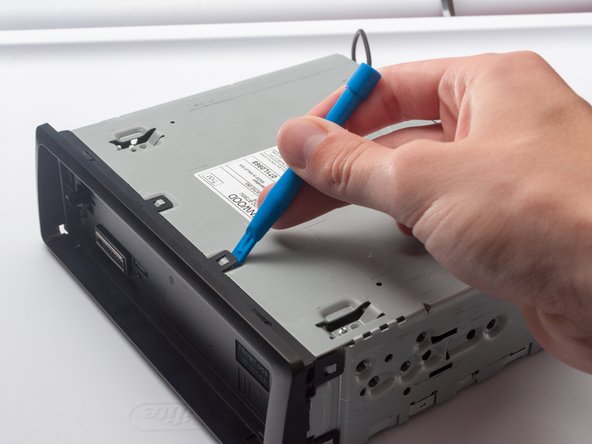
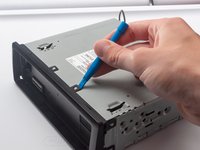
Lift the clasps of the tabs around the edges by using a plastic opening tool or spudger.
-
-
-
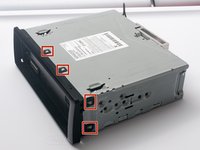
Remove the two 5.5mm Phillips #0 (PH0) screws on the bottom of the unit.
-
-
-
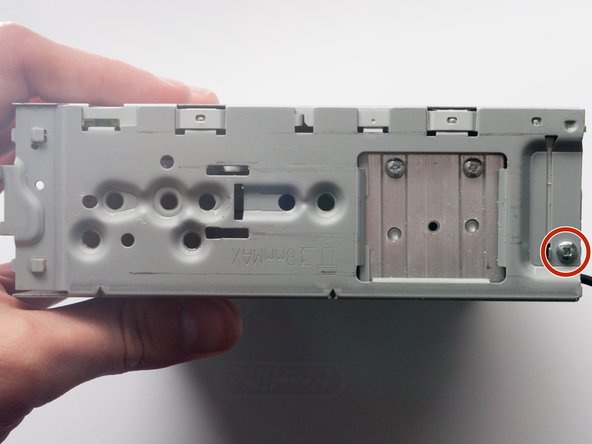
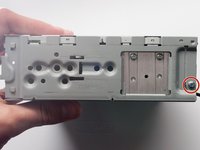
Remove the two 6mm Phillips #0 screws from the side of the unit.
-
-
-
Remove the 7.5mm Phillips #0 screw in between the red and white RCA inputs.
-
Remove the two 13.5mm Phillips #0 screws towards the top of the aluminum block.
-
Remove the 10mm Phillips #0 screw towards the bottom of the aluminum block.
-
Remove the two 6mm Phillips #0 screws found above the microphone mount and below the circular port.
-
Remove the 7.5mm Phillips #0 screw next to the large rectangular power connector.
-
Remove the 10mm Phillips #0 screw that resides above the aluminum block.
-
-
-
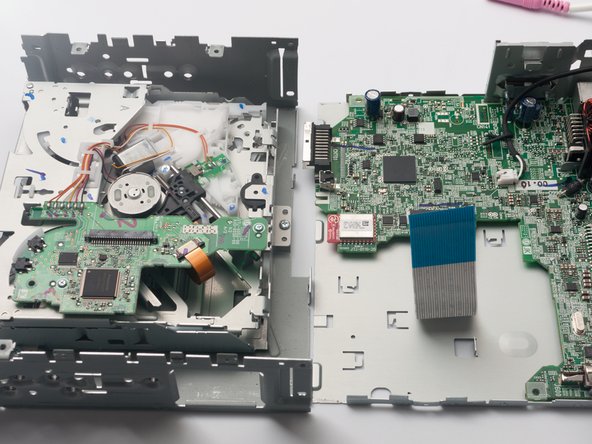
Separate the top and bottom metal housings of the unit carefully.
-
-
-
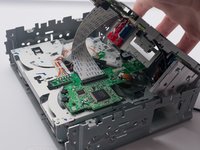
Carefully pull the ribbon out of the connector found on the bottom half of the unit (the bottom half has the CD drive).
-
To remove the ribbon, grip the black base connector with one hand and the base of the ribbon with the other. The ribbon will have a blue, reinforced section close to the base (seen in second picture) which makes it easier to pull.
-
-
-
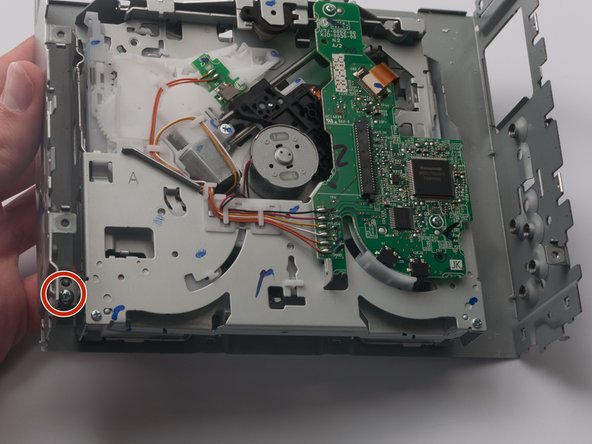
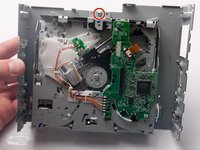
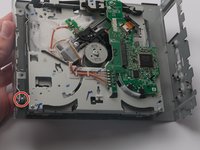
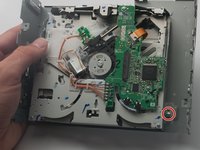
To fully unmount and replace the CD drive, remove the three 6mm Phllips #0 screws that hold the drive to the housing.
-


To reassemble your device, follow these instructions in reverse order. Be careful when reattaching the new CD drive's ribbon to the motherboard. The ribbon can be bent easily.
To reassemble your device, follow these instructions in reverse order. Be careful when reattaching the new CD drive's ribbon to the motherboard. The ribbon can be bent easily.
crwdns2935221:0crwdne2935221:0
crwdns2935229:03crwdne2935229:0
crwdns2915084:0crwdne2915084:0

USF Tampa, Team S2-G5, Lacy Spring 2017 crwdns2935289:0USF Tampa, Team S2-G5, Lacy Spring 2017crwdne2935289:0
USFT-LACY-S17S2G5
crwdns2931471:04crwdne2931471:0
crwdns2935297:011crwdne2935297:0