crwdns2933423:0crwdne2933423:0

Kenwood KDC-BT362U Button Replacement

crwdns2942213:0crwdne2942213:0

  1. Kenwood KDC-BT362U Button  Replacement, Front Panel: crwdns2935265:01crwdnd2935265:01crwdnd2935265:01crwdne2935265:0
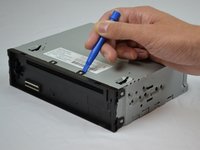
    • Locate the face-plate eject button.

  2. Kenwood KDC-BT362U Button  Replacement: crwdns2935265:02crwdnd2935265:01crwdnd2935265:02crwdne2935265:0 Kenwood KDC-BT362U Button  Replacement: crwdns2935265:02crwdnd2935265:02crwdnd2935265:02crwdne2935265:0
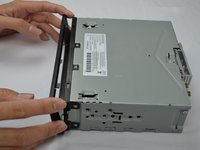
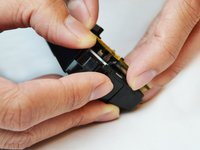
    • Press the eject button with your forefinger.

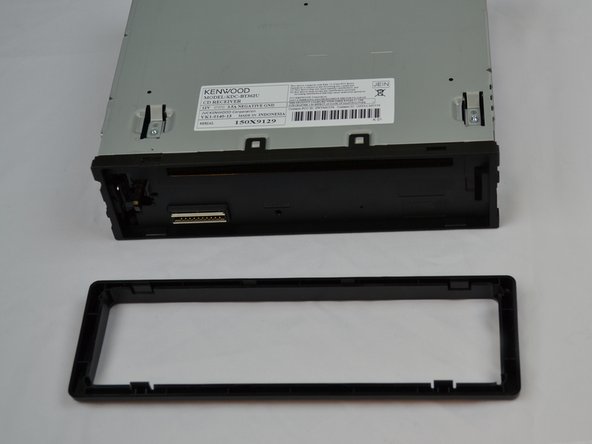
    • Remove the face-plate.

  3. Kenwood KDC-BT362U Button  Replacement: crwdns2935265:03crwdnd2935265:01crwdnd2935265:02crwdne2935265:0 Kenwood KDC-BT362U Button  Replacement: crwdns2935265:03crwdnd2935265:02crwdnd2935265:02crwdne2935265:0
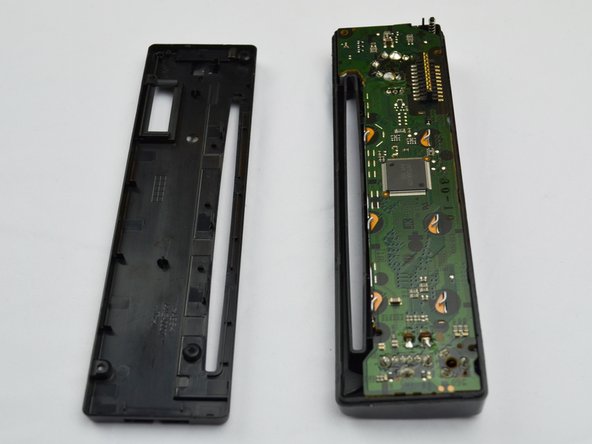
    • Starting on the top side, pop the front panel frame out.

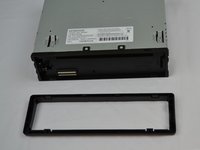
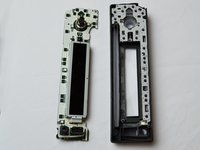
    • Remove the face-plate frame.

  4. Kenwood KDC-BT362U Button  Replacement: crwdns2935265:04crwdnd2935265:01crwdnd2935265:02crwdne2935265:0 Kenwood KDC-BT362U Button  Replacement: crwdns2935265:04crwdnd2935265:02crwdnd2935265:02crwdne2935265:0
    • Use the plastic opening tool to pry open the tabs.

    • Repeat on the opposite side.

  5. Kenwood KDC-BT362U Button  Replacement: crwdns2935265:05crwdnd2935265:01crwdnd2935265:01crwdne2935265:0
    • Remove the front panel.

  6. Kenwood KDC-BT362U Button  Replacement, Button: crwdns2935265:06crwdnd2935265:01crwdnd2935265:01crwdne2935265:0
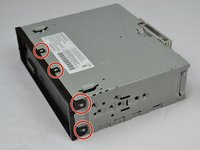
    • Use the Phillips #0 Screwdriver to remove the four screws.

  7. Kenwood KDC-BT362U Button  Replacement: crwdns2935265:07crwdnd2935265:01crwdnd2935265:02crwdne2935265:0 Kenwood KDC-BT362U Button  Replacement: crwdns2935265:07crwdnd2935265:02crwdnd2935265:02crwdne2935265:0
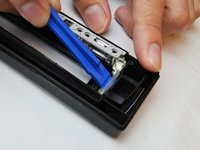
    • Use the plastic opening tool to pry it open.

  8. Kenwood KDC-BT362U Button  Replacement: crwdns2935265:08crwdnd2935265:01crwdnd2935265:02crwdne2935265:0 Kenwood KDC-BT362U Button  Replacement: crwdns2935265:08crwdnd2935265:02crwdnd2935265:02crwdne2935265:0
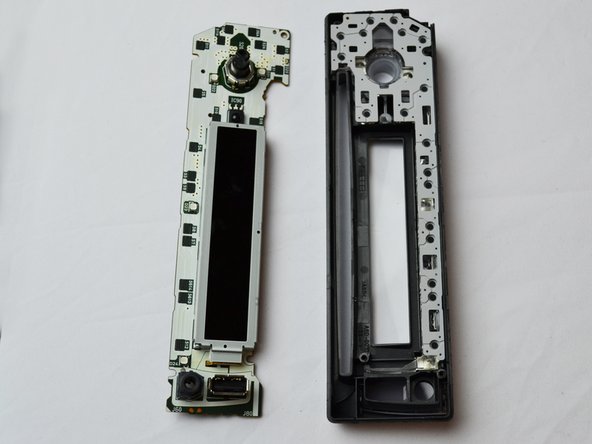
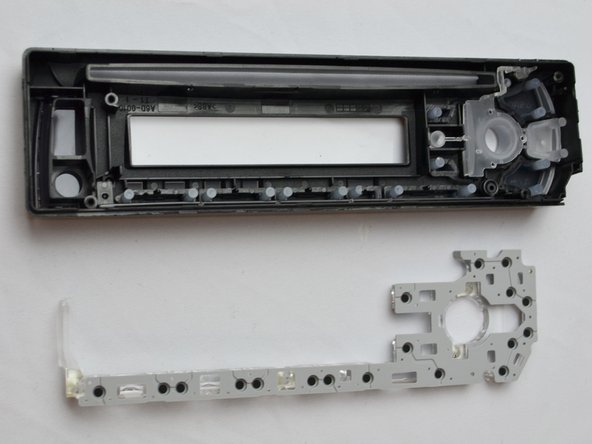
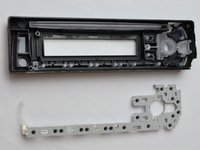
    • Lift and remove the motherboard to reveal the inside of the front panel.

  9. Kenwood KDC-BT362U Button  Replacement: crwdns2935265:09crwdnd2935265:01crwdnd2935265:02crwdne2935265:0 Kenwood KDC-BT362U Button  Replacement: crwdns2935265:09crwdnd2935265:02crwdnd2935265:02crwdne2935265:0
    • Use the plastic opening tool to lift up and remove the cover.

  10. Kenwood KDC-BT362U Button  Replacement: crwdns2935265:010crwdnd2935265:01crwdnd2935265:01crwdne2935265:0
    • The buttons are now able to be removed and replaced if damaged or missing.

crwdns2915888:0crwdne2915888:0

To reassemble your device, follow these instructions in reverse order.

crwdns2935229:02crwdne2935229:0

Steven Chov

crwdns2935283:010/04/16crwdne2935283:0

349 crwdns2915208:0crwdne2915208:0

crwdns2935297:03crwdne2935297:0

crwdns2915084:0crwdne2915084:0

USF Tampa, Team 2-5, Cagle Fall 2016 crwdns2935289:0USF Tampa, Team 2-5, Cagle Fall 2016crwdne2935289:0

USFT-CAGLE-F16S2G5

crwdns2931471:04crwdne2931471:0

crwdns2935297:05crwdne2935297:0

crwdns2944067:00crwdne2944067:0

crwdns2917038:0crwdne2917038:0

crwdns2936625:0crwdne2936625:0:

crwdns2936751:024crwdne2936751:0 1

crwdns2936753:07crwdne2936753:0 2

crwdns2936753:030crwdne2936753:0 11

crwdns2942667:0crwdne2942667:0 759