crwdns2915892:0crwdne2915892:0
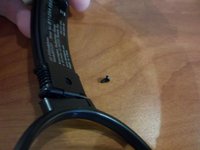
The headband adjustment piece inside the Kensington Hi-Fi Headphones 33137 allows the headband to be adjusted for better fit. This guide shows how to remove and replace this piece.
crwdns2942213:0crwdne2942213:0
-
-
Starting with the left speaker first, pull out one side of the speaker clamp where the clamp enters the hole on the speaker cover.
-
After one side of the speaker clamp is removed from the speaker cover, pull the other side of the speaker clamp out.
-
-
-
Repeat the process in Step 1 to remove the right speaker clamp.
-
-
-
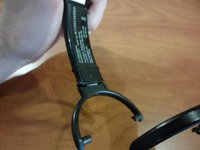
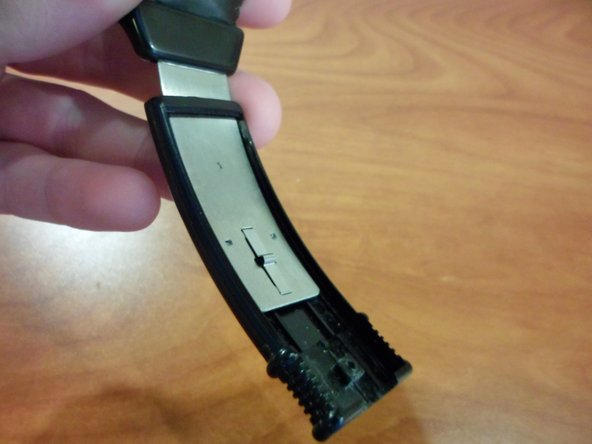
Turn the headphones so that the inner headphone cover is visible.
-
-
-
-
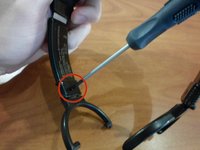
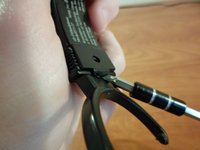
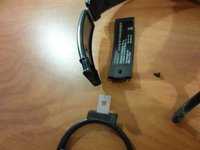
Use the Phillips #00 screwdriver to loosen and remove the screw holding the inner headphone cover in place.
-
-
-
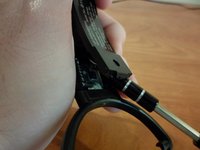
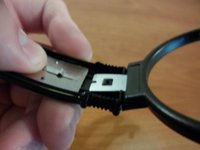
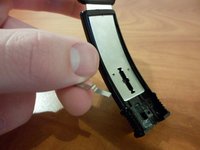
Use the screwdriver to pry the inner headband covering loose.
-
Once the inner covering is loose, pull it free from the headband with your fingers and set it aside.
-
-
-
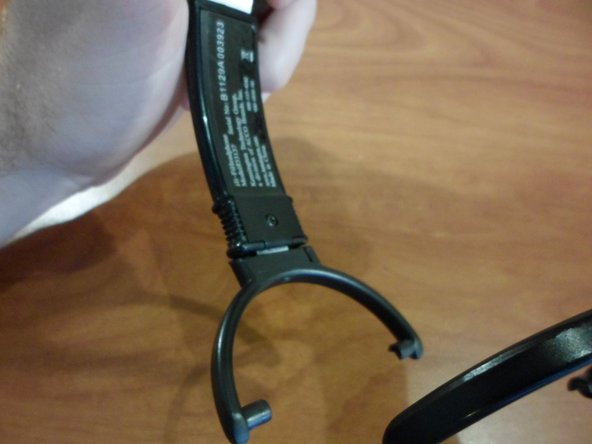
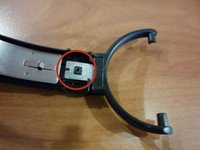
Turn the headphones so that the inner tab of the speaker clamp where it attaches to the headband can be seen.
-
Pull the speaker clamp so that the metal lifts free of the headband.
-
-
-
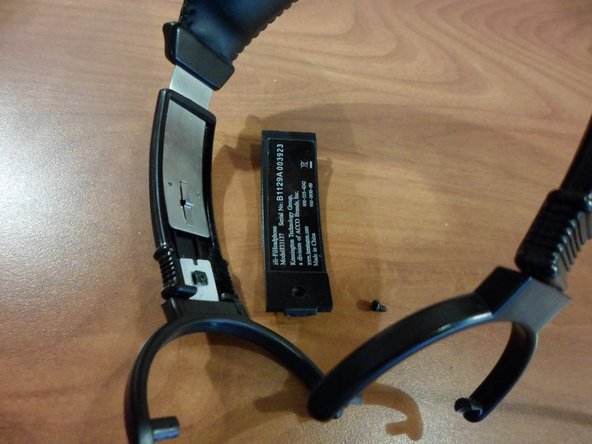
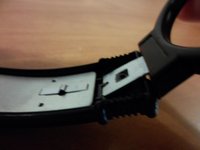
Turn the headphones so that the metal pieces inside the headband covering can be seen.
-
-
-
With your fingers, lift the small metal headband adjustment piece.
-
Remove the piece and set it aside.
-


To reassemble your device, follow these instructions in reverse order.
To reassemble your device, follow these instructions in reverse order.
crwdns2915084:0crwdne2915084:0

Clemson, Team 1-3, Benson Spring 2014 crwdns2935289:0Clemson, Team 1-3, Benson Spring 2014crwdne2935289:0
CLEM-BENSON-S14S1G3
crwdns2931471:03crwdne2931471:0
crwdns2935297:018crwdne2935297:0