crwdns2915892:0crwdne2915892:0
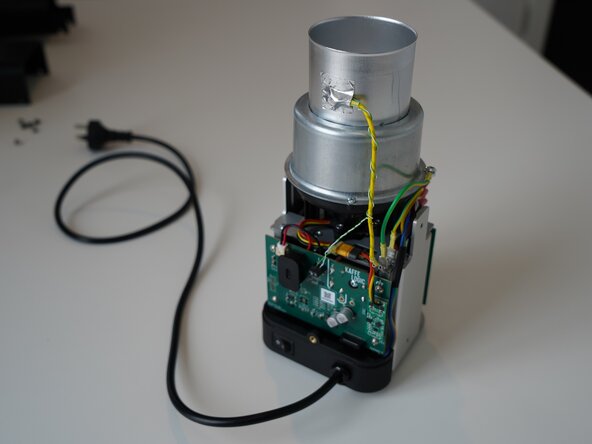
Replacement of the USB daughterboard on any Kaffelogic Nano or Nucleus Link coffee roaster with a D or P prefix serial number.
crwdns2942213:0crwdne2942213:0
-
-
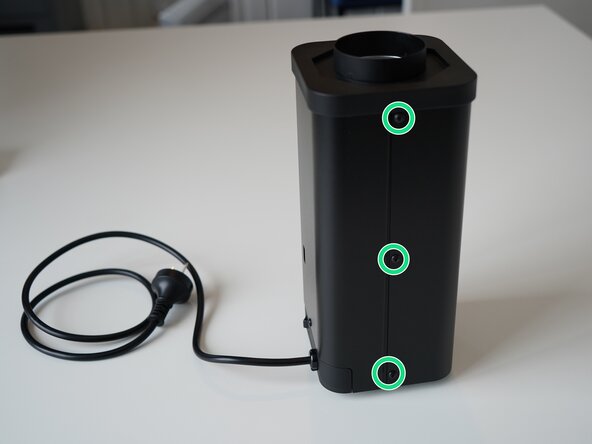
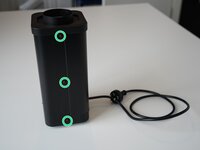
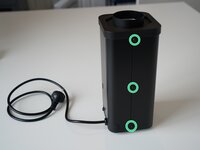
Remove the 6x 2.5mm Hex screws on the left and right side of the roaster.
-
-
-
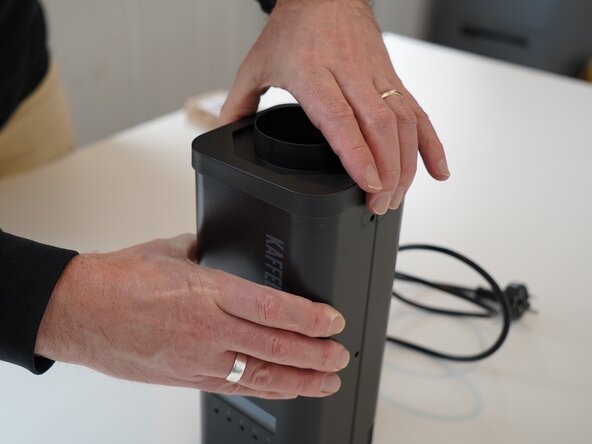
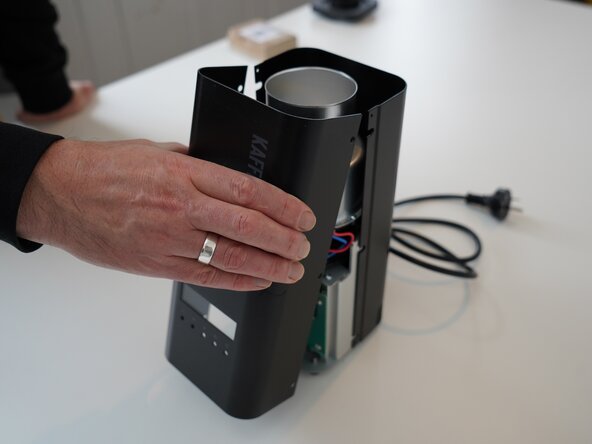
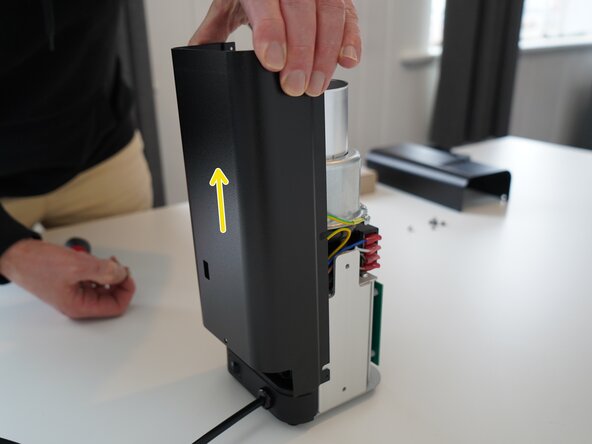
Hold the front panel steady while removing the plastic top/closure.
-
-
-
Pull away the front panel carefully.
-
-
-
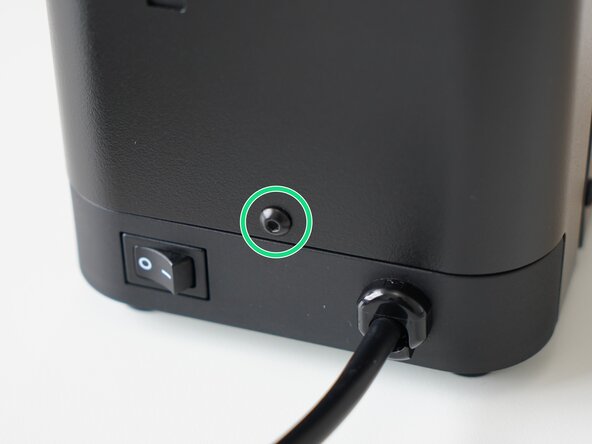
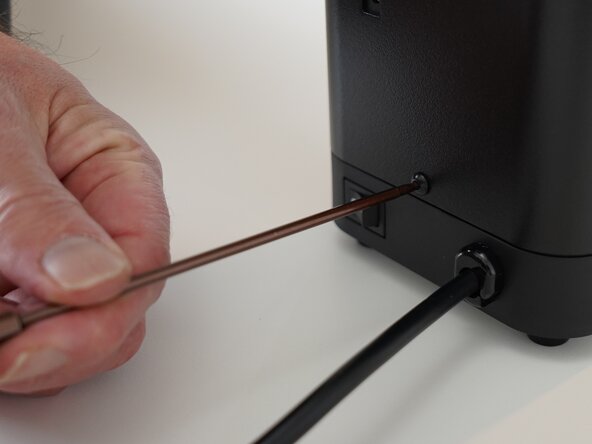
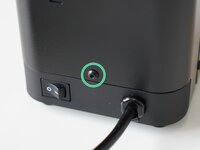
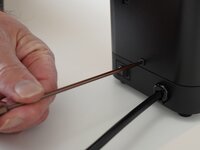
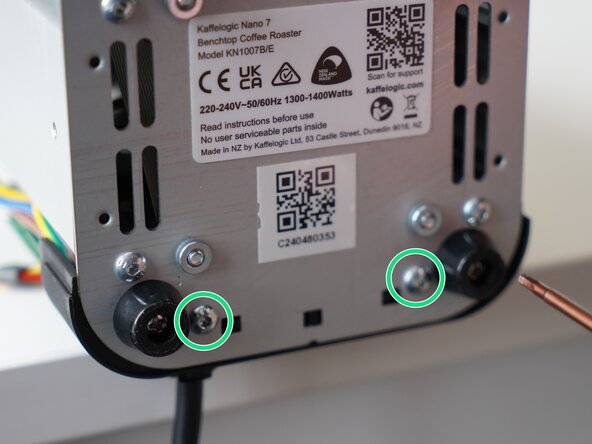
Remove the last 2.5mm Hex screw securing the rear panel.
-
Pull up on the rear panel to remove it from the roaster.
-
-
-
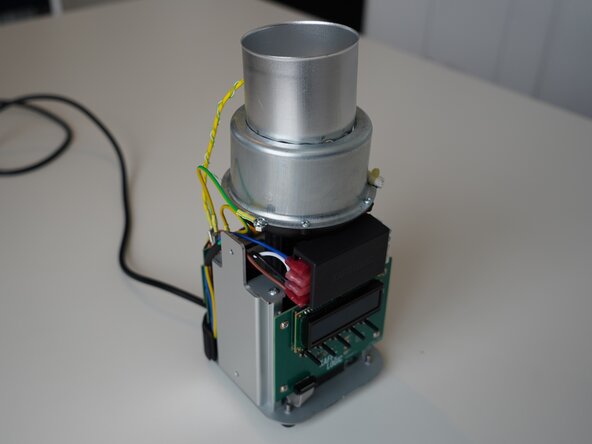
Set the panels aside somewhere safe and bask in the beauty of your naked roaster.
-
-
-
-
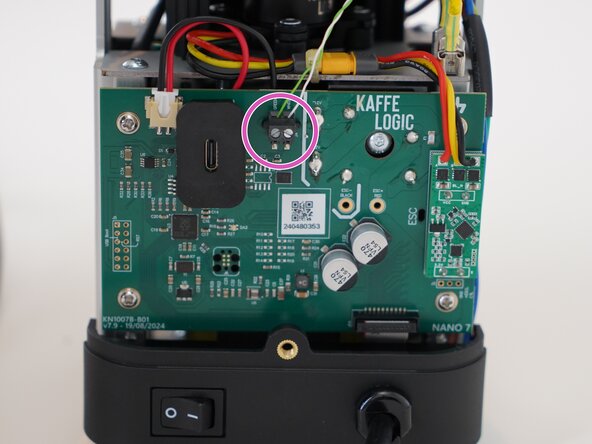
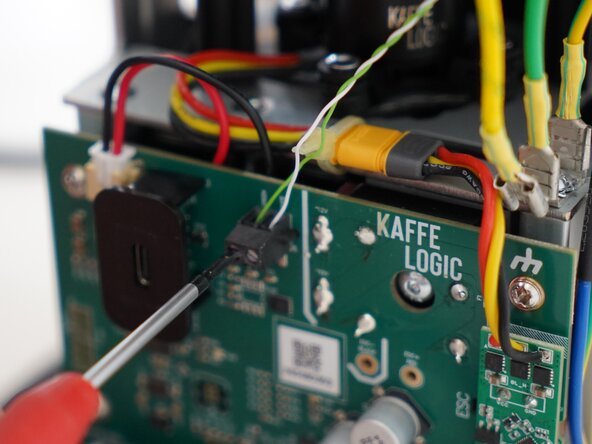
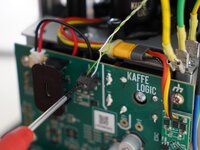
Use a 2.0mm slotted screwdriver to remove the thermocouple wires from the PCB-A
-
-
-
Disconnect the motor cable, this may take some wiggling.
-
-
-
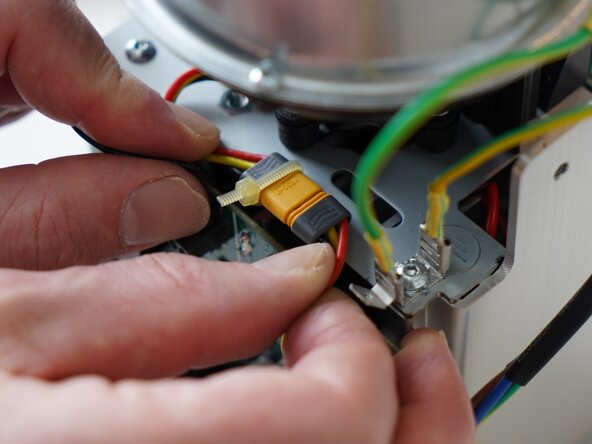
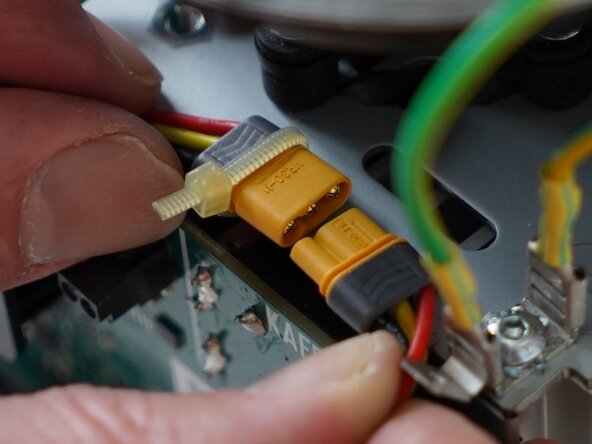
Pull upwards on the SSR signal connector to remove it.
-
-
-
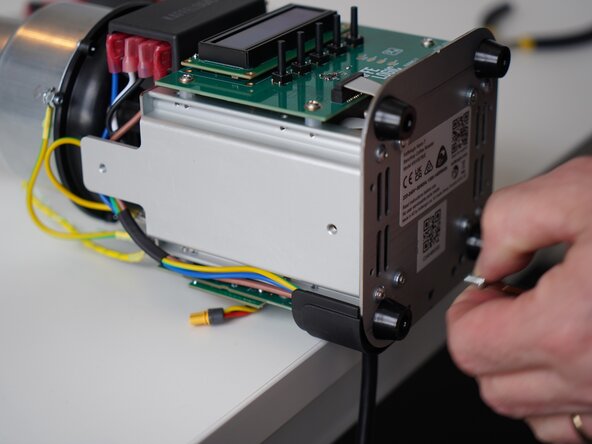
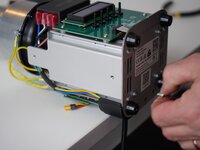
Remove the 2x 2.5mm Hex screws securing the cable carrier to the base.
-
-
-
Gently remove the ribbon connector.
-
-
-
Unscrew the 4x PH2 PCB screws.
-
-
-
Pull the PCB away from the base assembly.
-
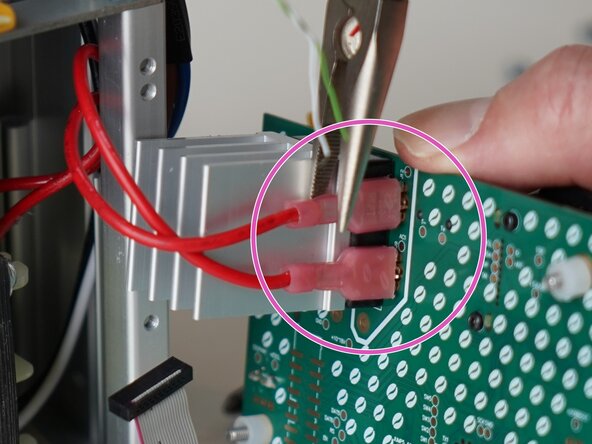
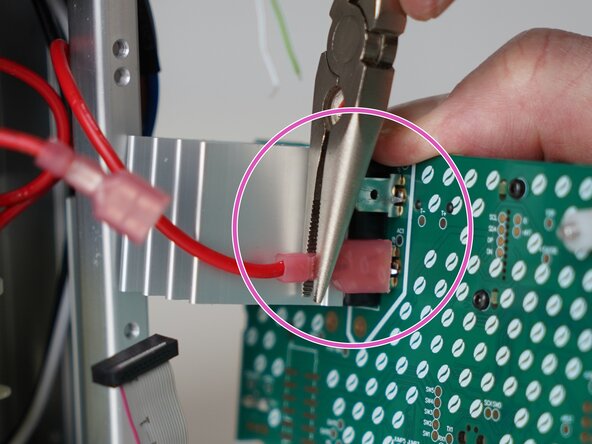
Use pliers to disconnect the transformer secondary wires from the back of the PCB
-
-
-
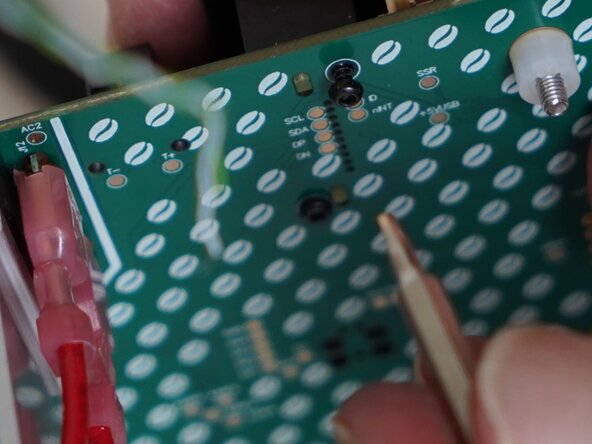
Remove the 2x 1.5mm hex screws securing the plastic USB shroud.
-
-
-
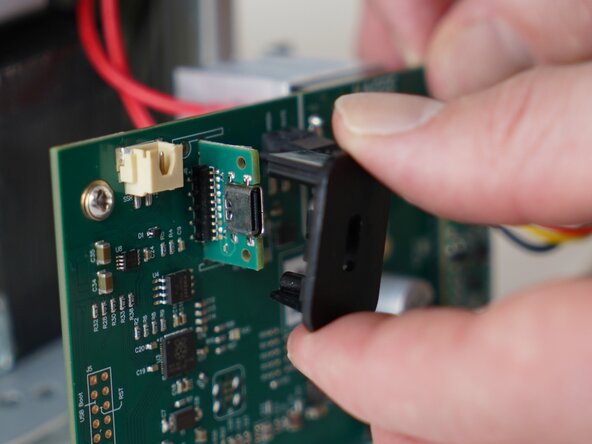
Slide the plastic shroud away from the PCB
-
-
-
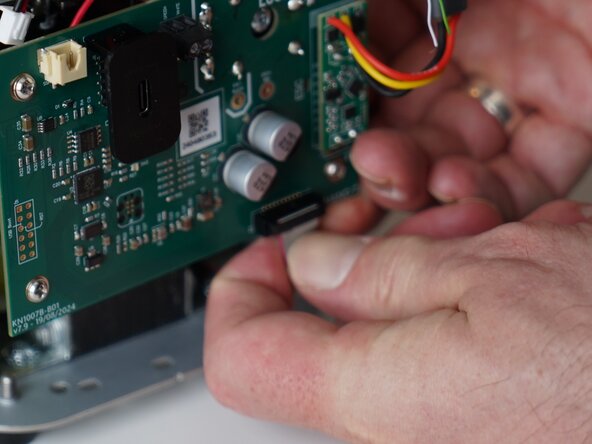
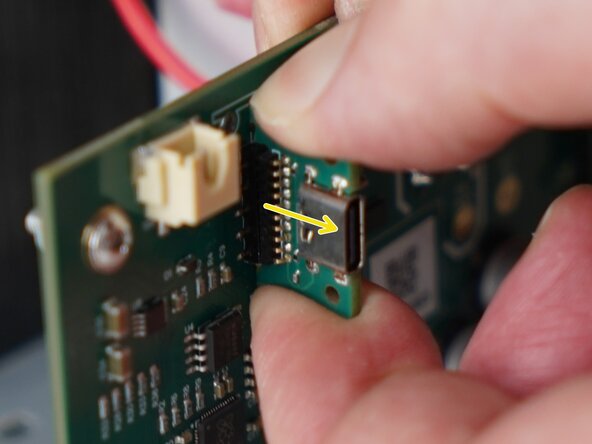
Pull away on the daughterboard to remove it from the main PCB.
-


To reassemble your device, follow these instructions in reverse order.
To reassemble your device, follow these instructions in reverse order.
crwdns2935221:0crwdne2935221:0
crwdns2935227:0crwdne2935227:0
