crwdns2915892:0crwdne2915892:0
Replacement of the power cable on any Kaffelogic Nano or Nucleus Link coffee roaster with a D or P prefix serial number.
THIS GUIDE WILL NOT ALLOW YOU TO CHANGE YOUR ROASTER'S VOLTAGE SUPPORT!
crwdns2942213:0crwdne2942213:0
-
-
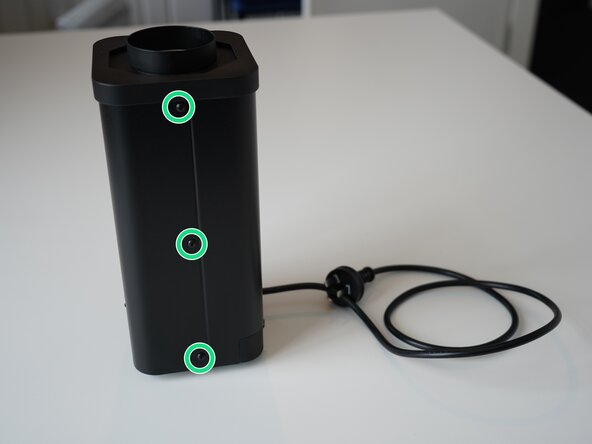
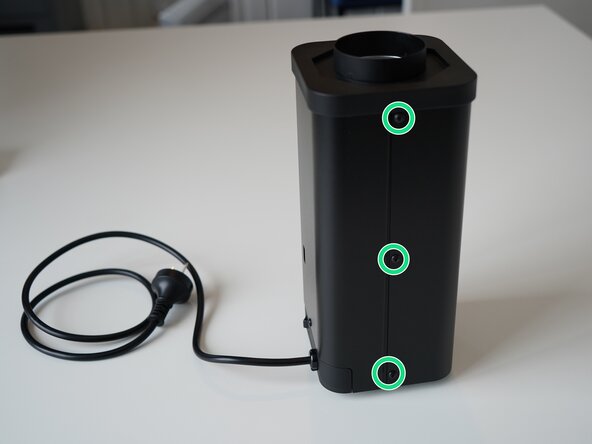
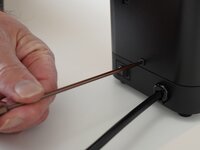
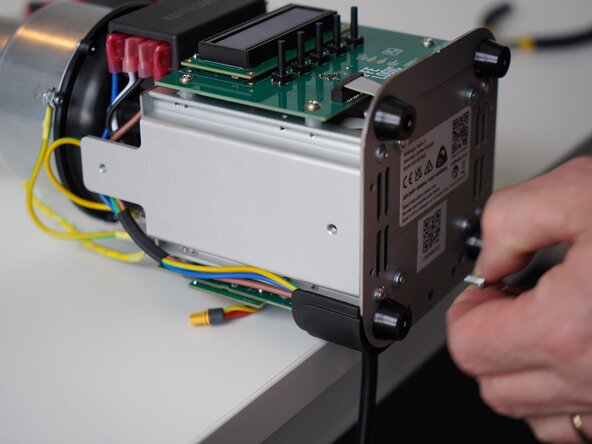
Remove the 6x 2.5mm Hex screws on the left and right side of the roaster.
-
-
-
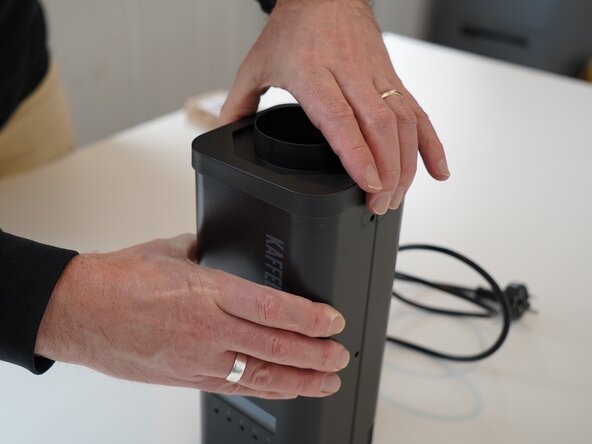
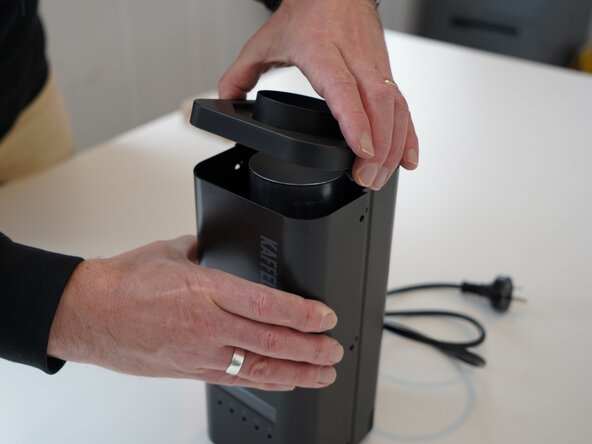
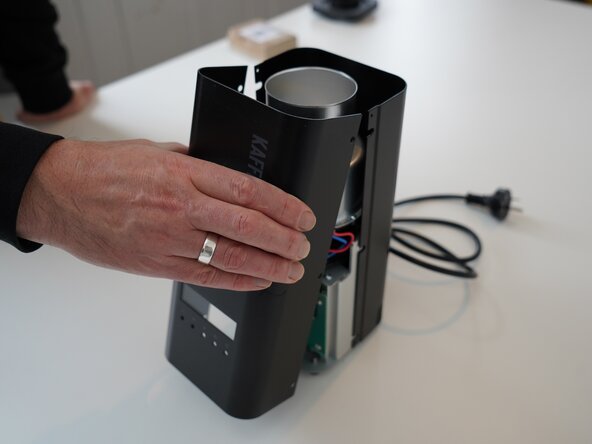
Hold the front panel steady while removing the plastic top/closure.
-
-
-
Pull away the front panel carefully.
-
-
-
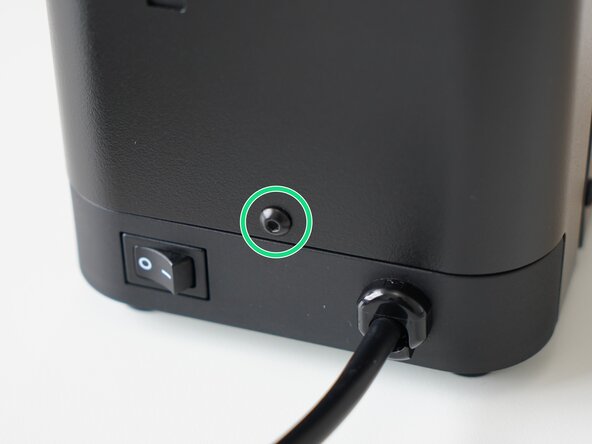
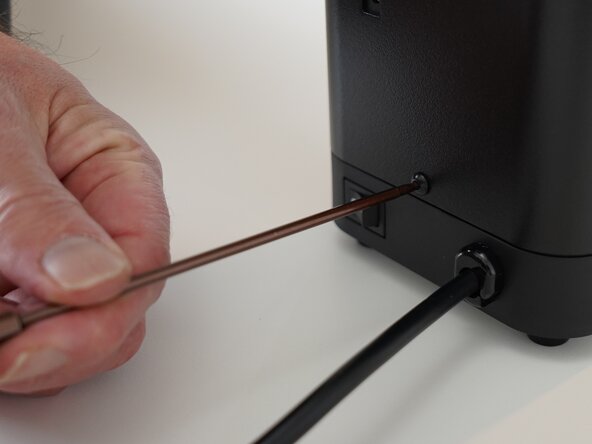
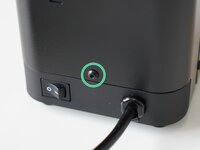
Remove the last 2.5mm Hex screw securing the rear panel.
-
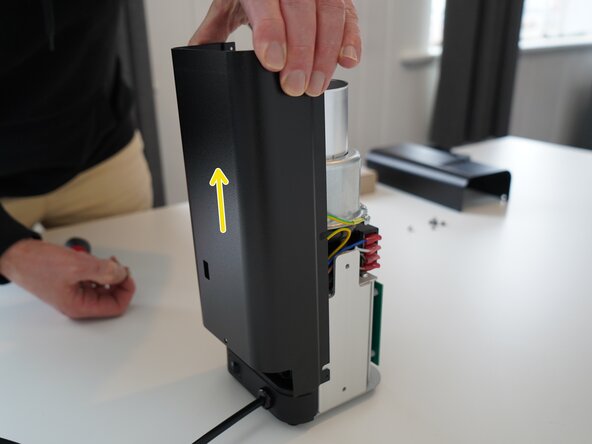
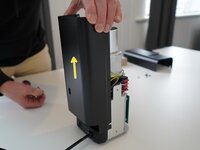
Pull up on the rear panel to remove it from the roaster.
-
-
-
-
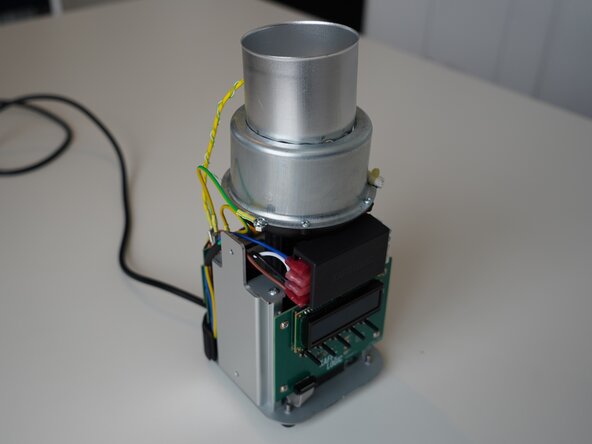
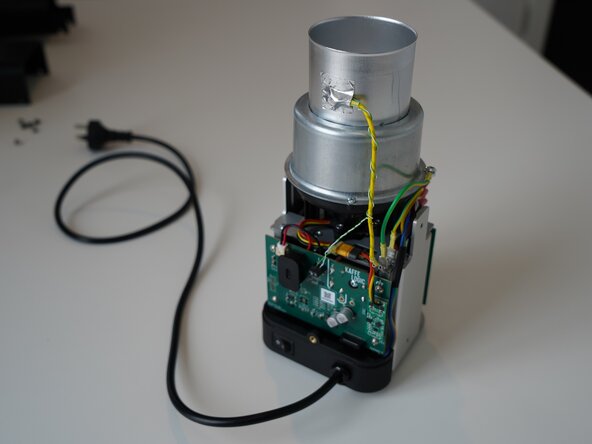
Set the panels aside somewhere safe and bask in the beauty of your naked roaster.
-
-
-
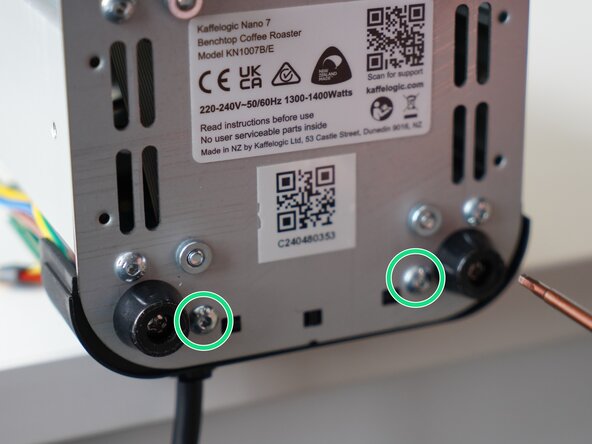
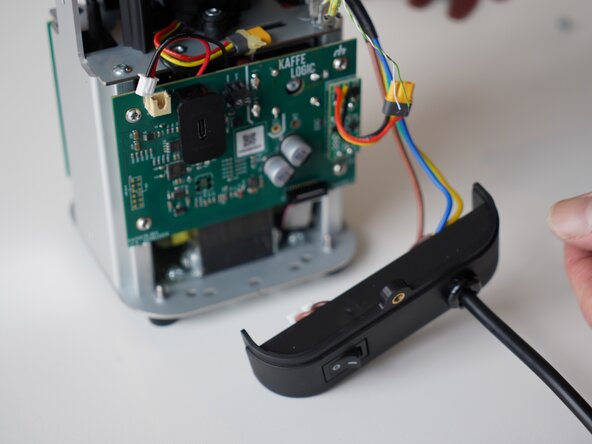
Remove the 2x 2.5mm Hex screws securing the cable carrier to the base.
-
-
-
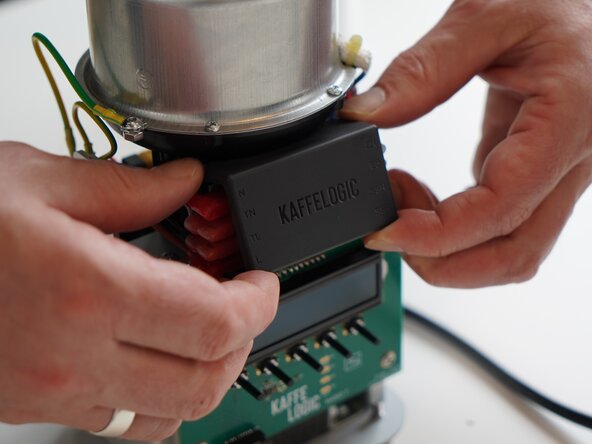
Remove the terminal PCB cover and set it aside. This is held in with four small plastic clips at each corner.
-
-
-
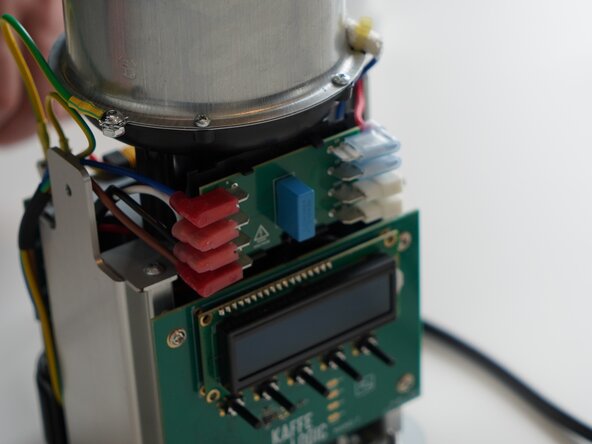
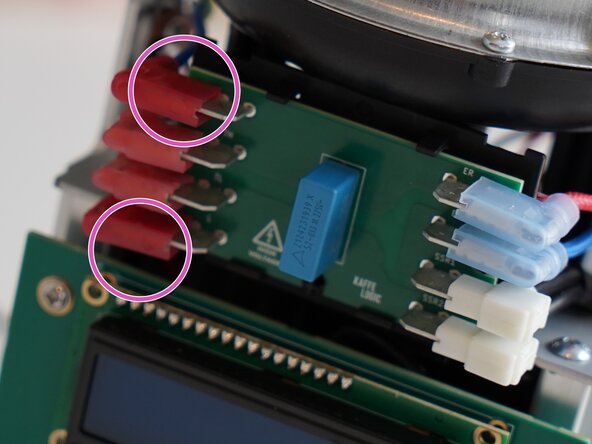
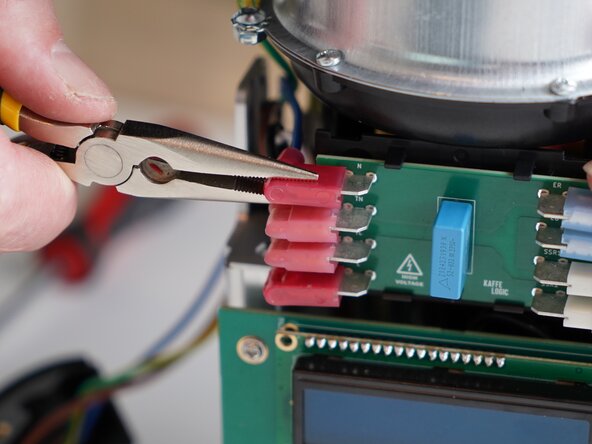
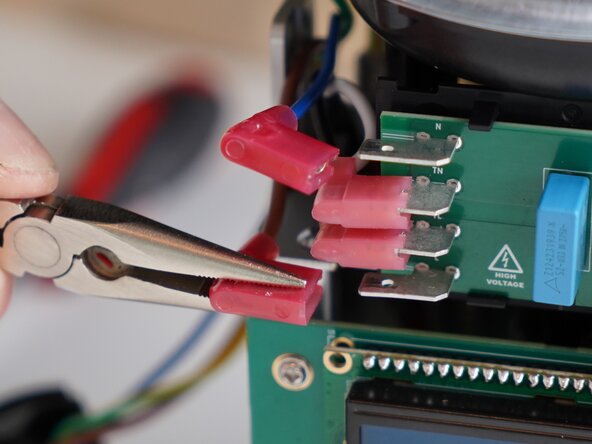
Disconnect the mains cables. Marked an N (Neutral) and L (Live)
-
-
-
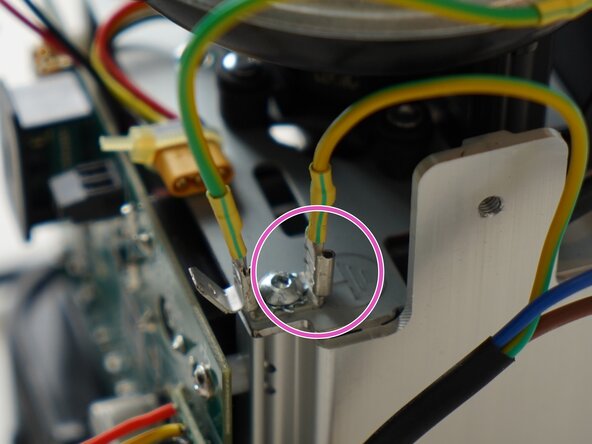
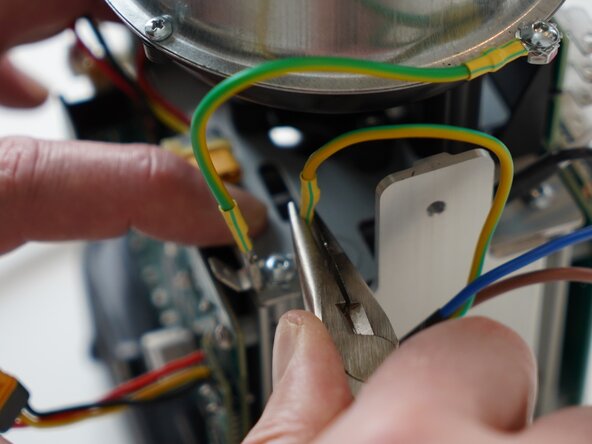
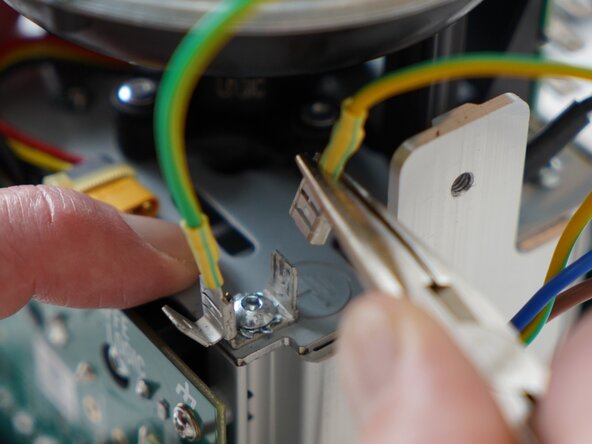
Remove the mains earthing connector from the tab. Pliers can be used for this as it can be tight.
-
-
-
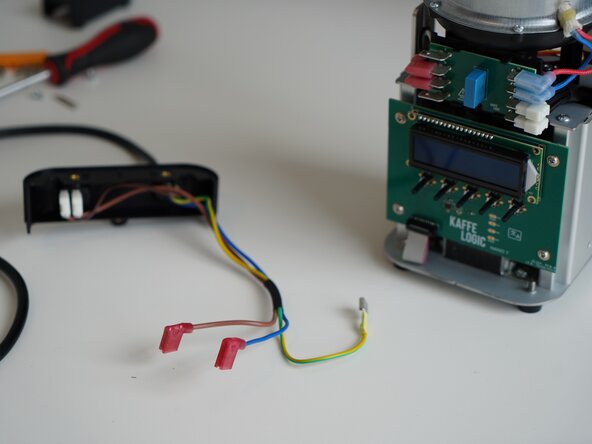
Your mains cable is now free, and ready for repair or replacement.
-
To reassemble your device, follow these instructions in reverse order.
To reassemble your device, follow these instructions in reverse order.
