crwdns2915892:0crwdne2915892:0
Replacement of the thermocouple on any Kaffelogic Nano or Nucleus Link coffee roaster with an A, B, C or N prefix serial number.
crwdns2942213:0crwdne2942213:0
-
-
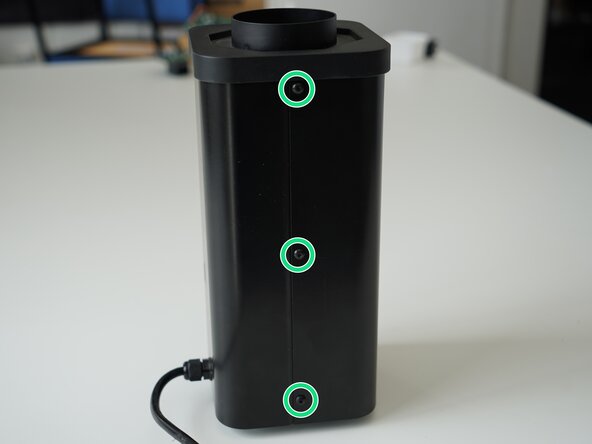
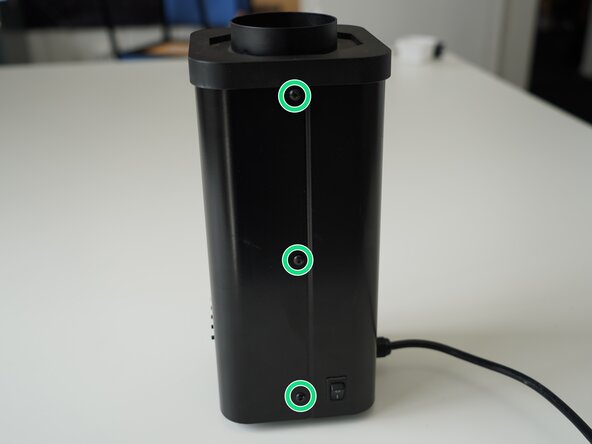
Remove the 6x 2.5mm Hex screws on the left and right side of the roaster.
-
-
-
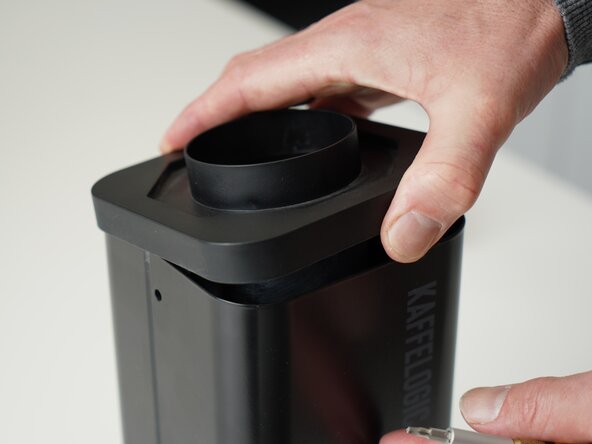
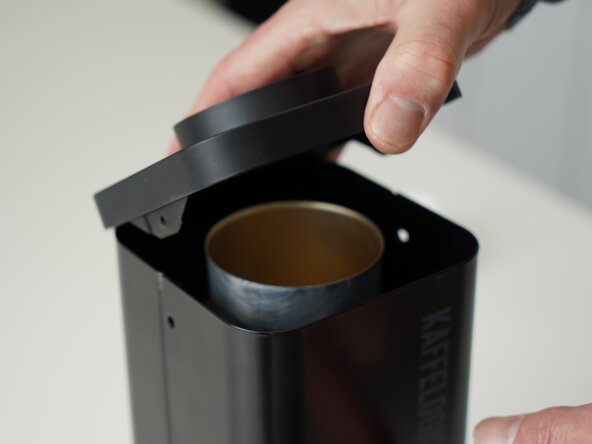
Hold the roaster steady while removing the plastic top/closure.
-
-
-
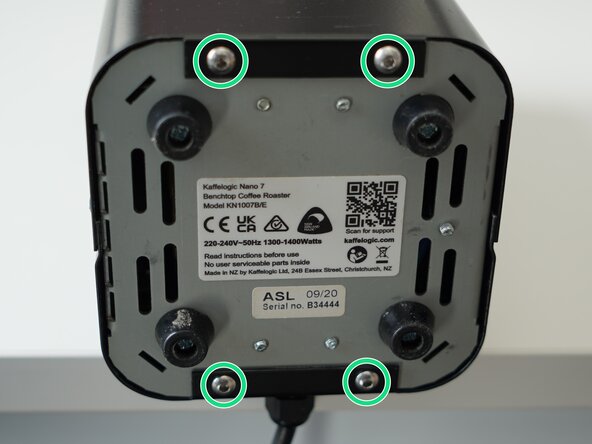
Remove the 4x 2.5mm Hex screws on the bottom of the roaster.
-
-
-
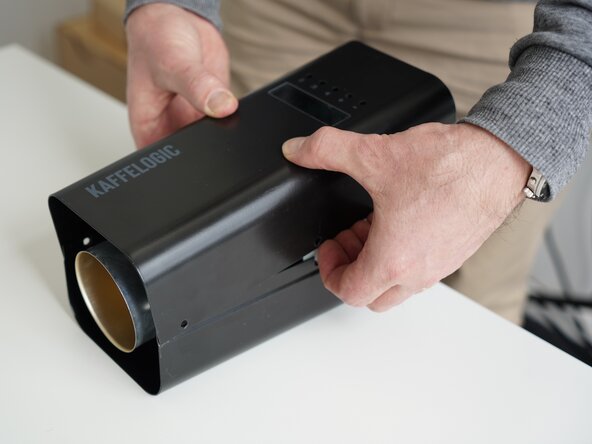
Pull away the front panel carefully.
-
-
-
-
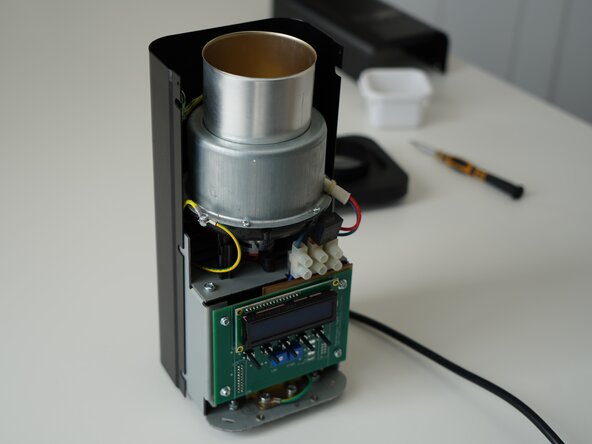
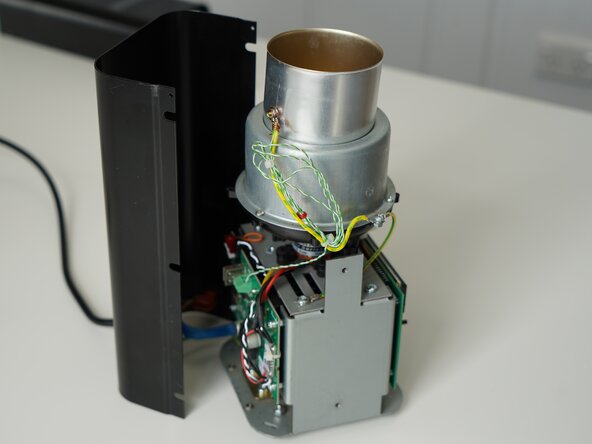
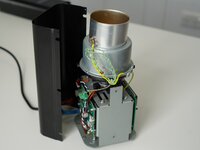
Stand the roaster up again and pull away the rear panel from the chassis to expose the remaining components.
-
-
-
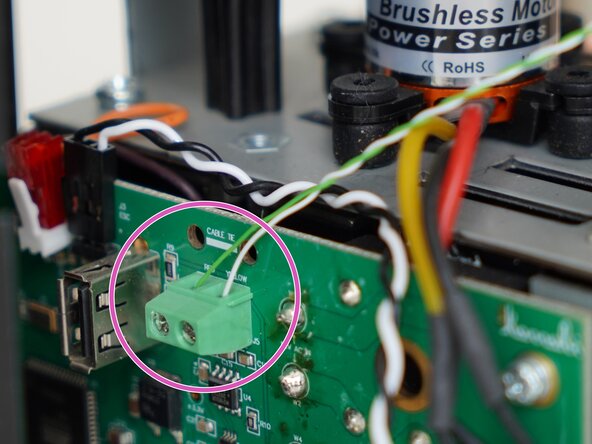
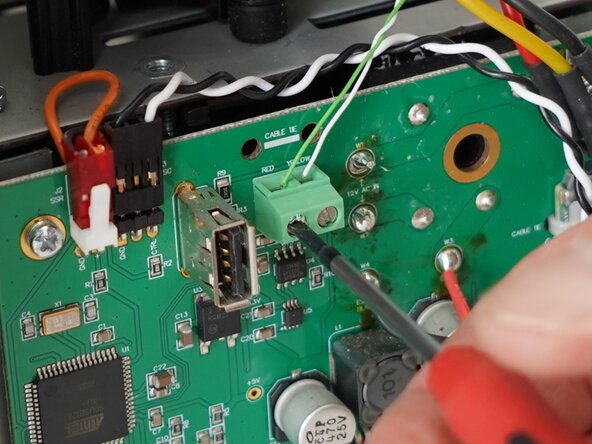
Use a 2.0mm slotted screwdriver to remove the thermocouple wires from the PCB-A
-
-
-
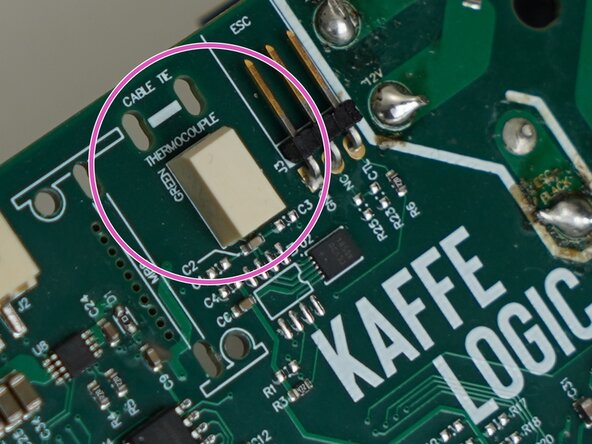
If your thermocouple connector looks like this, you will need to follow this step.
-
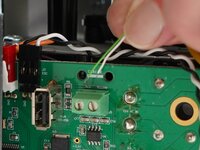
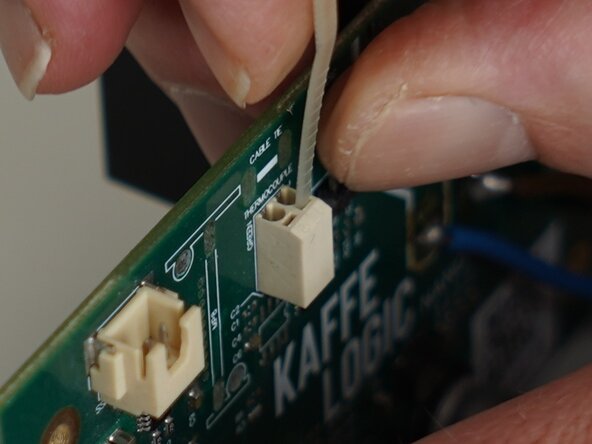
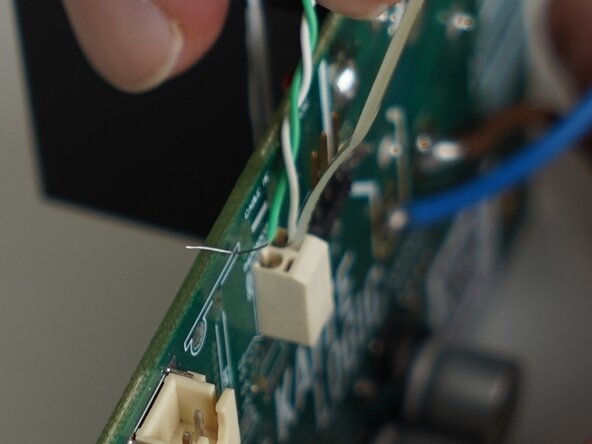
Use the end of a cable tie or very small plastic spudger to open the contact and remove/insert your thermocouple wires. You may need to trim the cable tie end to fit into the slot.
-
-
-
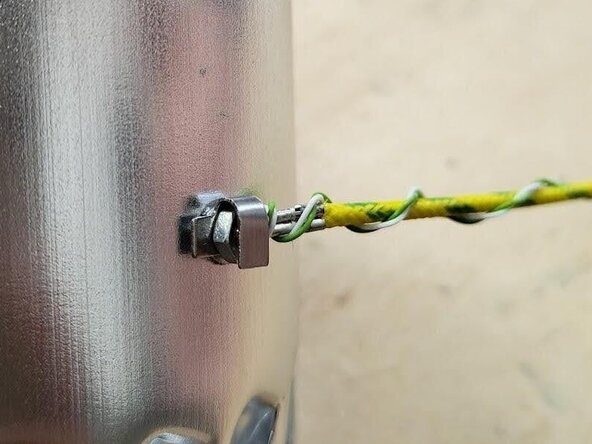
Carefully unwrap the copper wire used to secure the thermocouple.
-
-
-
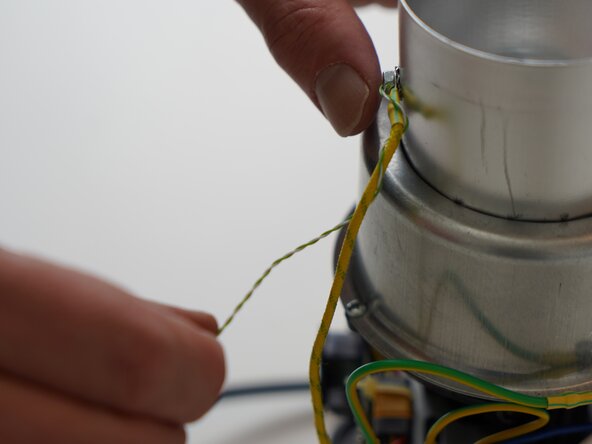
Unwind the thermocouple wire from the earth lead, cut any cable ties used to secure excess wire.
-
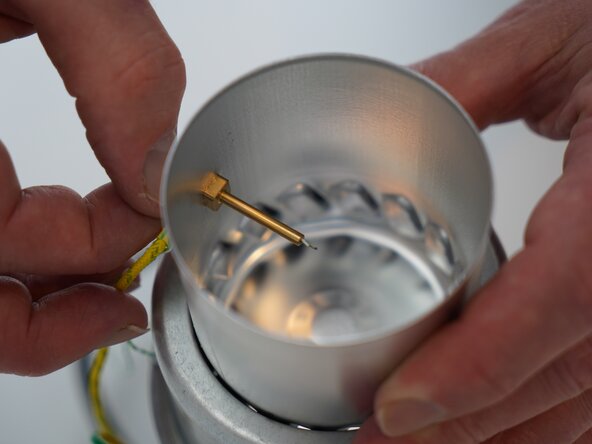
Pinch the thermocouple and gently remove it from the tube.
-
-
-
Leave 2mm of thermocouple insulation exposed
-
Massage the tape firmly over the thermocouple wires to secure the position.
-
To reassemble your device, follow these instructions in reverse order.
To reassemble your device, follow these instructions in reverse order.
