crwdns2915892:0crwdne2915892:0
If your KYVOL CYBOVAC E20 breaks down randomly, or refuses to correctly go back to its charging port, use this guide to replace the motherboard within the device.
The motherboard is responsible for connecting all the components within the device together, so a faulty motherboard would result in a device that either just stops working or acting weird depending on what part of the motherboard is faulty.
This guide requires constant handling of motherboard connections and cables that deliver power throughout the device. it is crucial to turn off the device prior to following the steps of this guide.
crwdns2942213:0crwdne2942213:0
-
-
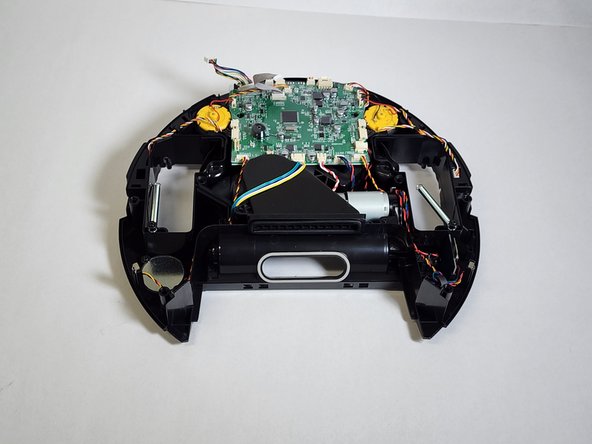
Start by laying the device on a flat surface with the logo facing up.
-
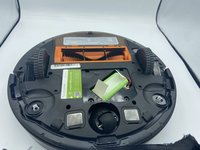
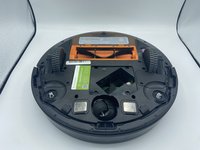
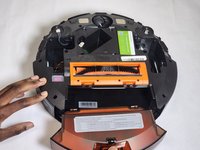
Flip the device over.
-
-
-
Remove two 1 mm screws using a Phillips #00 screwdriver.
-
-
-
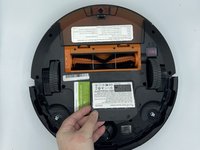
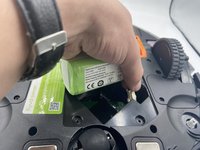
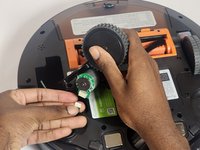
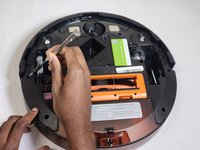
Lift the battery.
-
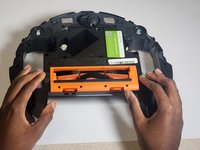
Press down on the top of the white connector.
-
-
-
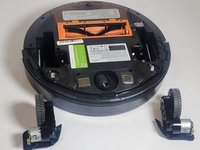
Remove both sweepers by pinching near the base of the brushes and pulling up.
-
-
-
-
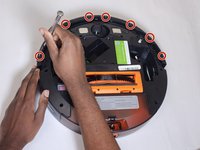
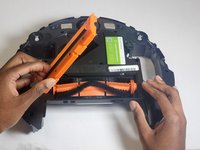
Remove four 10 mm screws using a Phillips #00 screwdriver.
-
-
-
Lift the wheel to detach the tensioning spring. This step requires you to first press down on the wheel, then detach.
-
Disconnect the wheel motor from the power supply.
-
-
-
Flip the device over.
-
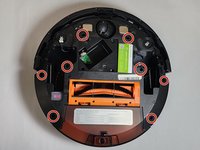
Remove the eight 15 mm screws on the device's underside using a Phillips #2 screwdriver
-
-
-
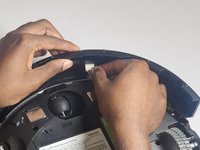
Remove the eight 10 mm screws with a Phillips #2 screwdriver to remove the bumper.
-
Disconnect the sensor wire from the front of the device.
-
-
-
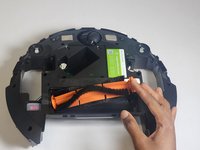
Remove the dust bin from the device.
-
-
-
Remove the main brush from the bottom of the device.
-
Remove the orange cover, then pop the brush out of its compartment.
-
-
-
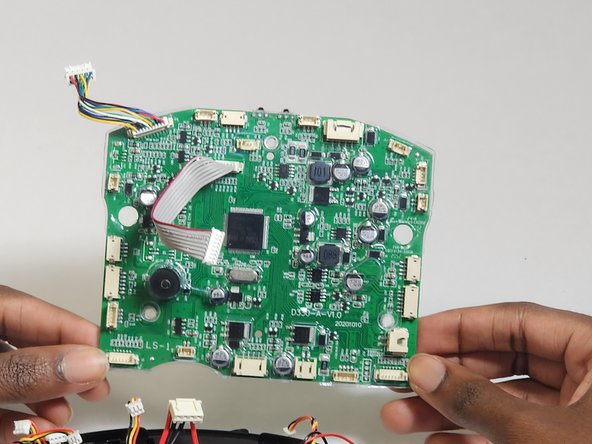
Disconnect the ribbon cable between the top and bottom halves of the device and remove the top half away from the rest of the body.
-
-
-
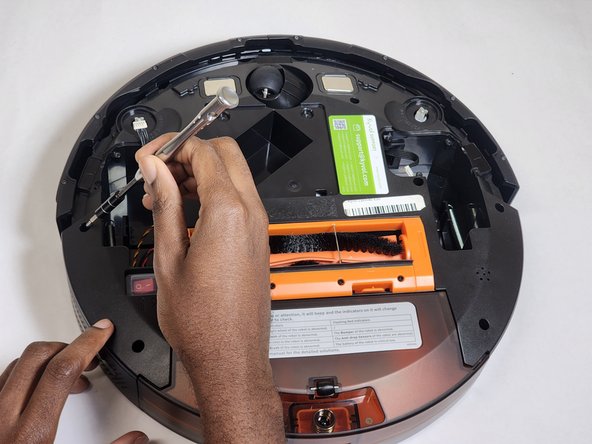
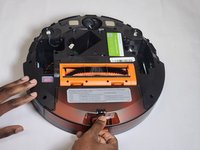
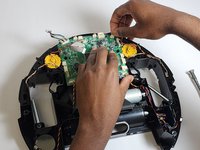
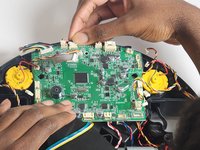
Remove the three 10 mm screws from the motherboard using a Phillips #2 screwdriver.
-
-
-
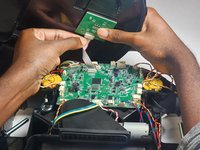
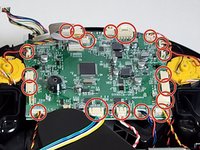
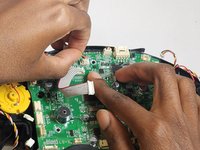
Detach the connections on the motherboard carefully.
-
-
-
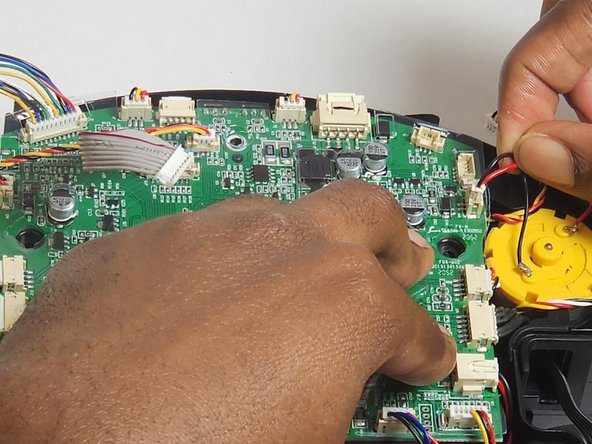
Continue removing the connections up until you are done removing all 19 of the motherboard connections.
-
Once all plugs are disconnected, lift the motherboard out of the device.
-


To reassemble your device, follow these instructions in reverse order.
To reassemble your device, follow these instructions in reverse order.
crwdns2935221:0crwdne2935221:0
crwdns2935227:0crwdne2935227:0
crwdns2915084:0crwdne2915084:0

IUPUI, Team 1-1, Harley Summer 2023 crwdns2935289:0IUPUI, Team 1-1, Harley Summer 2023crwdne2935289:0
IUPUI-HARLEY-SU23S1G1
crwdns2931471:04crwdne2931471:0
crwdns2935297:04crwdne2935297:0