crwdns2942213:0crwdne2942213:0
-
crwdns2935201:0crwdne2935201:0 crwdns2935203:0crwdne2935203:0
-
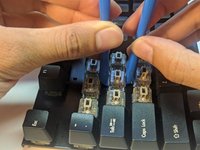
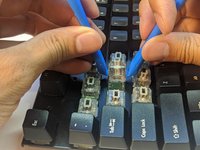
Insert the key cap puller into the cracks around the keycap.
-
Twist the tool around the bottom of the keycap.
-
Hold the keyboard down, and pull on the keycap slowly.
-
Pull up as straight as possible.
-
-
crwdns2935201:0crwdne2935201:0 crwdns2935203:0crwdne2935203:0
-
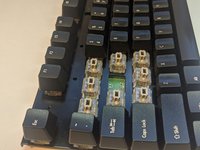
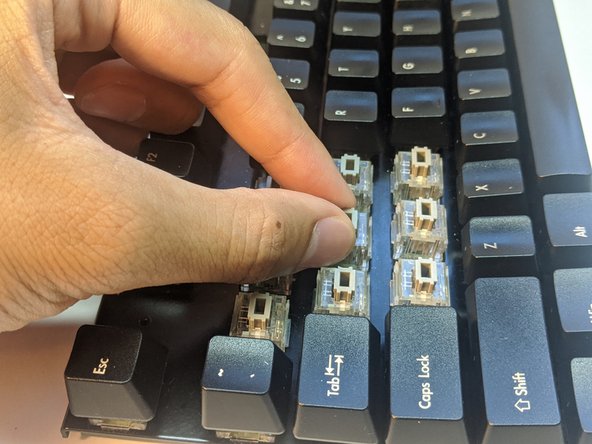
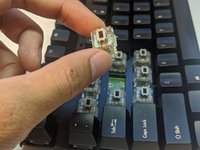
Proceed to remove the surrounding keycaps.
-
-
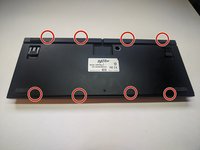
crwdns2935201:0crwdne2935201:0 crwdns2935203:0crwdne2935203:0
-
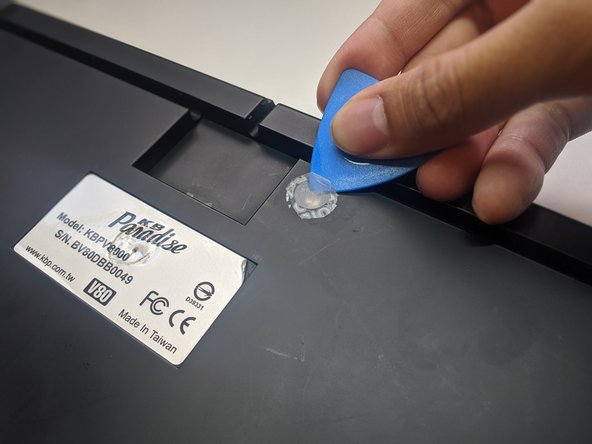
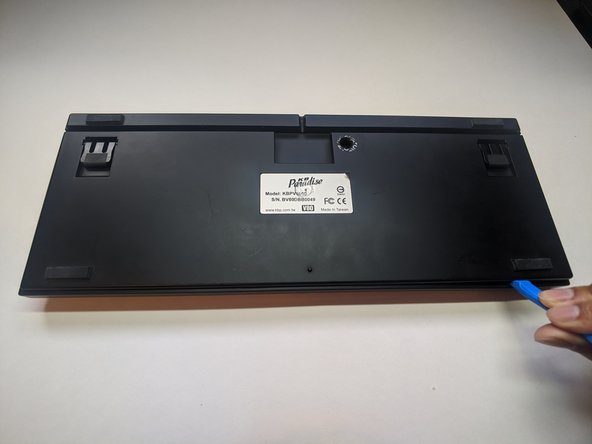
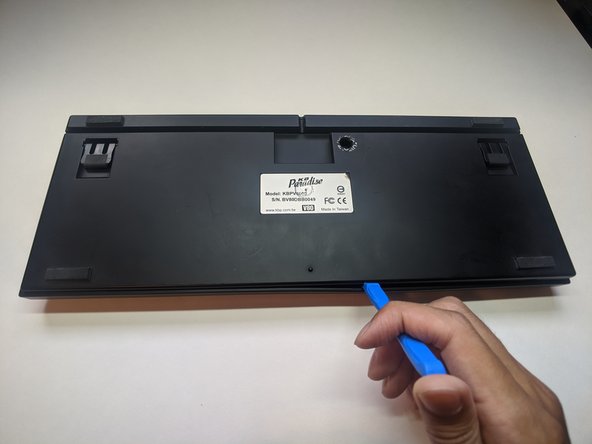
Flip the keyboard over so that the bottom is facing upward.
-
Slip an opening pick beneath the warranty sticker.
-
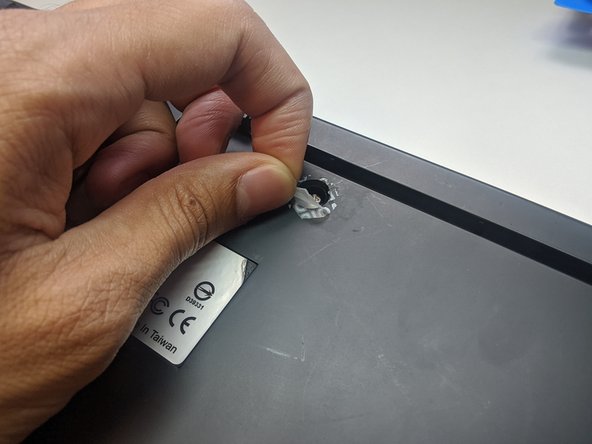
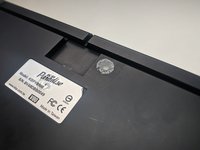
Proceed to pull the sticker off to reveal the hole.
-
-
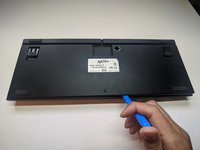
crwdns2935201:0crwdne2935201:0 crwdns2935203:0crwdne2935203:0
-
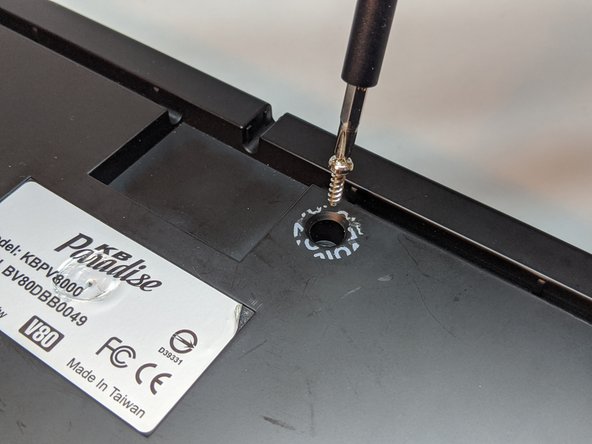
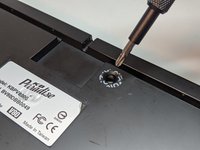
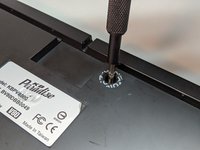
Use a Phillips #1 Screwdriver to remove the 10 mm screw.
-
-
-
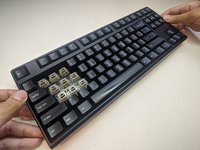
crwdns2935201:0crwdne2935201:0 crwdns2935203:0crwdne2935203:0
-
Slip an opening tool into the cracks at the indicated points.
-
Pry open carefully.
-
-
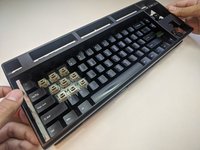
crwdns2935201:0crwdne2935201:0 crwdns2935203:0crwdne2935203:0
-
Flip the keyboard so that the keys are facing upward.
-
Grab the sides of the top case and pull up gently.
-
-
crwdns2935201:0crwdne2935201:0 crwdns2935203:0crwdne2935203:0
-
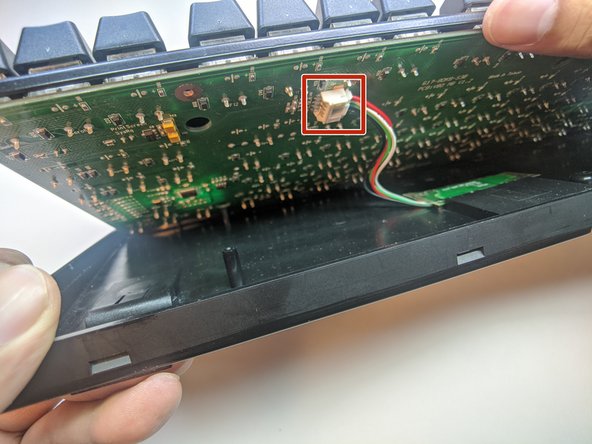
Separate the plate from the bottom case slightly.
-
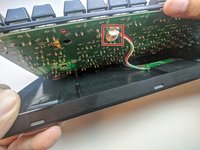
Reach within and remove the daughterboard cable.
-
-
crwdns2935201:0crwdne2935201:0 crwdns2935203:0crwdne2935203:0
-
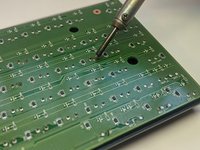
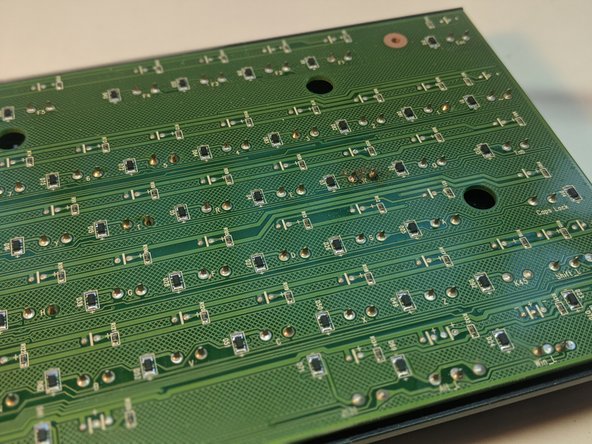
Turn the plate over.
-
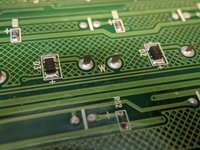
Locate the pins for the key switch.
-
-
crwdns2935201:0crwdne2935201:0 crwdns2935203:0crwdne2935203:0
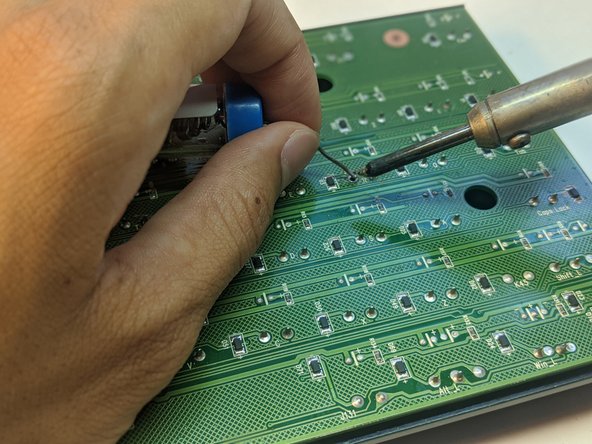
crwdns2935267:0crwdne2935267:0Desoldering Pump$3.99-
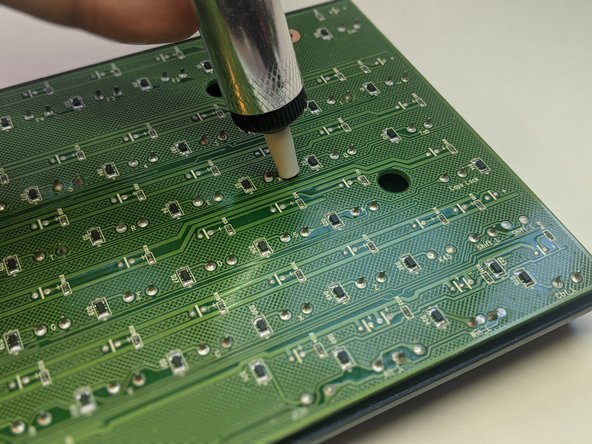
Desolder the pins with a soldering iron and a desoldering pump.
-
Repeat until the pins freely move inside the wells without heat.
-
-
crwdns2935201:0crwdne2935201:0 crwdns2935203:0crwdne2935203:0
-
Wedge two opening tools under the key switch.
-
Pull up gently.
-
-
crwdns2935201:0crwdne2935201:0 crwdns2935203:0crwdne2935203:0
-
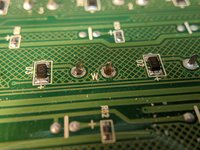
Insert a new key switch into the well with pins corresponding to that of the PCBs.
-
-
crwdns2935201:0crwdne2935201:0 crwdns2935203:0crwdne2935203:0
-
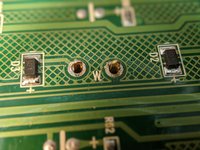
Solder the pins onto the PCB ensuring the solder stays within the wells of the pins.
-


crwdns2935221:0crwdne2935221:0
crwdns2935229:02crwdne2935229:0

crwdns2915084:0crwdne2915084:0

York University, Team S1-G40, Allen Summer 2020 crwdns2935289:0York University, Team S1-G40, Allen Summer 2020crwdne2935289:0
YORK-ALLEN-SU20S1G40
crwdns2934841:01crwdne2934841:0
crwdns2935297:02crwdne2935297:0