crwdns2915892:0crwdne2915892:0
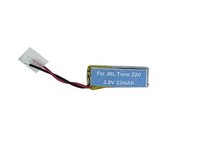
Follow this guide to replace the battery on a JBL Tune 220TWS/225TWS earbud.
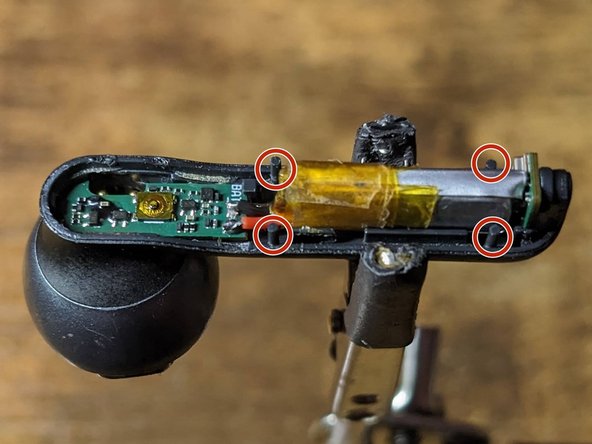
crwdns2942213:0crwdne2942213:0
-
-
Use a heat gun to heat up the battery cover
-
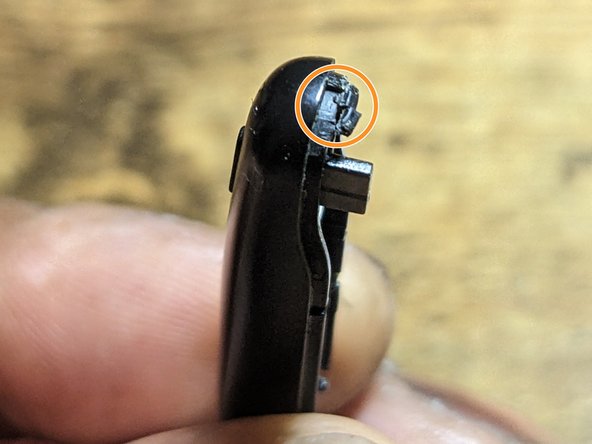
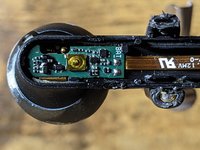
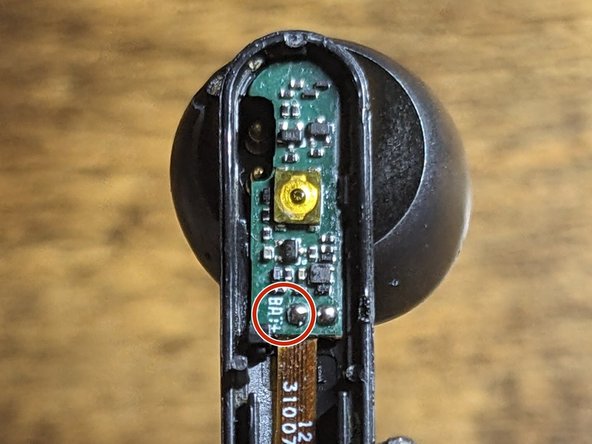
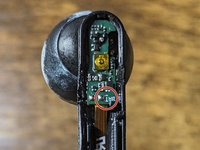
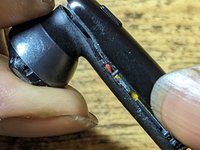
Insert the tip of an opening tool, pick tool or razor blade into the battery cover seam and work your way around the seam until the cover releases from the base of the earbud. (Photo 1)
-
-
-
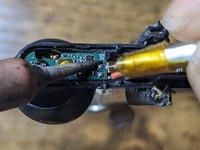
Place the earbuds into a helping hands tools to make it easier to work with while soldering. (Photo 1)
-
Heat up the soldering iron.
-
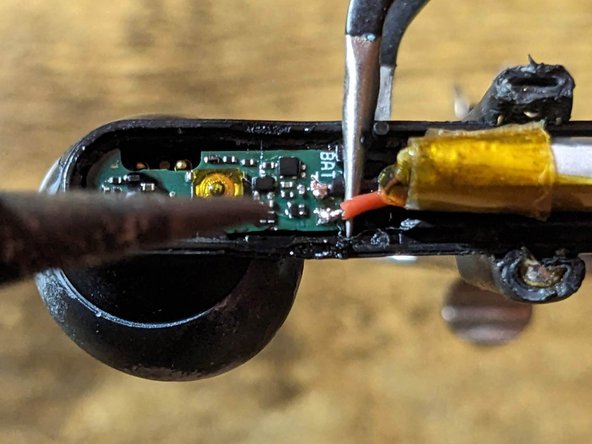
Hold the tip of the iron onto the pad where one of the battery wires is attached until the solder melts and the wire is released from the pad.
-
Do the same for the second battery terminal wire.
-
-
-
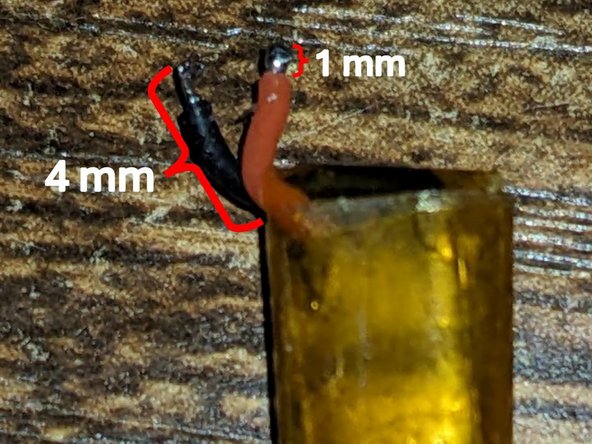
The battery will come with more wire than what is needed so you will need to cut the wire down to about 4 mm long
-
Tin the Wire (Link to Helpful Guide for Stripping and Tinning Wires)
-
Use a pair of side cutters to strip away about 1 mm of insulation.
-
Apply a small amount of flux to the now exposed wire.
-
To a clean iron tip, apply a small amount of solder.
-
Place the tip of the tinned iron onto the fluxed wire until the solder wicks into the wire.
-
-
-
-
Tin the pads
-
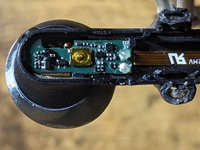
Apply a small amount of flux to the battery terminal pads. (Photo 1)
-
To a clean iron tip, apply a small amount of solder. (Photo 2)
-
Place the tip of the tinned iron onto the fluxed pads until a small blob of solder is left on each pad. (Photo 3)
-
Use isopropyl alcohol on a q-tip to clean any additional flux left on the board.
-
-
-
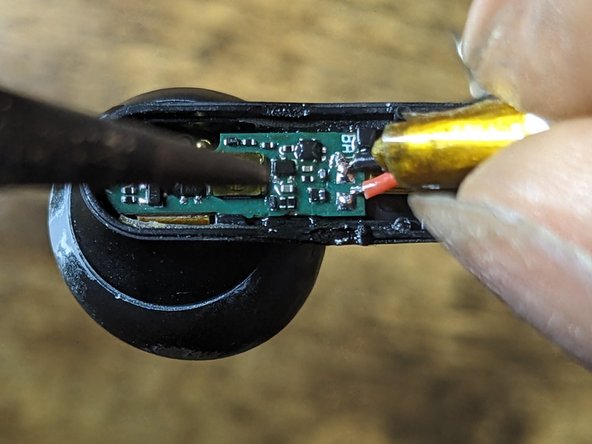
Heat up the solder on the pad and insert the wire into the melted solder.
-
Repeat the above steps for the second battery terminal wire
-
-
-
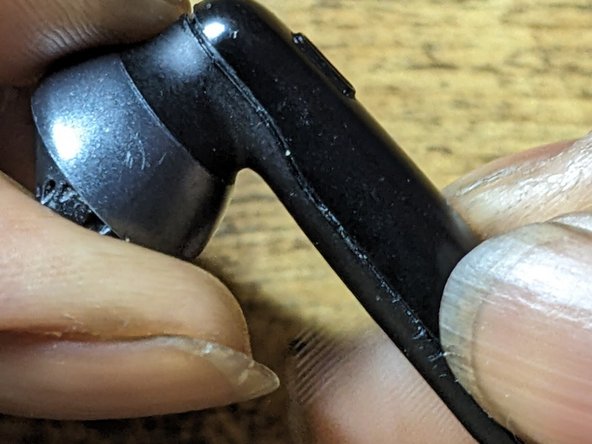
Test fit the battery cover (Photo 1)
-
Test Earbud
-
Hold the power button for 2 seconds to confirm that the earbud powers on and the repair was successful.
-
-
-
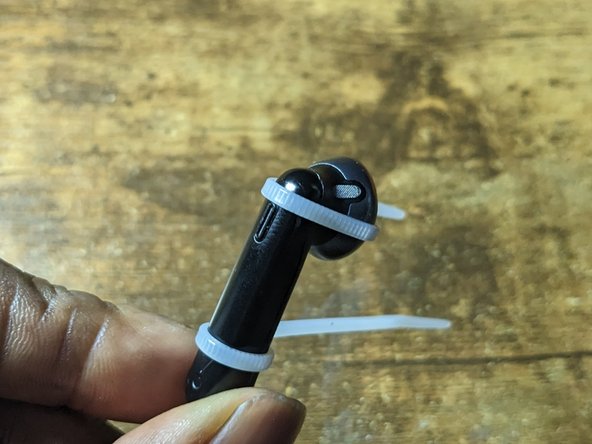
If the any of the retaining clips or prongs were broken during the removal of the cover, then apply epoxy to those points of the earbud.
-
Evenly clamp the earbud using zip ties or whatever methods works best for you, until the epoxy fully cures.
-