crwdns2915892:0crwdne2915892:0
This guide will guide the user to effectively remove and replace the screen. This replacement is the most time consuming. However, if the guide is followed to the letter, the task will be accomplished with minimal damage to the device.
crwdns2942213:0crwdne2942213:0
-
-
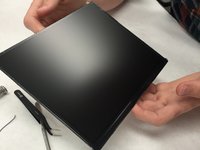
First step is to remove screws from top and bottom of device.
-
-
-
Remove the back panel of the device.
-
Be careful not to brake/bend the plastic cover of your device.
-
-
-
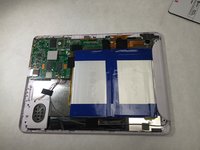
Upon removing the back panel, place the device screen down on the table.
-
-
-
Remove all data strips attached to the motherboard.
-
-
-
-
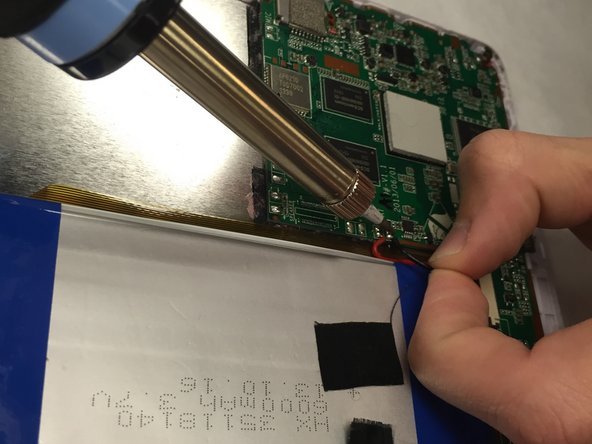
Remove the tape around the battery.
-
Use the soldering iron to disconnect these wires.
-
You will need to use a tool to pry off the battery. It will have a good amount of adhesive holding it down.
-
-
-
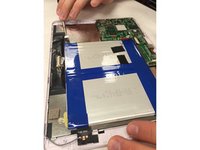
Once the battery is removed, make sure to remove any and all data strips that are attached.
-
Then begin to unscrew the mother board.
-
-
-
Remove the motherboard chip off of the device.
-
-
-
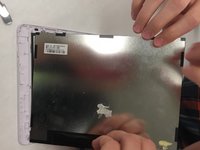
Your board should look like this after taking all of the components off the screen panel.
-
-
-
Remove the Display Module from the screen cover.
-
-
-
Now, you can replace your broken or damaged screen!
-


To reassemble your device, follow these instructions in reverse order.
crwdns2935221:0crwdne2935221:0
crwdns2935227:0crwdne2935227:0
crwdns2935287:0crwdne2935287:0

IUPUI, Team 1-3, Wilson Fall 2015 crwdns2935289:0IUPUI, Team 1-3, Wilson Fall 2015crwdne2935289:0
IUPUI-WILSON-F15S1G3
crwdns2931471:04crwdne2931471:0
crwdns2935297:06crwdne2935297:0